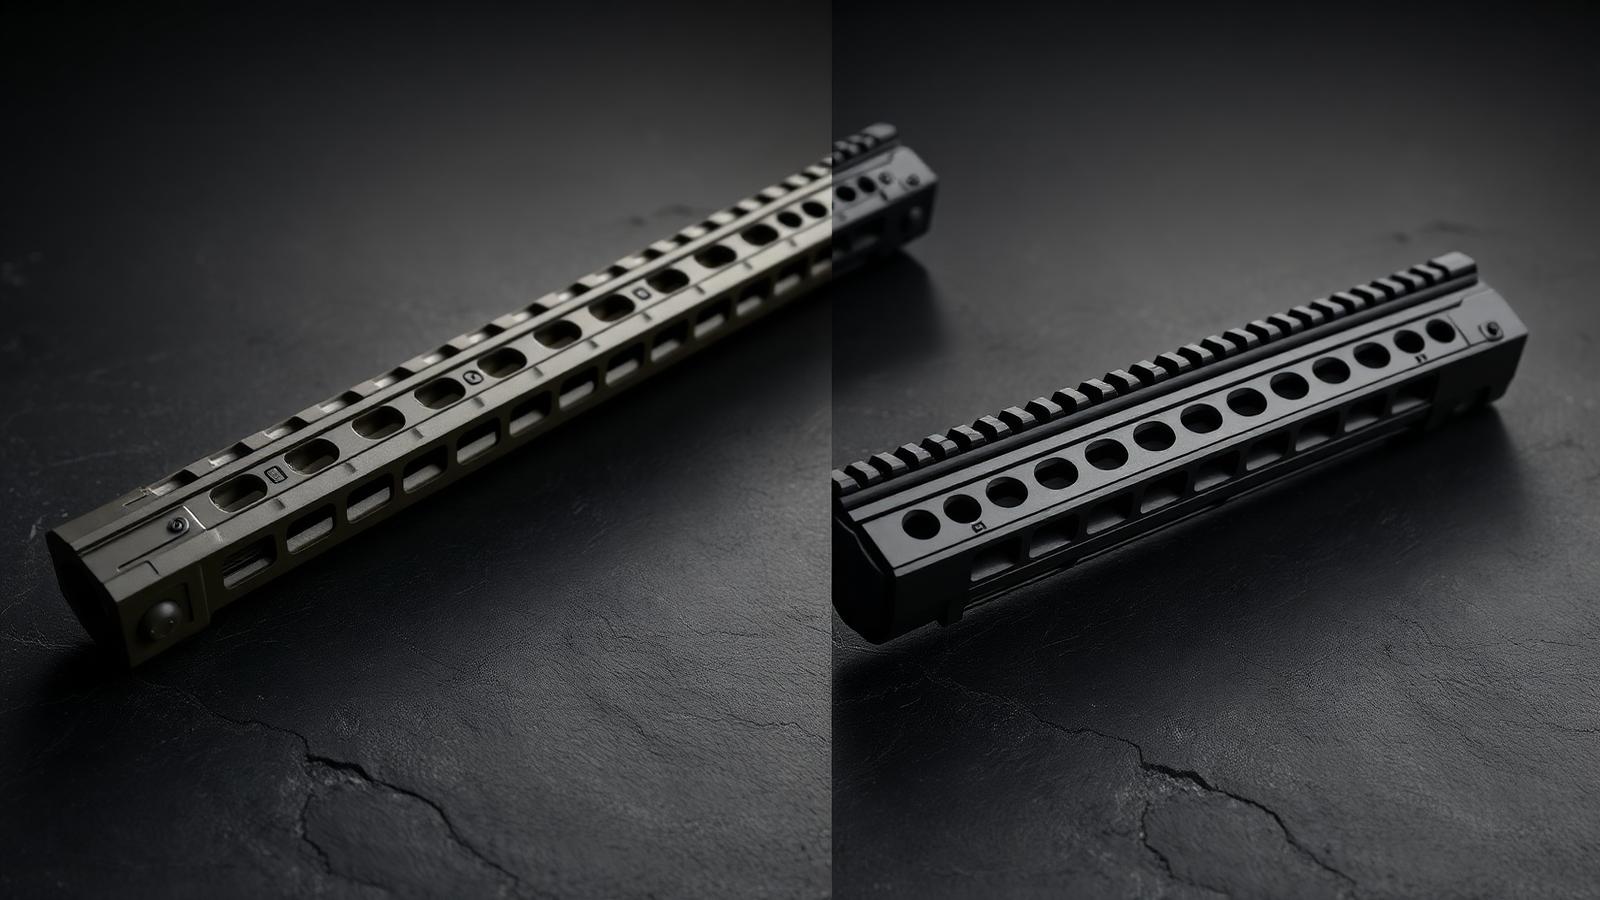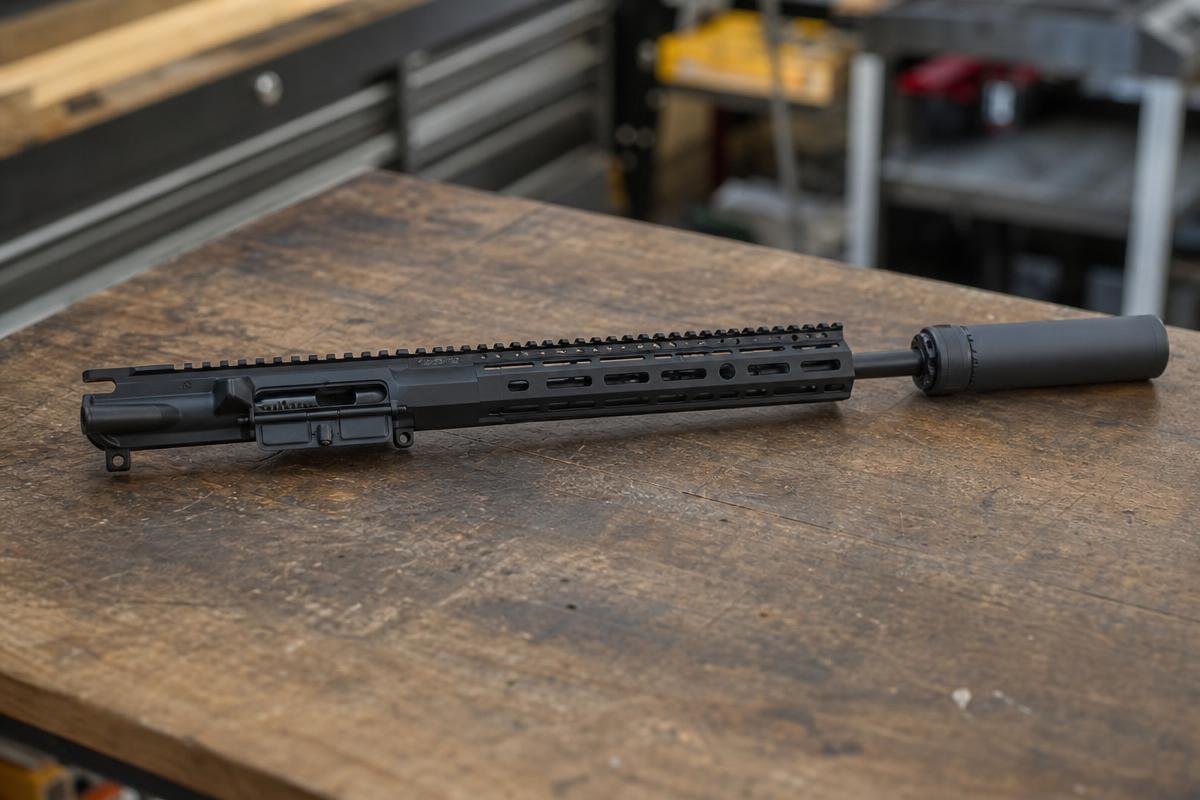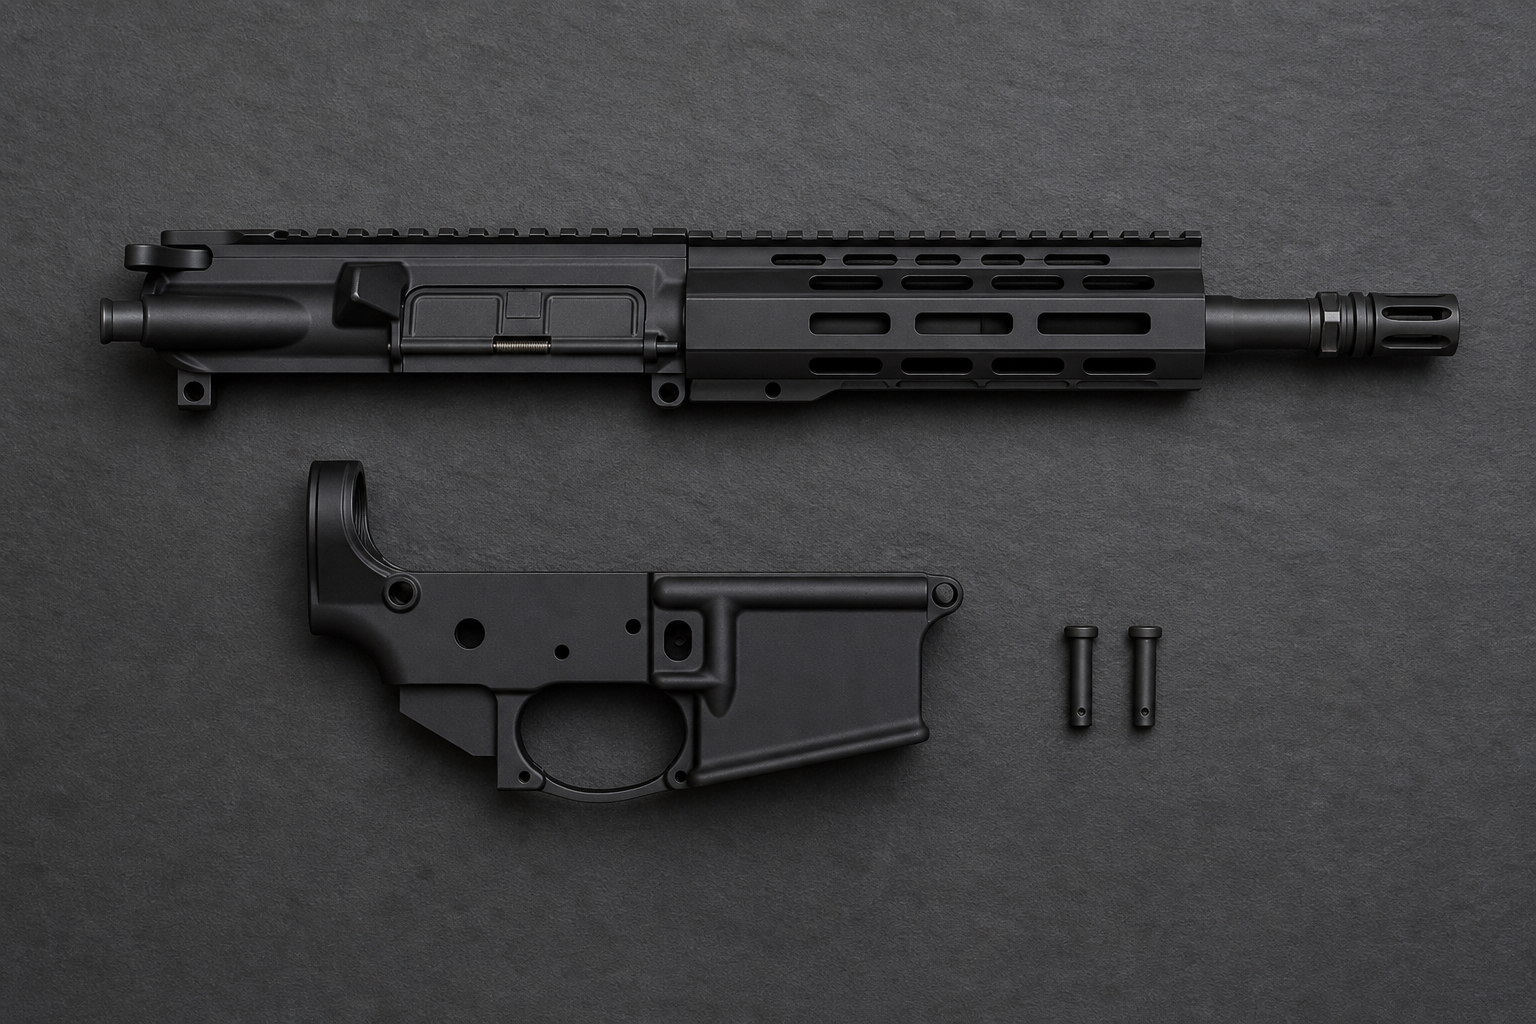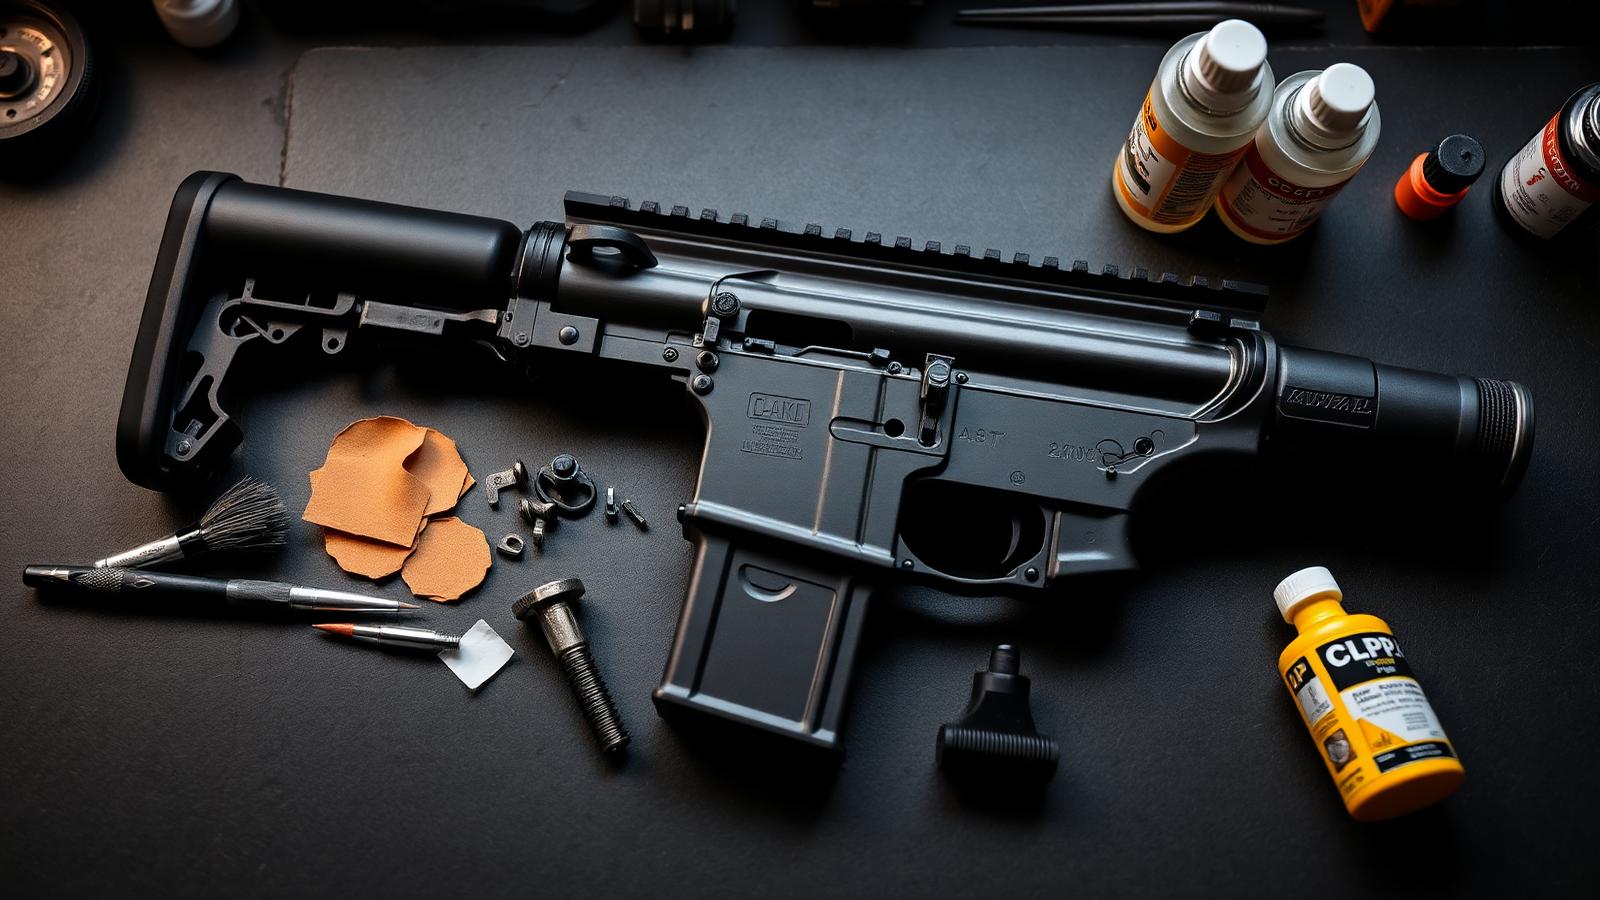
AR-15 uppers need less cleaning than most people think, but they do need cleaning. Here's the sensible full-cleaning routine that works.
AR-15 cleaning is one of those areas where the internet loves to over-complicate what's actually a simple maintenance routine. The rifle was designed to run reliably in dirty conditions, and modern coatings and components have made cleaning less critical than it was in the 1960s. Here's what you actually need to do, without the ritual.
AR-15 Cleaning Philosophy
Two facts guide sensible AR-15 cleaning:
- The rifle runs on lubrication, not cleanliness. A dirty, well-lubed BCG will cycle reliably. A clean, dry BCG will not.
- Over-cleaning causes more problems than under-cleaning. Excess lube attracts dust and fouling in the trigger group. Aggressive bore cleaning erodes match barrels. Constant disassembly wears pins and detents.
The goal of cleaning is to remove fouling that would interfere with reliability, then relube the friction points that matter. Nothing more.
Supplies You Actually Need
Minimum kit:
- CLP (Break-Free CLP, Slip 2000 EWL, or Lucas Extreme Duty)
- Bronze bore brush (correct caliber)
- Cotton patches
- Cleaning rod or Bore Snake (Bore Snake is faster and prevents chamber damage)
- Old toothbrush or nylon parts brush
- Rag or microfiber cloth
- Q-tips
- Bore guide (optional but recommended for match barrels)
Nice-to-have:
- Dedicated bore solvent (Hoppes No. 9, Butch's Bore Shine) for heavier bore cleaning
- Copper solvent (Bore Tech Cu+2) for match stainless barrel maintenance
- Grease (Slip 2000 EWG) for lug and cam pin lubrication
- Chamber brush (rotary chamber cleaner for heavier chamber crud)
- Small parts tray for BCG components during cleaning
You don't need a $200 kit. A $40 setup covers everything.
Field-Strip the Upper
- Clear the rifle. Remove the magazine, verify the chamber is empty by visual and finger check.
- Separate the upper and lower. Push out the takedown pin, hinge the receivers apart, push the pivot pin, separate.
- Remove the charging handle and BCG. Pull the charging handle back partially, then pull the BCG out with it. Then remove the charging handle.
- Disassemble the BCG: remove the firing pin retaining pin, drop out the firing pin, rotate the cam pin 90 degrees and remove it, then pull the bolt out of the carrier.
Lay parts on a rag or in a small parts tray. Don't scatter them across a workbench where you'll lose the firing pin retaining pin.
Clean the BCG
Bolt:
- Scrape carbon off the bolt tail (a brass or plastic scraper works; avoid steel that gouges the bolt)
- Clean the bolt face and lugs with a nylon brush and CLP
- Wipe the gas rings clean; verify they aren't cracked or aligned in the same rotation (rotate one 180 degrees if all three gaps align)
- Wipe the extractor clean; verify the extractor spring is intact
Bolt carrier:
- Wipe the interior of the carrier with a patch or cloth soaked in CLP
- Use a chamber brush or nylon brush to scrub carbon out of the carrier interior
- Wipe the cam pin cutout clean
- Clean the gas key opening and verify it's not obstructed
Reassemble the BCG:
- Wipe all parts, then reassemble
- Apply a few drops of CLP to the bolt lugs, cam pin, and bolt exterior before reinstalling in the carrier
- The BCG should look shiny with lube on friction surfaces
Clean the Upper Receiver
- Use a rag or patches with CLP to wipe the interior of the upper receiver
- Clean the charging handle channel with a nylon brush
- Wipe the ejection port and dust cover
- Clean the charging handle itself with a brush and CLP
- Wipe the barrel extension (where the bolt lugs engage) with a patch
Take extra care around the gas tube where it enters the upper receiver. Don't force anything or bend the gas tube.
Clean the Bore (Correctly)
For chrome-lined or nitride bores (duty barrels):
- Run a Bore Snake with a few drops of CLP through the bore, 2 to 3 passes
- That's it. Bore is clean enough.
For match stainless bores:
- Use a bore guide if possible (protects the chamber crown from rod damage)
- Run a patch soaked in bore solvent through the bore
- Follow with a bronze brush pass (in the correct direction: breech to muzzle when possible)
- Run dry patches until they come out clean
- For copper fouling: apply copper solvent, let sit 10 minutes, then patch out
- Do NOT scrub the bore aggressively after every trip. Every 200 to 500 rounds is enough for match barrels.
Aggressive bore cleaning wears the throat and crown, both of which affect accuracy. Match shooters clean their bores meaningfully less than novices assume.
Lubrication: Where and How Much
The AR-15 has specific friction points that need lube:
Lube generously:
- Bolt lugs and locking surfaces
- Cam pin and cam pin track
- Bolt tail and rear surfaces of the carrier
- Charging handle channel
Lube lightly:
- Firing pin
- Extractor pivot
- Gas rings (a light film only)
Do NOT lube:
- The bore (a light preservative oil for storage is fine, but wipe out before firing)
- Trigger group internals (a drop on the disconnector pivot is fine; more attracts fouling)
- Muzzle device
The rule: "wet where the bolt cycles, dry everywhere else." A well-lubed AR-15 with fouling still runs. A clean, dry AR-15 stops.
Store the rifle with a light coat of oil on all metal surfaces. Wipe it down before shooting. That's it. Modern AR-15s from quality manufacturers are engineered to be low-maintenance; treat them accordingly.
Browse quality complete uppers, BCGs, and cleaning supplies at ar15parts.com.