Every AR-15 upper receiver torque spec you need in one place: barrel nut, gas block, castle nut, muzzle device, and handguard fasteners.
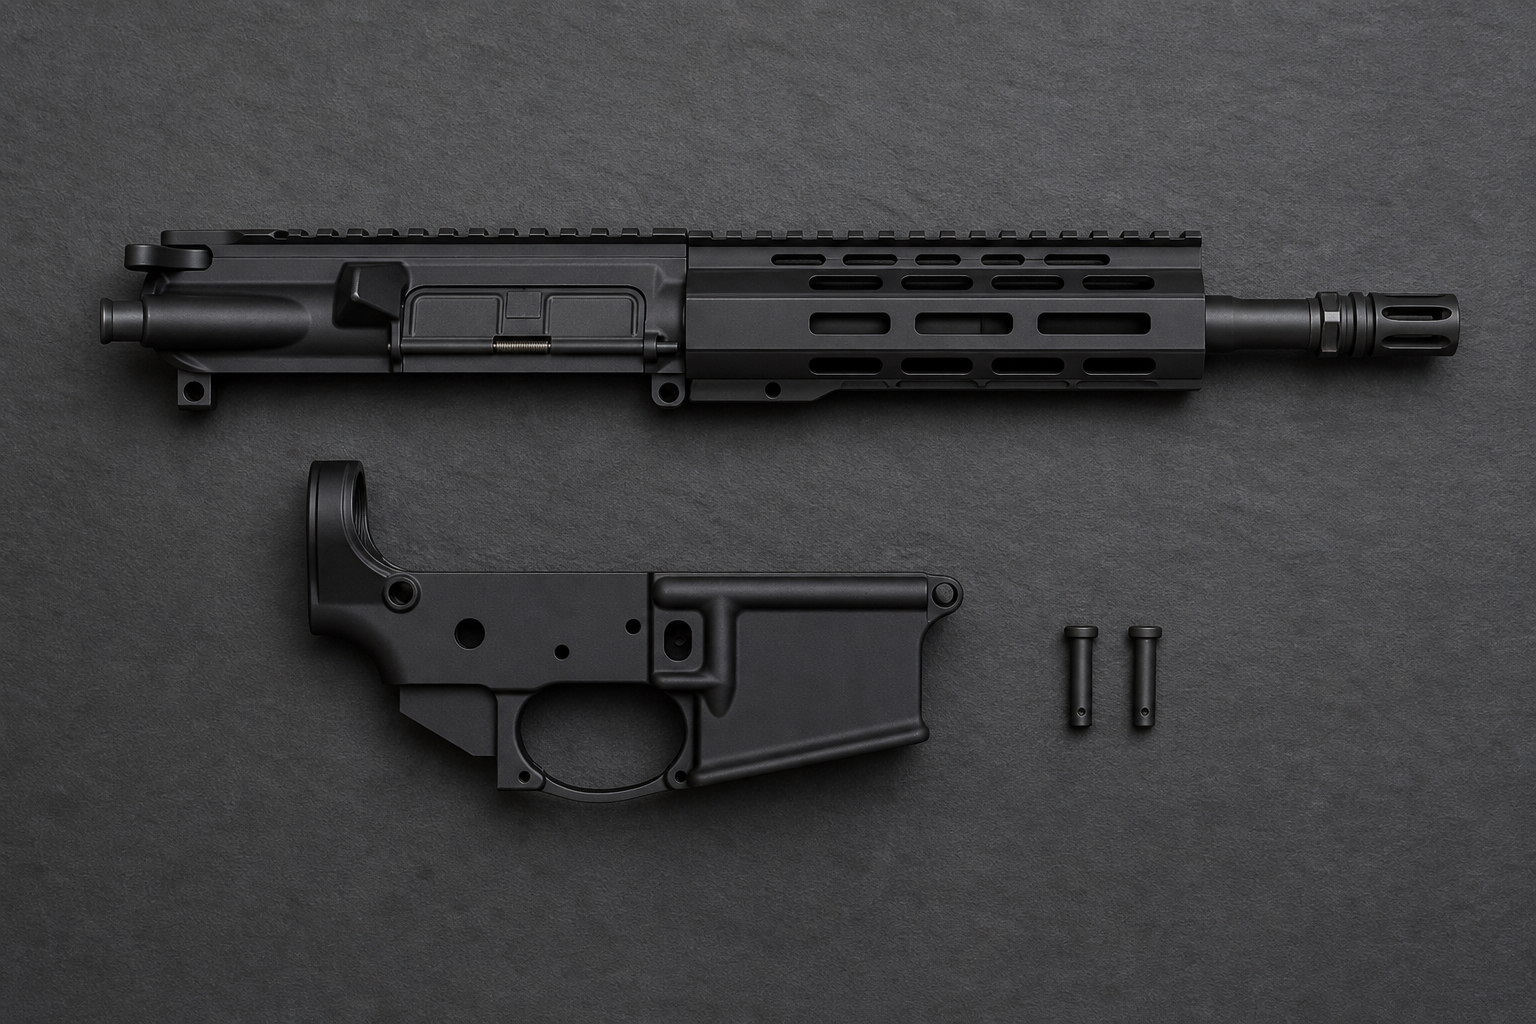
Building or servicing an AR-15 upper receiver requires exactly one thing to be done correctly with a calibrated tool: the barrel nut. Everything else can be done with a decent hex driver, blue Loctite, and reasonable care. This guide is the quick-reference torque cheat sheet, followed by a short explanation of why each spec matters and how to actually apply it.
Torque Spec Cheat Sheet
Always follow the manufacturer's spec when it differs from these general values. Proprietary handguard barrel nuts (Aero ATLAS, BCM MCMR, Geissele Mk-series) often have specific torque values that differ from mil-spec.
Barrel Nut: The One That Matters
The barrel nut secures the barrel to the upper receiver. It's the most heavily loaded fastener on the entire upper and the one place freehand tightening will bite you.
The correct procedure:
- Apply a light coat of anti-seize compound (Aeroshell 33MS or equivalent) to the barrel nut threads. Not Loctite. Anti-seize prevents galling on the aluminum receiver threads and lets the nut reach proper torque without the threads binding.
- Hand-thread the barrel nut on until snug.
- Torque to 30 ft-lbs using a calibrated torque wrench and the correct barrel nut wrench for your setup.
- Back the nut off completely.
- Torque to 30 ft-lbs again.
- Back off completely.
- Torque to 30 ft-lbs a third time, then continue tightening until the gas tube hole in the barrel nut aligns with the gas tube channel in the receiver. This final tightening can go anywhere from 30 to 80 ft-lbs.
If the gas tube hole doesn't align by 80 ft-lbs, stop. Do not over-torque. Options:
- Use a barrel nut shim (Aero, Geissele, and others sell these).
- Try a different barrel nut.
- Very rarely, the receiver or barrel is out of spec and needs to be returned.
The three-cycle torque procedure is important. It seats the barrel extension flush against the receiver and takes any initial galling out of the threads. Skipping cycles can leave the barrel loose after a few hundred rounds.
Gas Block Set Screws
Standard low-profile gas blocks use two small set screws (typically 8-32) that clamp the block onto the barrel over a dimple or groove machined into the barrel.
Procedure:
- Align the gas block over the gas port. The port must be exactly under the gas tube hole in the block, misalignment will cause reliability problems.
- Apply blue Loctite (242 or 243) to the set screw threads. Sparingly.
- Torque each set screw to 35 to 45 in-lbs using an inch-pound torque wrench with a hex bit.
- Let the Loctite cure for at least an hour (ideally 24) before firing.
For clamp-on gas blocks (which use larger screws to clamp around the barrel rather than set screws pressing into a dimple), follow the manufacturer's spec, typically 30 to 40 in-lbs on the clamping screws.
Muzzle Device
Muzzle devices (flash hiders, brakes, comps) install with one of two methods:
Crush washer: The most common budget install. The washer crushes as you time the device, allowing 15 to 20 ft-lbs of torque to align the device correctly. Anti-seize on the threads is optional but helps future removal.
Peel washer or shims: Used for precision timing on brakes and comps. Stack shims until the device times correctly at 20 to 30 ft-lbs of final torque.
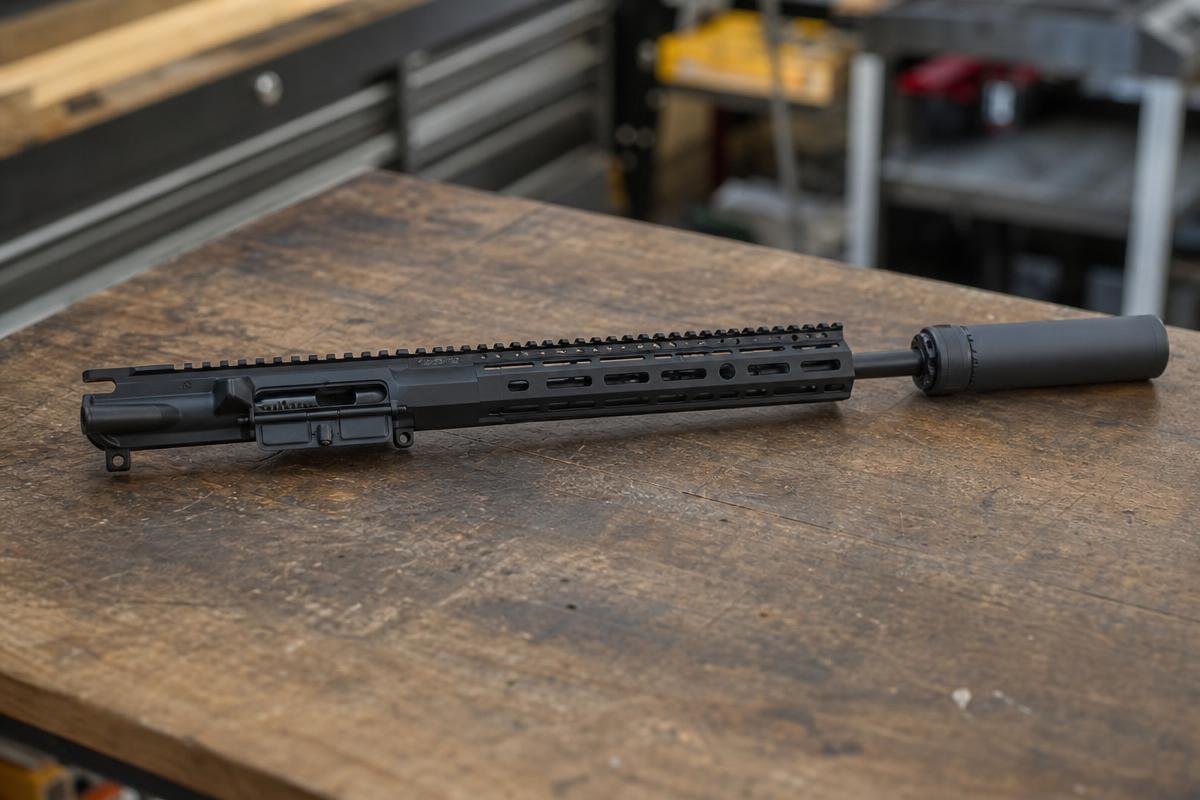
Never use a crush washer on a suppressor mount, most manufacturers require peel washers or shims for proper alignment.
Handguard Fasteners
Free-float handguards typically install one of two ways:
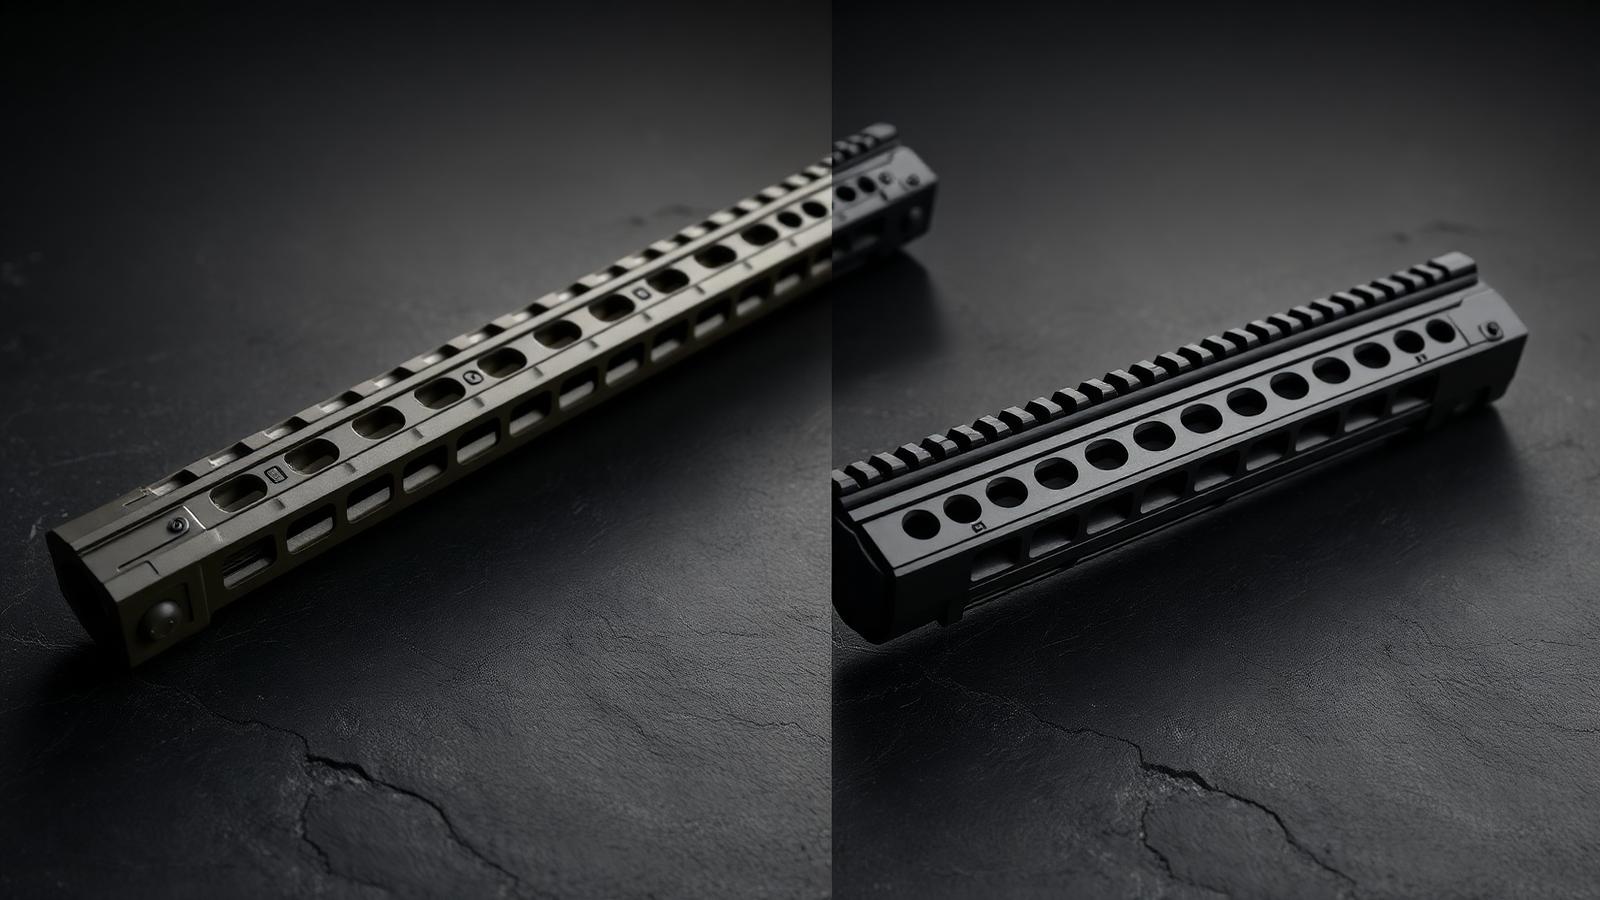
Proprietary barrel nut: The handguard uses its own oversized barrel nut that replaces the mil-spec one. Torque per the manufacturer's spec (usually 30 to 50 ft-lbs). Aero ATLAS, BCM MCMR, and Geissele Mk-series handguards all use this approach.
Slip-fit over standard barrel nut: The handguard slides over the standard barrel nut and secures with a clamp or set of screws. Handguard mounting screws typically torque to 20 to 40 in-lbs with blue Loctite.
Drop-in polymer handguards (the two-piece kind) require no torque, they snap around the delta ring and are held by the handguard cap.
Tools You Need
Minimum tooling for a proper upper build:
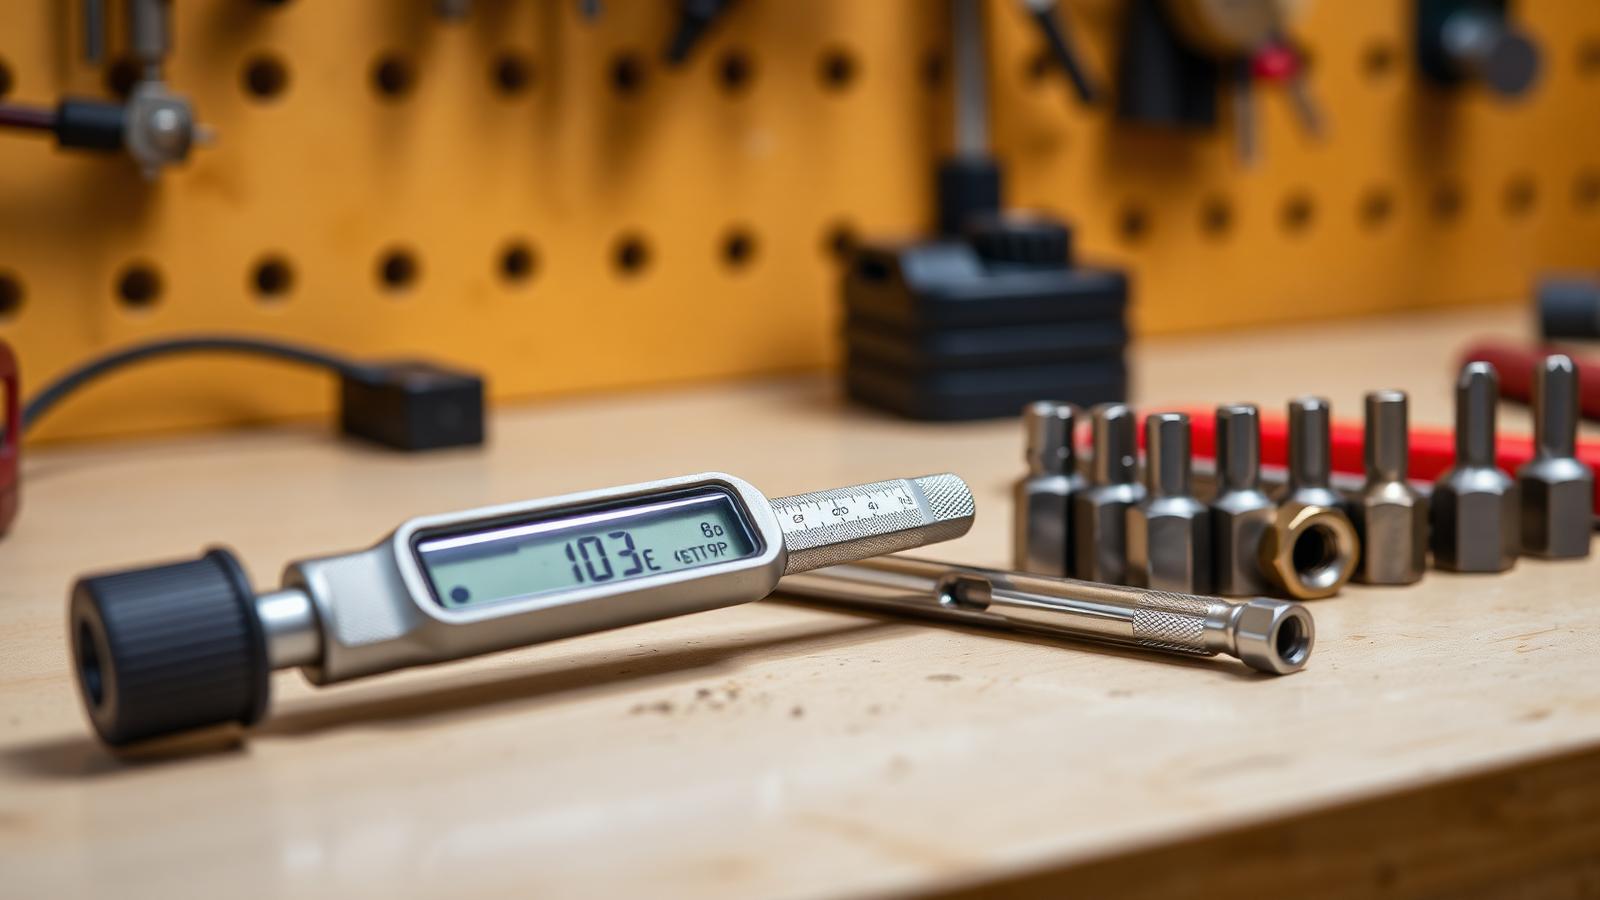
- Calibrated foot-pound torque wrench (10 to 100 ft-lb range)
- Calibrated inch-pound torque wrench (10 to 100 in-lb range)
- Correct barrel nut wrench for your handguard (Aero, BCM, Geissele, mil-spec, etc.)
- Upper action block (holds the upper in a vise without damaging it)
- Bench vise
- Anti-seize compound (Aeroshell 33MS or equivalent)
- Blue Loctite (242 or 243)
- Hex bit set with quality bits (cheap bits cam out and strip screws)
A dedicated AR-15 armorer's wrench (the multi-tool style) handles the mil-spec barrel nut, castle nut, and muzzle device in one tool. Any proprietary handguard system will need its own barrel nut wrench.
Cut torque specs and you cut reliability. Guess torque specs and you eventually strip threads. Buy a real torque wrench and this becomes the least stressful part of building an AR-15.
Building your first upper? Browse tool kits and complete upper components at ar15parts.com.