A complete walkthrough for installing an AR-15 upper onto a lower receiver, plus torque specs, headspacing basics, and common mistakes to avoid.
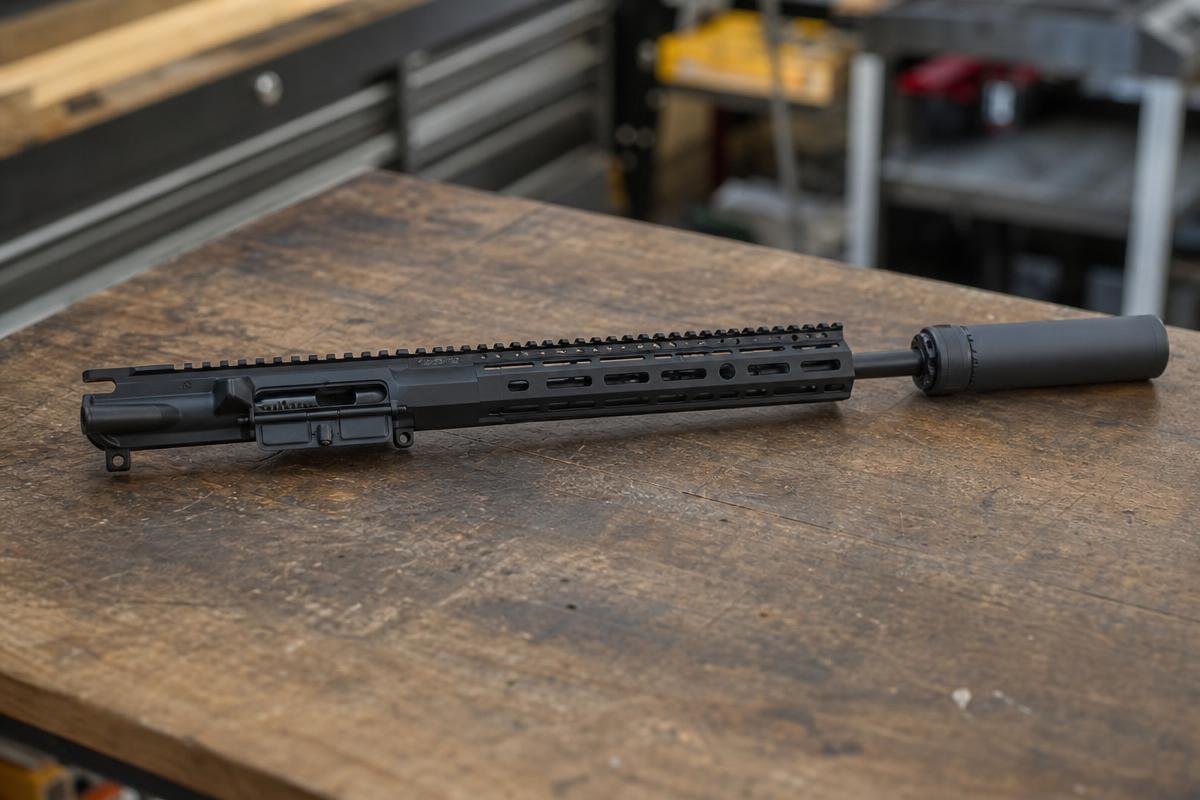
Installing an AR-15 upper onto a lower receiver is a straightforward process: separate the upper and lower, align the two front and rear takedown pin holes, push the pins through, and attach your charging handle and bolt carrier group. If you're building from a stripped upper rather than a complete one, you'll also need to install the barrel, gas system, and handguard first, each with its own torque requirements. This guide walks through both scenarios.
Estimated time: 20 to 40 minutes for a complete upper installation; 1 to 2 hours if assembling a stripped upper from individual parts.
Safety note: Always treat every firearm as if it's loaded. Before starting any installation or assembly work, verify the chamber is empty, remove the magazine, and point the muzzle in a safe direction throughout the process.
Tools You'll Need
- Upper and lower receivers (matched or from the same manufacturer for best fit)
- Bolt carrier group (BCG) and charging handle, if not pre-installed
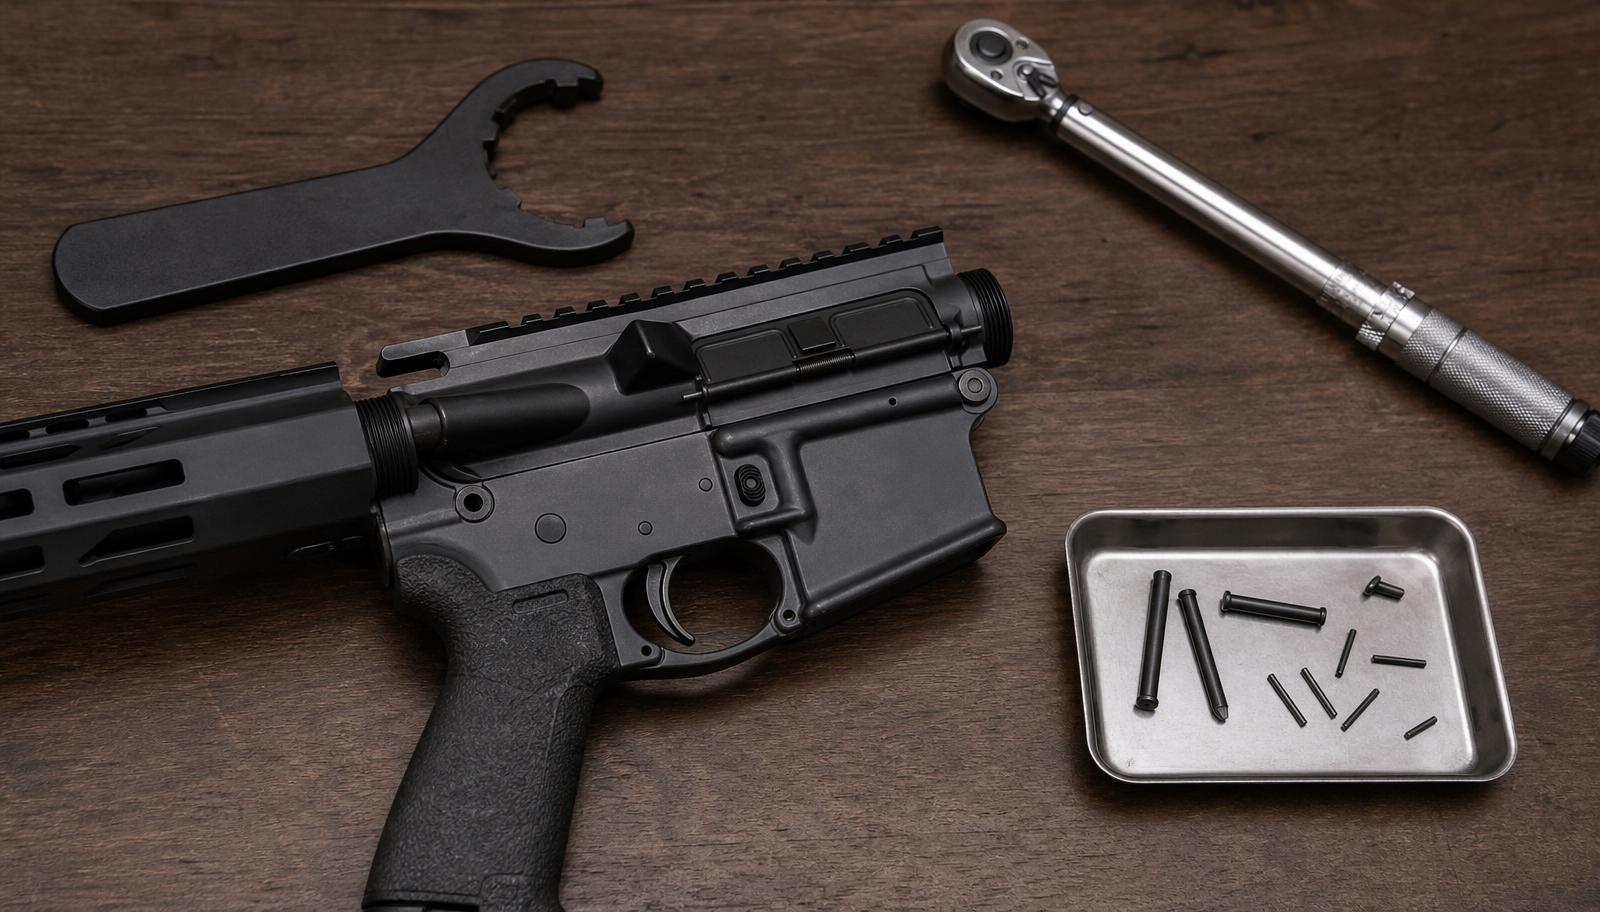
- Armorer's wrench (for barrel nut and castle nut, if building from a stripped upper)
- Torque wrench (foot-pound and inch-pound capable, or two separate wrenches)
- Upper receiver vise block (to protect the receiver if torquing components)
- Roll pin punch set (for gas tube or forward assist installation, if needed)
- Headspace gauges (GO/NO-GO), optional but recommended if assembling from mixed-manufacturer parts
- A clean, well-lit workspace and a small parts tray to avoid losing pins or detents
Step-by-Step Installation
Step 1: Confirm Your Lower Is Ready
Before attaching any upper, make sure your lower receiver's fire control group, buffer tube, and buffer/spring assembly are fully installed and the firearm is unloaded and pointed in a safe direction. Never work on an upper/lower pairing with a loaded magazine inserted or a round in the chamber.
Step 2: Retract the Bolt Carrier Group (If Pre-Installed)
If your upper came with the BCG and charging handle already inserted, pull the charging handle back slightly so the bolt is not fully forward. This makes it easier to align the upper with the lower without extra resistance.
Step 3: Align the Upper and Lower Receivers
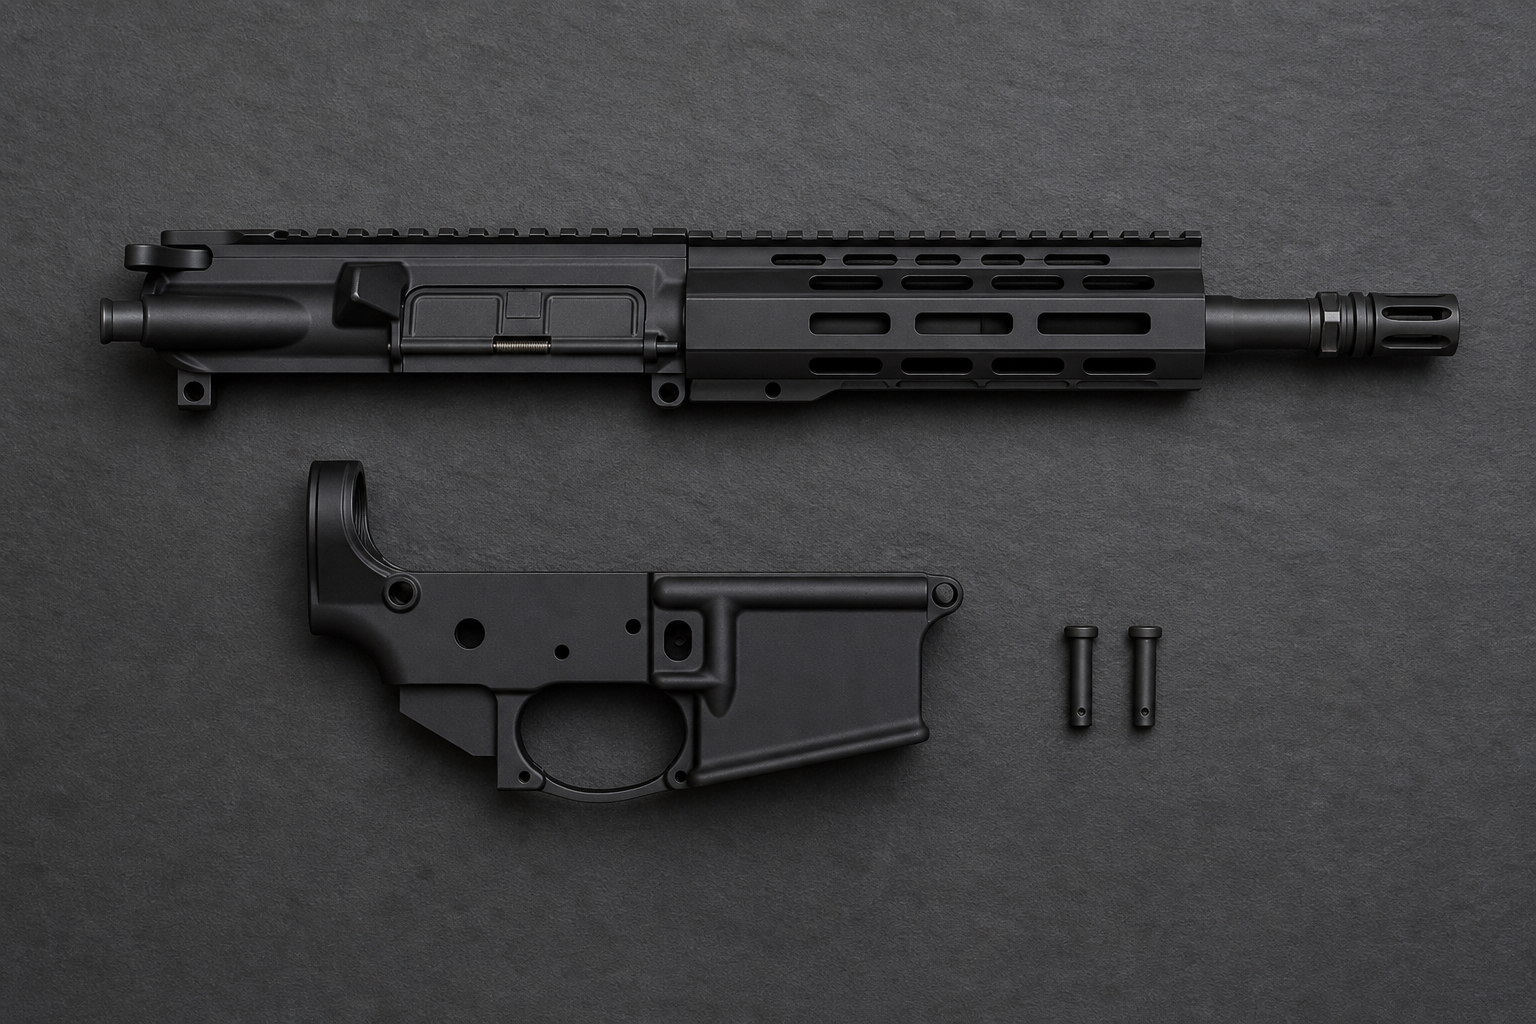
Position the upper receiver above the lower so the front takedown pin lug on the upper slides into the corresponding lug on the front of the lower receiver. This creates a hinge point. If you're new to this, it can help to hold the lower receiver in one hand (or secured in a vise block) and lower the upper onto it at a slight angle, similar to closing a hinge, rather than trying to drop it straight down.
Step 4: Insert the Front Takedown Pin
Push the front takedown pin through the aligned lugs until it clicks into place, secured by its internal detent and spring. The upper should now pivot on this pin but not yet be locked to the lower. You'll feel a small spring-loaded detent click as the pin seats, if you don't feel this click, the pin likely isn't fully seated and may work its way loose later.
Step 5: Close and Align the Rear of the Receivers
Rotate the upper receiver down onto the lower, aligning the rear takedown pin holes. If the fit feels tight, double-check that the safety selector is not blocking the pin's path, this is a common early snag for first-time builders. It also helps to make sure the buffer detent pin (a small spring-loaded pin inside the lower's buffer tube channel) isn't sticking up and preventing the upper from seating flush; press it down gently with a small tool if needed.
Step 6: Insert the Rear Takedown Pin
Push the rear takedown pin through until it seats fully and clicks. Once both pins are inserted, the upper and lower should be firmly joined with no play at the hinge point.
Step 7: Install or Verify the Charging Handle and BCG
If you're building from a stripped upper, slide the charging handle partway into its channel, then insert the bolt carrier group behind it, and push both fully forward together. If your upper came complete, simply confirm the BCG and charging handle move freely and the bolt closes fully when released.
Step 8: Function Check
With the firearm still unloaded, cycle the charging handle fully rearward and let it snap forward. Confirm the bolt locks fully into battery (fully forward and rotated closed) and that the safety selector moves freely between safe and fire positions.
Torque Specifications to Know
If you're installing a barrel, gas system, or buffer tube as part of a stripped upper build, these are the mil-spec torque ranges most manufacturers follow. Always check your specific parts' documentation, since some aftermarket components (especially aluminum barrel nuts) use different specs.
A quick unit reminder: foot-pounds (ft-lbs) and inch-pounds (in-lbs) are not interchangeable, 1 ft-lb equals 12 in-lbs. Using the wrong unit is one of the most common torque mistakes new builders make, and it can result in serious under- or over-tightening.
Checking Headspace
Headspace refers to the distance between the bolt face and the part of the chamber that stops the cartridge from moving forward, and it matters because incorrect headspace can affect reliability and, in more serious cases, safety. If you're pairing a bolt and barrel from different manufacturers rather than buying a matched barrel/BCG set, it's worth checking headspace with GO and NO-GO gauges before firing.
The basic process involves inserting the GO gauge and confirming the bolt closes fully, then trying the NO-GO gauge and confirming the bolt does not close on it. If your bolt closes on both gauges, or fails to close on the GO gauge, stop and have the barrel/chamber inspected before firing.
Common Mistakes to Avoid
- Forcing takedown pins that don't align. If a pin won't insert smoothly, stop and check for a misaligned safety selector or debris in the pin channel rather than tapping it with force.
- Skipping the torque wrench on the barrel nut. "Snug" by feel is not a substitute for a proper torque spec, under-torquing can cause baffle strikes and accuracy issues, while over-torquing can crack the nut or receiver.
- Mixing up ft-lbs and in-lbs. As noted above, this is an easy way to badly over- or under-torque a small fastener like a carrier key screw.
- Not staking the castle nut and carrier key screws. Without staking, these components can loosen under normal recoil over time.
- Skipping the function check. Always cycle the action and confirm the bolt locks into battery before considering the build finished.
Troubleshooting
The upper won't cycle or the bolt doesn't lock back: This is often caused by an incompletely seated gas tube, a gas key that isn't torqued and staked properly, or a mismatched buffer weight for your gas system length. Confirm the gas tube is fully aligned with the bolt carrier's gas key before reassembling.
The bolt fails to fully close (fails to go into battery): Check for debris in the chamber, a bolt that's slightly out of headspace tolerance, or a magazine that's pushing the round up at the wrong angle. If the bolt won't close on a GO gauge, stop and have the chamber inspected rather than forcing it.
The upper and lower feel loose or wobbly once pinned together: Some play is normal on certain receiver combinations due to manufacturing tolerances, but excessive wobble may mean the takedown pin detents are worn or the receivers are a poor match. An anti-wobble takedown pin kit can sometimes resolve minor looseness.
The charging handle is hard to pull or gritty: This is usually a lubrication issue rather than an assembly error. A dry or over-fouled upper can feel rough even when installed correctly, clean and lubricate the charging handle channel and bolt carrier before troubleshooting further.
Need parts for your build? Browse quality AR-15 uppers and components at ar15parts.com.
This guide covers general assembly steps for standard AR-15 platforms. Always follow the specific instructions provided by your parts' manufacturer, as torque specs and installation steps can vary for non-mil-spec components.