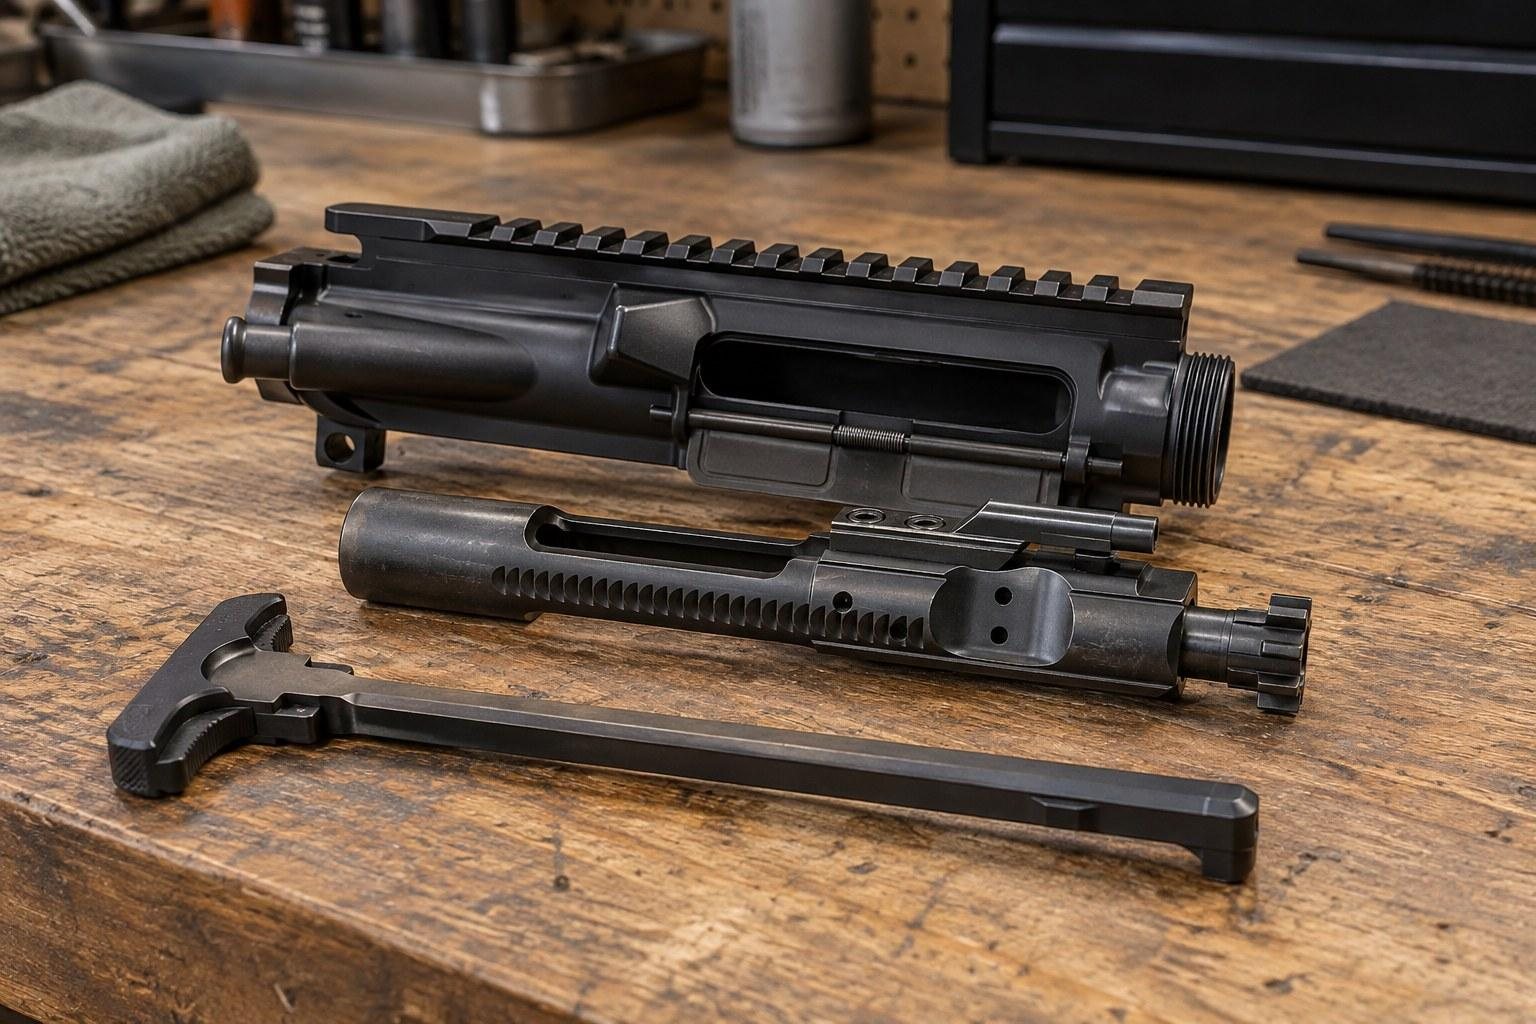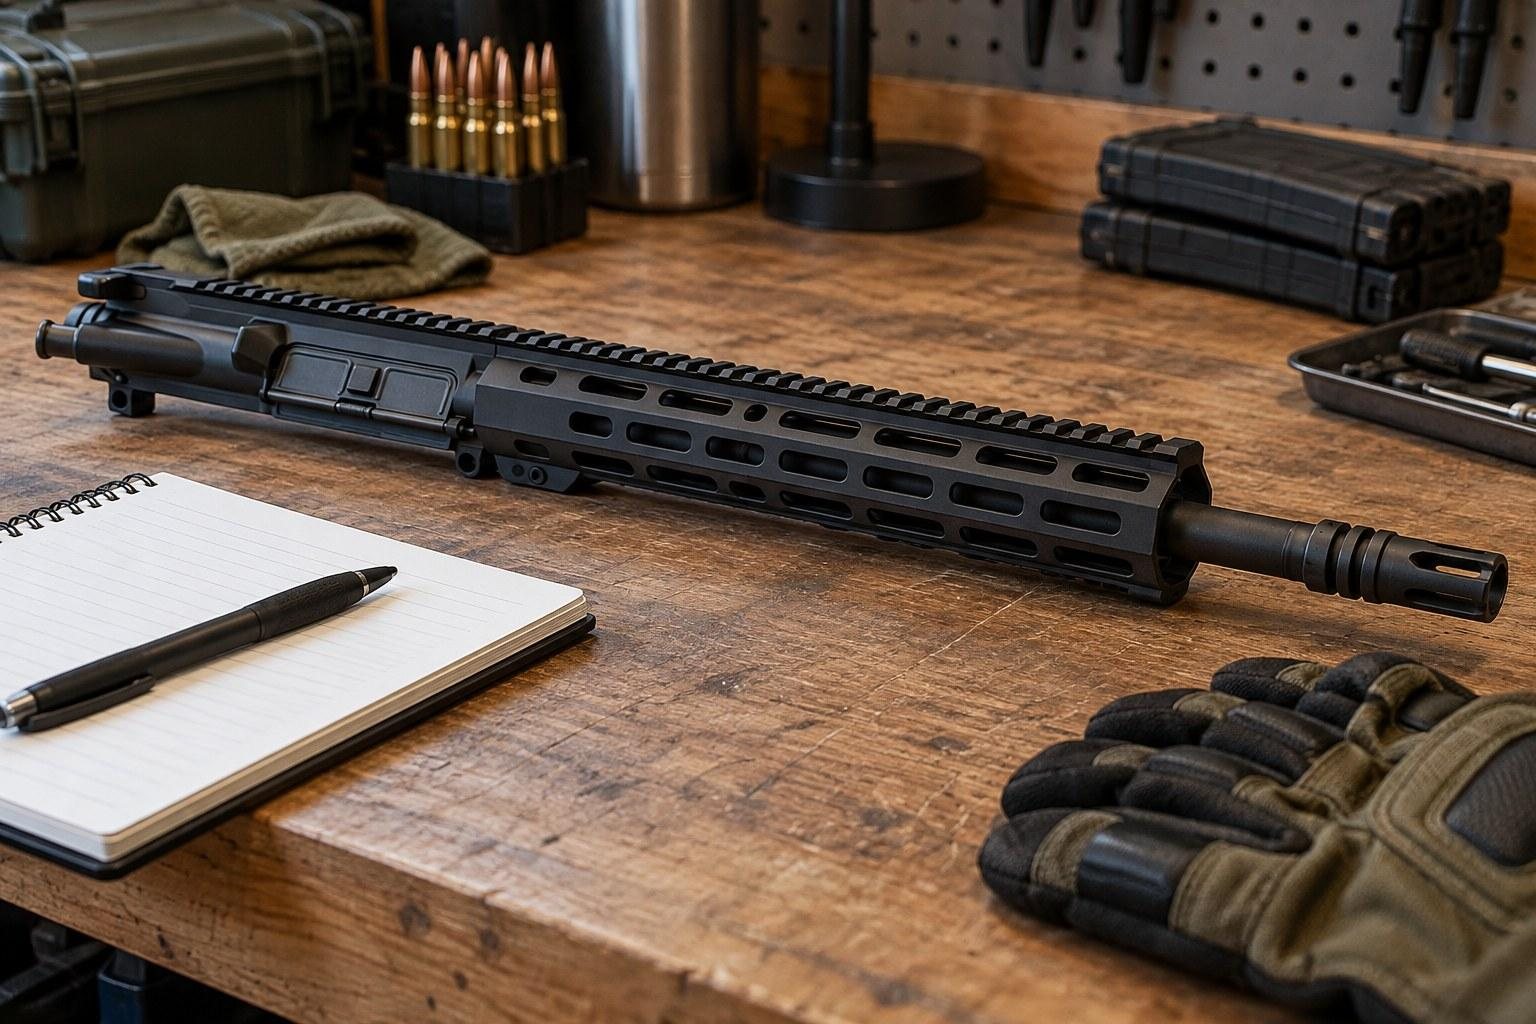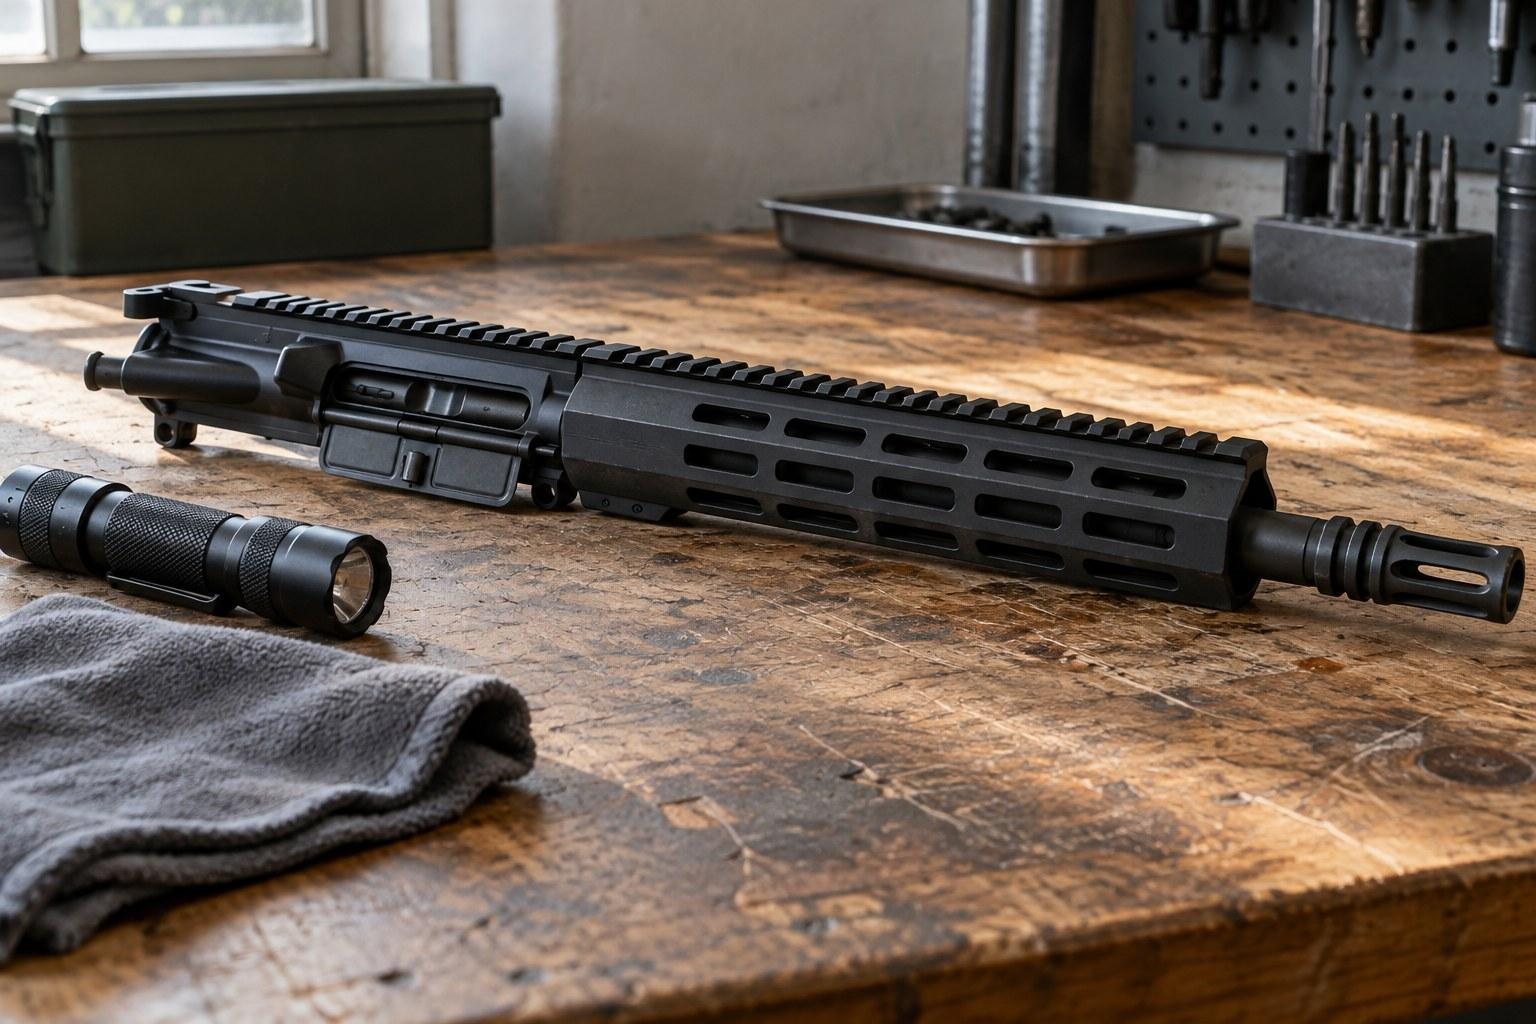
A used AR-15 upper can be a smart way to stretch a build budget, but only if you know what you are looking at. Uppers change hands at gun shows, through private sales and on consignment racks, and the seller rarely knows the full round count or cleaning history.
A practical inspection routine is you can run in a few minutes with a flashlight, a clean rag and a little patience. We cover the receiver itself, the barrel and bore, the gas system, the bolt carrier group, the handguard and the paperwork questions worth asking. If anything looks off, you will know when to walk away or bring in a qualified gunsmith.
Prefer to skip the guesswork? Browse uppers that are assembled, headspaced and function-checked before they ship.
Key Takeaways
- Always confirm the upper is unloaded and the chamber is clear before you touch anything else.
- Cracks, deep gouges or a damaged barrel extension area on the receiver are reasons to walk away.
- Bore condition, muzzle crown condition and throat wear tell you more about barrel life than outside finish does.
- A loose or misaligned gas block and a damaged gas tube can cause cycling problems that look like ammo issues.
- The bolt is a wear part, so check the lugs, extractor, gas rings and cam pin closely.
- Headspace should be verified with proper gauges by someone qualified, especially when the bolt and barrel did not come together.
Start With Safety and the Basics
Before any inspection, treat the upper as if it were loaded. Lock the bolt back if it is installed on a lower, or pull the bolt carrier group out, and look straight into the chamber. Then look again.
Ask the seller to let you separate the upper from the lower. A seller who refuses a basic look at the internals is giving you useful information about the deal.
Questions to Ask the Seller
- What caliber is it, and is the barrel marked to match?
- Roughly how many rounds has it fired, and with what kind of ammunition?
- Was it assembled by a manufacturer or built at home?
- Are the bolt and barrel original to each other?
- Has it ever had cycling, extraction or accuracy problems?
Honest answers will not always be exact, but vague or shifting answers are a signal to slow down and inspect even more carefully.
Confirm the Caliber Markings
Read the barrel stamp, which is usually visible near the muzzle or under the handguard at the gas block. The caliber, and sometimes the twist rate and steel type, are typically marked there. Make sure the marking matches what the seller is advertising and what bolt is installed. Calibers such as 6.5 Grendel, 7.62x39 and the big bores use different bolt faces than 5.56 NATO, so a mismatch here is a serious problem.
How to Inspect a Used AR-15 Upper Receiver
The receiver is the foundation. Most forged and billet receivers are tough, but they can be damaged by drops, poor assembly or overtightened parts.
Look for Cracks and Stress Marks
Use a flashlight and check the area around the barrel extension, the front pivot pin lug, the rear takedown lug and the ejection port. Hairline cracks, bulging or bright witness marks around these areas are reasons to pass. Also check the threads where the barrel nut seats. Damaged threads usually point to a careless build.
Check the Rails and Finish
Scratches and worn anodizing are cosmetic. What matters is whether the top rail is straight and free of burrs that could keep an optic from mounting securely. Run a finger along the inside of the upper where the carrier rides. Heavy gouging there suggests something has been rubbing that should not be.
Ejection Port Cover and Forward Assist
Open and close the dust cover several times. It should snap open cleanly and stay closed. If the upper has a forward assist, press it and make sure it springs back. Small parts like these are inexpensive to replace, but sloppy small parts often hint at sloppy work elsewhere. If you are weighing receiver styles, our comparison of what a bolt carrier group does explains how the carrier and receiver work together.
If the receiver itself is the problem, a fresh stripped or assembled upper receiver may be a better starting point than a damaged one.
Barrel, Bore and Muzzle Checks
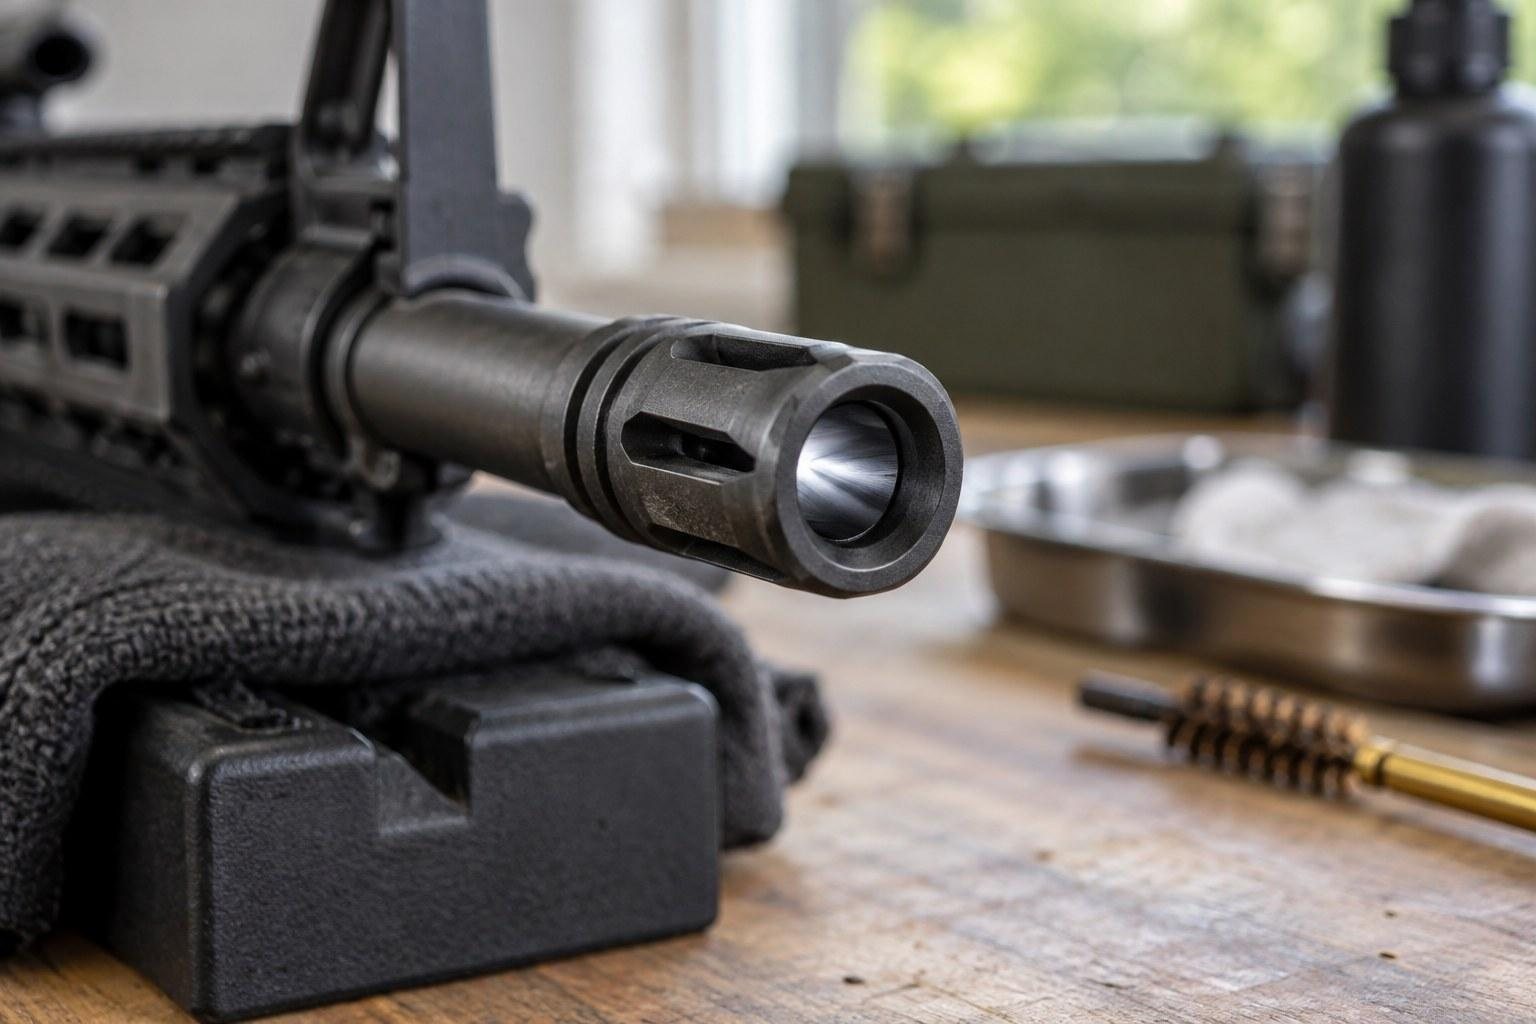
The barrel is where most of the value and most of the wear lives. Outside finish says little. The bore, throat and crown say a lot.
Look Down the Bore
With the bolt removed, shine a light into the chamber end or use a bore light, and look from the muzzle. You want crisp, even rifling. Watch for pitting, rust, dark rough patches and anything that looks like a ring or bulge. A ring in the bore can come from firing behind an obstruction, and that barrel should be rejected.
Throat and Chamber
The throat is the area just ahead of the chamber where the rifling begins. Heavy use erodes it, and a worn throat can hurt accuracy. A throat erosion gauge gives a better picture than your eyes, but even a visual check for rough, washed-out rifling right at the start is useful. Check the chamber for rust or scoring, too.
Crown and Muzzle Device
Remove the muzzle device if the seller allows it and the device is not pinned and welded. Look at the crown for nicks or dings, since crown damage can open up groups. Note whether the device is pinned and welded. On a barrel shorter than 16 inches, a pinned and welded device may be what brings the barrel to legal length, so do not remove or alter it.
Barrel material and lining also affect how much wear you should expect. Our breakdown of chrome-lined, nitride and stainless barrels covers the tradeoffs.
Want to compare a used barrel against new options? See our barrel length and setup resources.
Gas System Inspection
The direct impingement gas system is simple, but small problems can make an upper unreliable. Many short-stroking and failure-to-feed complaints come back to the gas system.
Gas Block Alignment and Security
If you can see the gas block, check that it sits square on the barrel and does not rotate or slide. Look for set screws or taper pins that are present and tight. A gas block that has shifted can partially block the gas port. Never drill, enlarge or otherwise modify a gas port to fix cycling. That work belongs to the barrel manufacturer or a qualified gunsmith.
Gas Tube Condition
Look at the gas tube through the upper and under the handguard. It should be straight, free of kinks and centered so it enters the carrier key without binding. A bent tube can cause erratic cycling.
Adjustable Gas Blocks
If the upper has an adjustable gas block, ask what setting it is on and why. A previous owner may have tuned it for a suppressor or a specific load. Our adjustable gas block guide explains how these work. For torque values and settings, follow the gas block manufacturer's published instructions.
Bolt Carrier Group Inspection
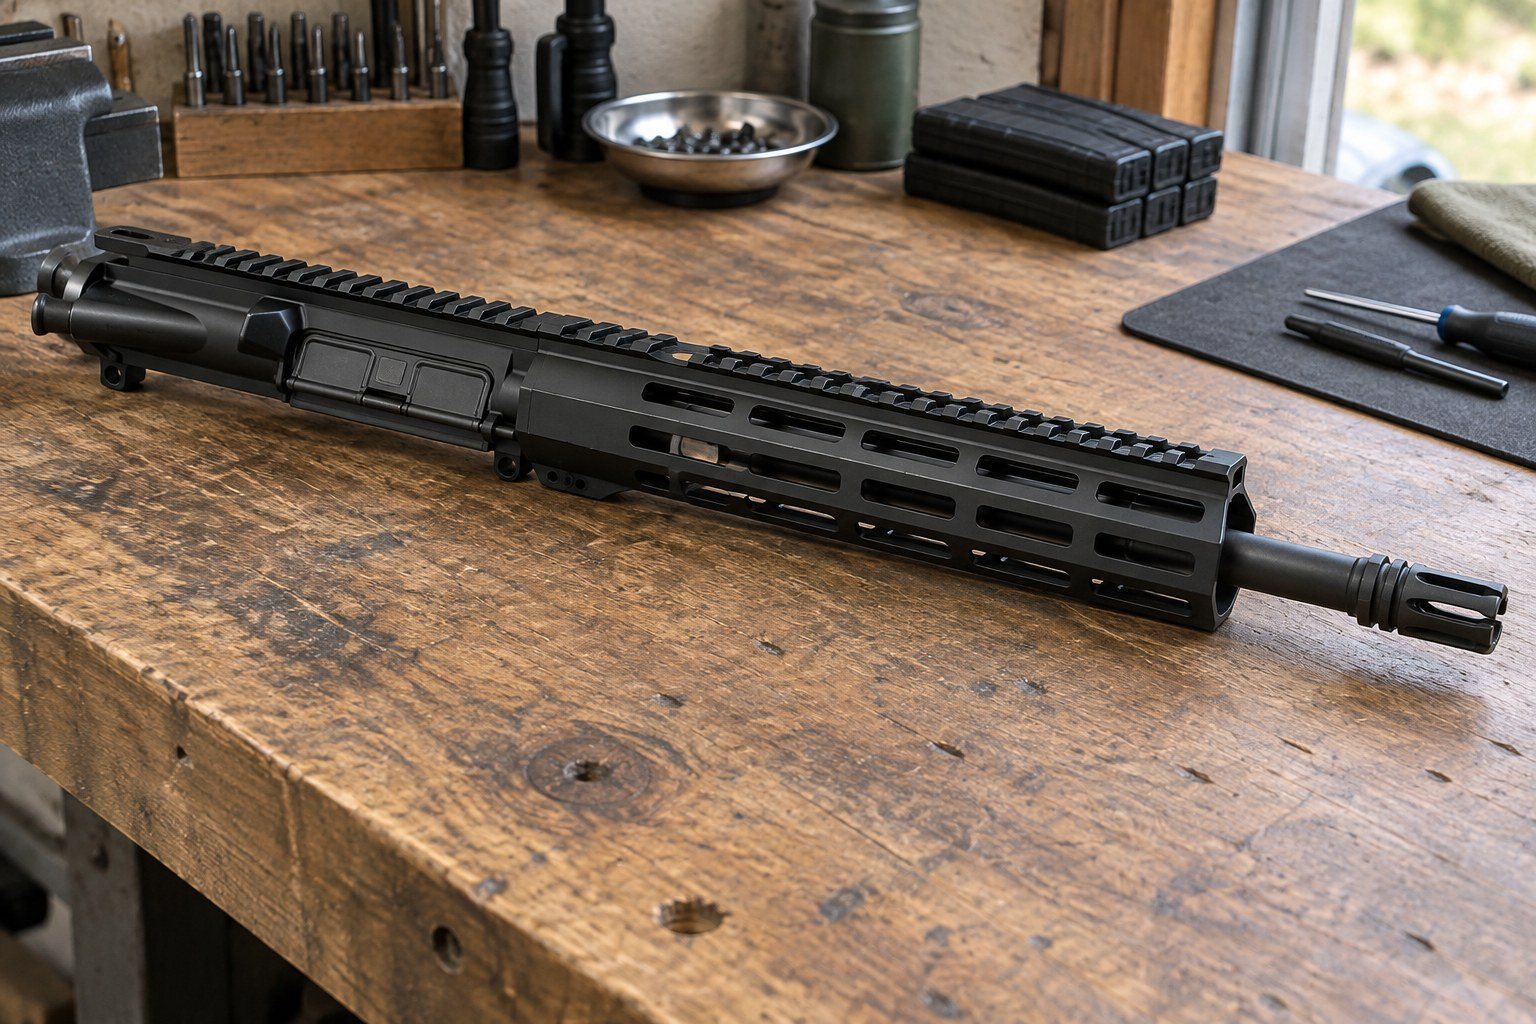
The bolt carrier group takes a beating with every shot. Plenty of used uppers are perfectly fine except for a tired bolt, which is often an easy replacement.
| Component | What to Look For | Red Flag |
|---|---|---|
| Bolt lugs | Even wear and clean edges | Cracks, chips or a missing lug |
| Cam pin hole area | Smooth surfaces | Cracks near the hole |
| Extractor | Sharp claw and firm spring tension | Chipped claw or weak spring |
| Gas rings | Present and seated | Missing, broken or very loose rings |
| Carrier key | Tight screws that are staked | Loose key or unstaked screws |
| Firing pin | Clean, rounded tip | Pitted, chipped or bent pin |
| Bolt face | Uniform finish around the firing pin hole | Pitting or erosion around the hole |
Lugs, Cam Pin and Extractor
Pull the bolt and look closely at each lug, especially the ones next to the extractor. Check the area around the cam pin hole for cracks. Press on the extractor tail to feel for firm spring tension.
Gas Rings and Carrier Key
A common quick check is to fully extend the bolt and stand the bolt carrier group on its bolt face. If the carrier slides down under its own weight, the gas rings may be worn. Also confirm the carrier key screws are properly staked so they cannot back out.
If the bolt carrier group fails any of these checks, a replacement from the bolt carrier group lineup is often simpler than trying to rebuild a worn one. Our BCG types and coatings guide can help you choose.
Headspace, Handguard and Final Function Checks
The last steps tie the whole upper together. Headspace is the most technical part, and it is not something to guess at.
Why Headspace Matters
Headspace describes how the cartridge sits in the chamber relative to the bolt face. If it is out of spec, you can see problems ranging from failures to fire to unsafe pressure situations. It is checked with GO and NO-GO gauges made for the specific cartridge. If the bolt and barrel did not originally ship together, or the seller cannot say, have a qualified gunsmith gauge it before you fire it.
Handguard and Charging Handle
Grab the handguard and try to wiggle it. Free-float handguards should feel solid with no play. Check that the top rail lines up with the receiver rail. Work the charging handle and confirm the latch holds it in place. A worn latch is an easy fix with a new charging handle.
Function Check
With the upper on a lower and confirmed unloaded, cycle the action by hand and confirm the bolt locks back on an empty magazine if the lower allows it. Follow the rifle manufacturer's function-check procedure. A clean function check does not replace a range test, but a failed one tells you to stop.
When a Used AR-15 Upper Is Not Worth It
Some issues are cheap and easy, like a dust cover spring or a set of gas rings. Others make the upper a project rather than a bargain. Add up the parts and labor you would need, then compare that to the price of new.
Walk Away If You See
- Cracks anywhere in the receiver or barrel extension area.
- A bulge or ring inside the bore.
- A cracked or chipped bolt lug.
- Caliber markings that do not match the bolt or the listing.
- A short barrel with a removed or tampered pinned and welded device.
Legal Considerations
A barrel shorter than 16 inches on a rifle, or an overall length under 26 inches, creates a short-barreled rifle under federal law, which requires ATF registration. Since January 1, 2026 the federal tax on that registration is $0, but registration is still required. State and local laws vary, so check yours before buying. This is not legal advice.
Buying New Instead
If the used options in your area keep failing inspection, a new complete upper removes most of the unknowns. Complete AR-15 and AR-10 uppers are available in a wide range of calibers, including 5.56 NATO uppers, and AR15Parts.com assembles each one in-house, headspaced and function-checked before it ships. Shipping typically takes 3 to 5 business days.
Ready to compare buying options side by side? Browse our buying guides.