Learn the AR-10 build process from platform selection to final assembly. Shop AR-10 parts at AR15Parts.com. Call (888) 706-0633 or get a free parts list today.
Building an AR-10 is a different animal than an AR-15, and the parts process trips up a lot of builders who don't know the platform. We put together this guide to walk you through every major component, from lower receiver to muzzle device, so you know exactly what you need before you buy anything. Out here in North Texas, a .308 Win or 6.5 Creedmoor AR-10 is a serious working rifle for deer and hog country.
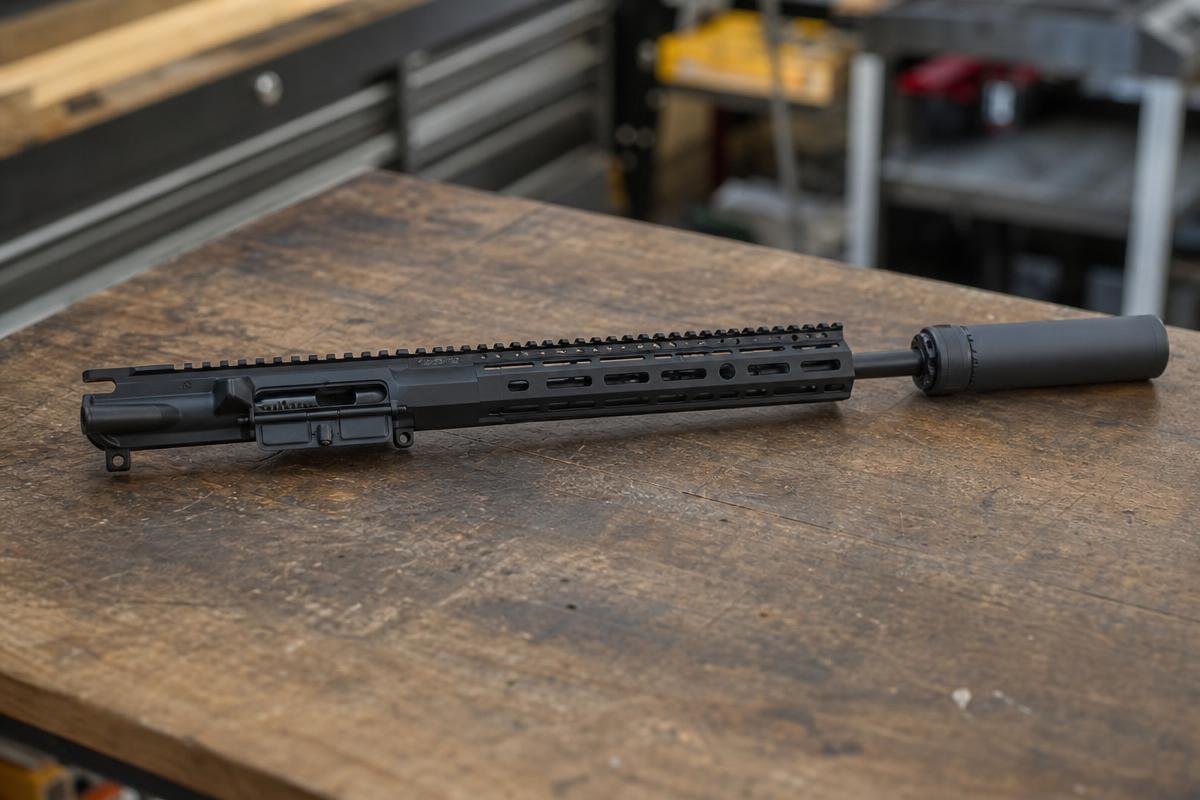
At AR15Parts.com, we assemble complete uppers in our Sherman shop at 2022 S Crockett St, and every one is headspaced and function-checked before it ships, so you can get to the range faster. Not sure which parts fit your lower? Tell us your caliber and pattern and we'll build you a compatible parts list.
Understanding the AR-10 Build Process Before You Buy
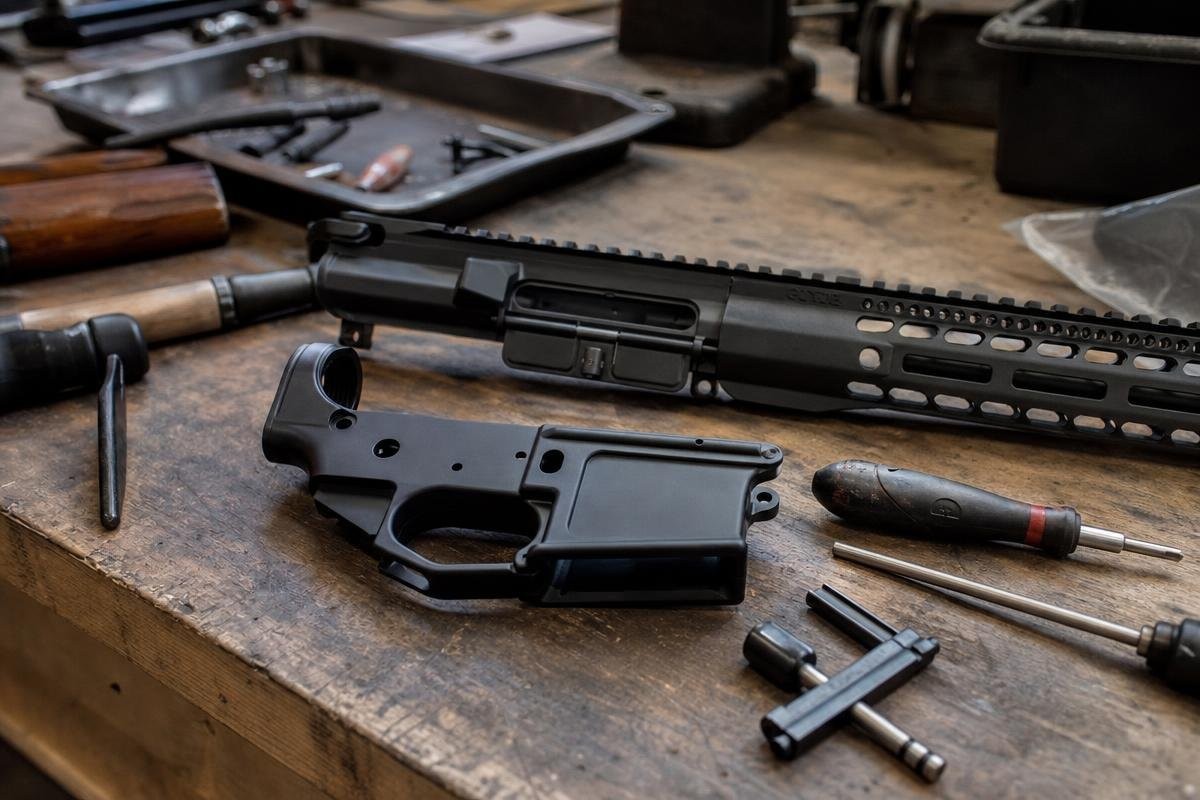
The AR-10 is not a bigger AR-15. That distinction matters before you order a single part. The platform lacks the standardization the AR-15 has enjoyed for decades, and that fragmentation is the single biggest reason first-time AR-10 builders end up with a box of parts that do not fit together.
Here you'll find everything in the build process: platform selection, upper and lower parts lists, assembly sequence, required tools, and the specific points where an AR-10 diverges from what you already know about AR-15 builds. If you want to skip the upper assembly entirely, our .308 Win complete uppers are headspaced and ready to drop onto your lower. That is a legitimate shortcut for a lot of builders.
Around Grayson County, AR-10 builds in .308 Win and 6.5 Creedmoor are practical tools. The Red River bottom and open ranch country make this whitetail and hog ground, and a semi-auto .308 makes a lot of sense here. It's not all hunting either, precision rifle shooters running the local ranges near Sherman and Denison lean on the same platform for punching paper at distance. This guide gives you what you need to build one correctly, without expensive mistakes.
Choosing Your AR-10 Platform: DPMS vs. Armalite and Why It Matters
Before you order a single part for your AR-10 build, you need to make one decision that affects everything else: DPMS pattern or Armalite pattern. These two designs are not interchangeable. Mix them up and you will have parts that physically cannot work together.
DPMS Pattern: The Dominant Aftermarket Standard
The DPMS standard, also called SR-25 compatible, is what you will encounter most often in 2026. The vast majority of complete .308 uppers sold online are built to this spec. Most aftermarket lowers, handguards, and bolt carrier groups follow the same design. If you are sourcing parts from multiple vendors, which is exactly what a lot of local builders tend to do, this pattern gives you the widest selection and the fewest compatibility headaches.
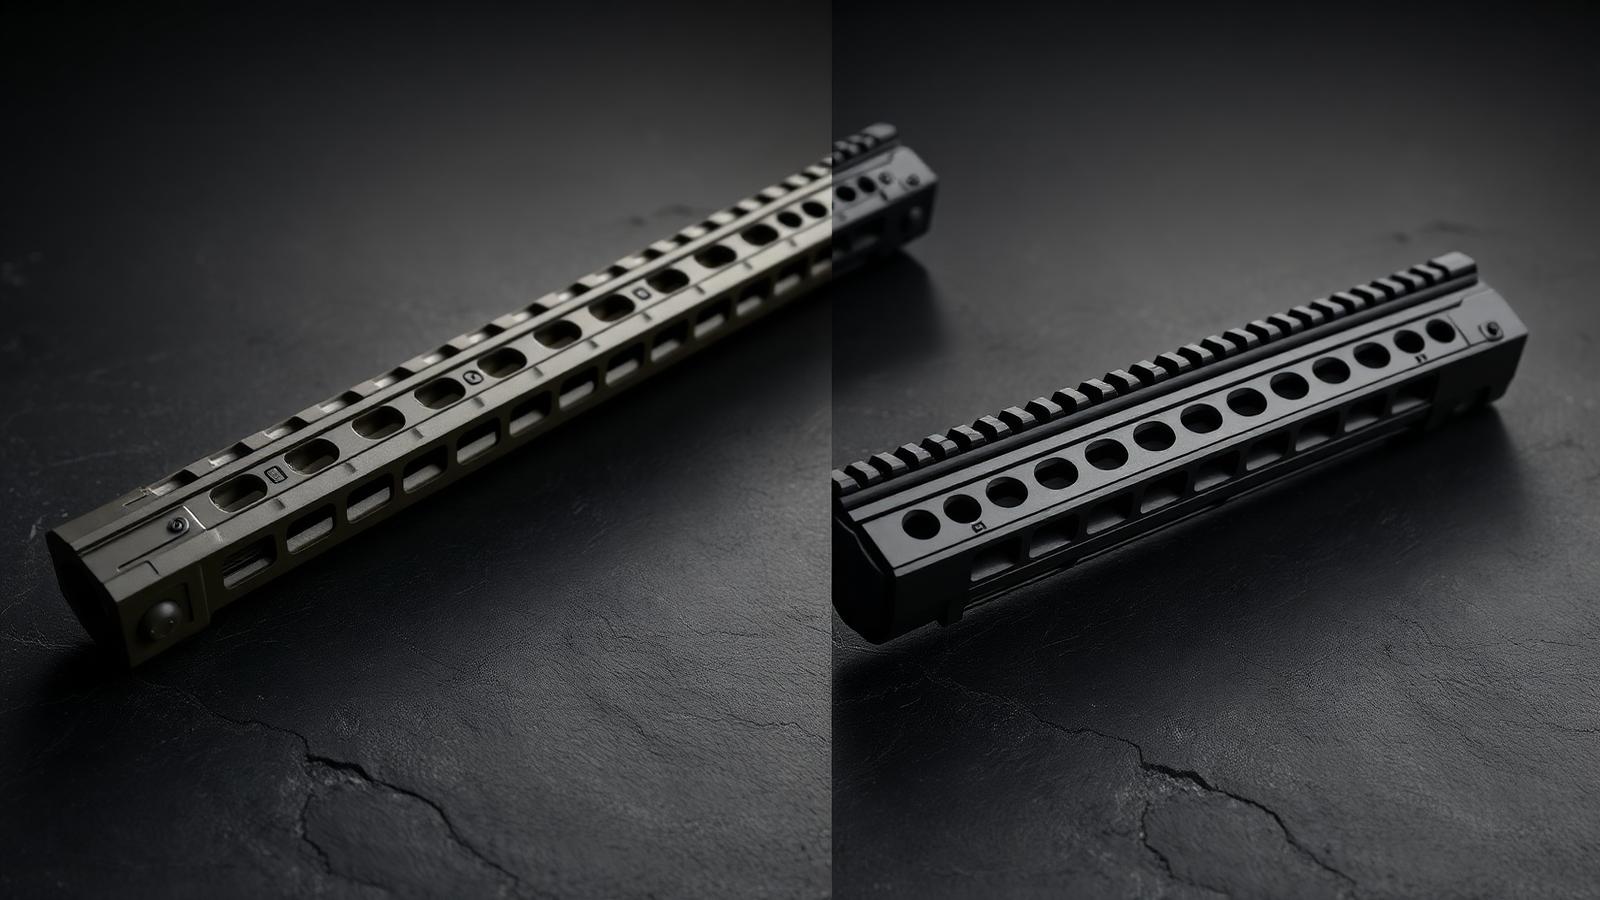
The DPMS upper receiver sits dimensionally taller than the Armalite version. That height difference directly affects handguard fitment. A handguard cut for one standard will not index correctly on the other. The barrel extension and BCG geometry also differ, so the bolt carrier group from one design will not headspace correctly in a barrel built for the other.
Armalite Pattern: The Original Design With Fewer Options
The original Armalite AR-10 predates DPMS by decades. It is a solid platform, but the aftermarket never standardized around it the way it did with the DPMS spec. Receiver dimensions, magazine interface geometry, and BCG specs all differ. Parts availability is narrower, prices tend to run higher, and you will spend more time confirming compatibility before you order. For most builders, there is no practical reason to choose this design unless you are already working with an Armalite lower.
How to Confirm Which Pattern You Are Buying
Check the manufacturer's product page before you order anything. Look for explicit language like "DPMS pattern," "SR-25 compatible," or "Armalite pattern." If the listing does not specify, contact the vendor directly. Do not assume. Receiver height is the fastest visual check: measure from the bottom of the upper receiver to the top of the flat. The DPMS version runs taller.
The safest move is buying your upper and lower as a matched set. That eliminates pattern mismatch entirely. Mixing parts from separate vendors is the single most common and most expensive mistake in a 308 AR build. A matched set ships together, fits together, and saves you the return shipping cost of getting it wrong.
Not sure which pattern your lower is? Contact us before you order and we'll confirm compatibility so you don't pay return shipping on the wrong parts.
AR-10 vs. AR-15 Parts Compatibility: What Transfers and What Does Not
This is where shooters running both platforms get tripped up. You already have an AR-15 lower parts kit on the bench and you want to know what carries over. Some of it does. Some of it absolutely does not, and using the wrong part will cause cycling failures or a wasted order.
Parts That Transfer From an AR-15 Build
On a DPMS-pattern AR-10 lower, most of your standard AR-15 small parts transfer directly. That includes:
- Trigger group (trigger, hammer, disconnector, springs, and pins)
- Safety selector
- Pistol grip
- Takedown and pivot pins
- Buffer tube (mil-spec carbine or rifle length)
- Stock
- Magazine release and bolt catch
That is a solid portion of your AR-10 lower parts kit already covered if you are coming from an AR-15 build.
AR-10 Specific Parts You Cannot Substitute
The bolt carrier group does not transfer. AR-10 BCGs are larger and heavier, built around a .308 Win or 6.5 Creedmoor bolt face. Drop an AR-15 BCG in and nothing cycles. Full stop.
The buffer and spring are also non-negotiable. A standard carbine buffer runs about 3 oz. That is not enough mass to handle the increased gas volume of a .308 platform. Use an H-buffer or a rifle-length buffer system. Skipping this step is the number one cause of short-stroking on new AR-10 builds.
Handguards must be AR-10 specific. The upper receiver on an AR-10 is wider than an AR-15 upper. Your AR-15 handguard will not mount, period. This catches people off guard when they are pulling from existing parts bins.
Most failed first AR-10 builds trace back to two parts: the wrong buffer and a handguard cut for the other pattern.
Caliber Options Beyond 308 Win
The AR-10 platform handles more than .308 Win. The same lower and upper receiver set supports multiple chamberings with a barrel and bolt swap, but confirm two things for each caliber before ordering: magazine compatibility and bolt face diameter.
The .308 Win and 6.5 Creedmoor share a bolt face and generally run the same magazines, but a chambering like .243 Winchester or 7mm-08 needs a bolt matched to its case head, and some cartridges require magazine adjustments to feed reliably. Common options include:
- .308 Win, the standard hunting round for whitetail and feral hog country around the Red River bottoms
- 6.5 Creedmoor complete uppers, popular for longer shots across open ranch terrain
- 243 Winchester uppers, a flat-shooting option for lighter recoil builds
- 7mm-08 and .338 Federal for hunters who want more energy on target
Each caliber requires a matched barrel and bolt. The rest of the ar-10 parts list stays largely the same across chamberings. That makes the platform genuinely flexible for North Texas hunting conditions without rebuilding from scratch.
The Complete AR-10 Parts List: Upper and Lower Breakdown
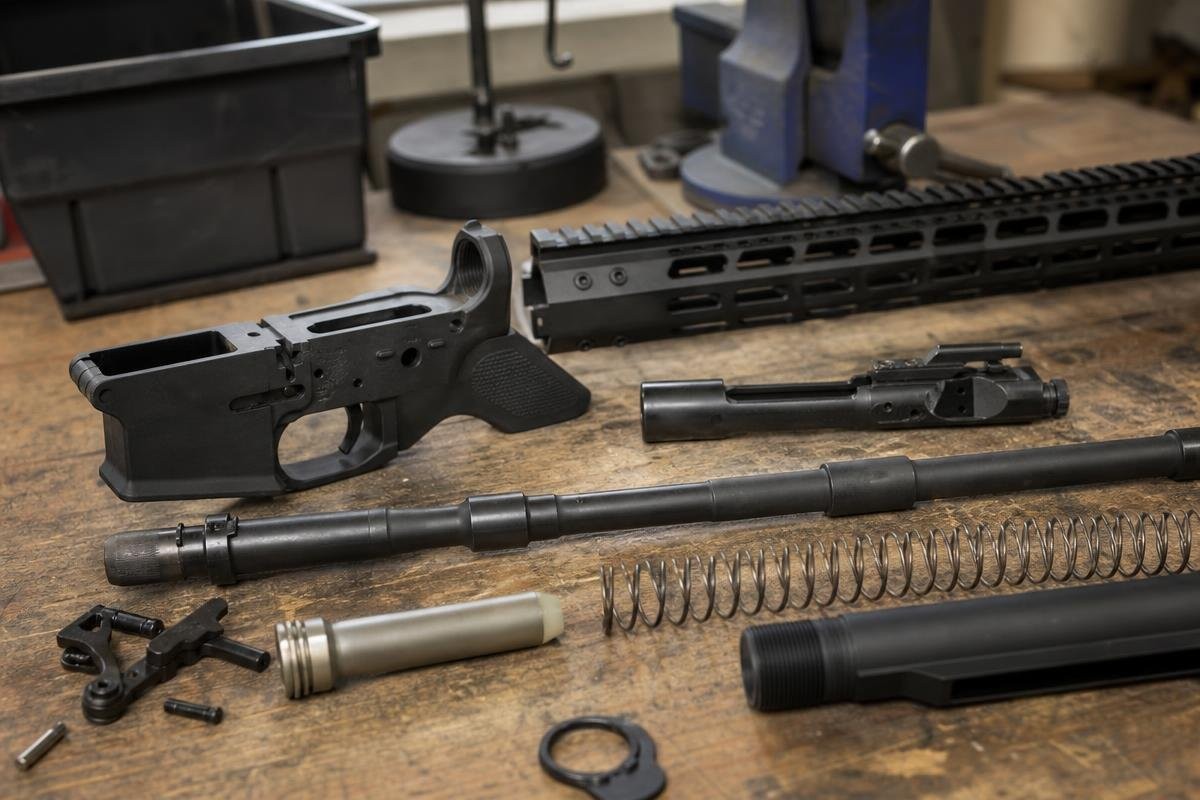
Before you place your first order, you need a complete parts list in front of you. Builders sourcing components piecemeal know the frustration of waiting on a second or third shipment because one part was missed. Print this out and check it twice.
Upper Assembly Parts
The upper is where most of the caliber-specific decisions live. Get these specs wrong and parts will not fit or function correctly.
- AR-10 pattern upper receiver (DPMS or Armalite, must match your lower)
- Barrel: 16-inch for general use, 18 or 20-inch for precision work on open ranch terrain or across the Red River bottoms
- Pattern-specific barrel nut (not interchangeable between the two designs)
- Gas block: 0.936-inch diameter for .308 Win barrels; do not use a standard AR-15 low-profile block
- Gas tube: rifle-length is standard on AR-10 builds
- AR-10 specific handguard (verify compatibility with your barrel nut style)
- AR-10 bolt carrier group
- Charging handle: AR-15 compatible on DPMS-pattern builds
- Muzzle device: 5/8x24 thread pitch for .308 Win; this is NOT the 1/2x28 used on 5.56 builds, and ordering the wrong one is one of the most common mistakes we see
If you want to skip the upper build entirely, browse our complete uppers across 19-plus calibers, including options chambered in .308 Win and 6.5 Creedmoor.
Lower Assembly Parts
- AR-10 pattern stripped lower receiver
- Lower parts kit: on DPMS-pattern builds, most AR-15 LPK small parts transfer directly
- Buffer tube (AR-10 spec)
- Buffer: H or H2 minimum; do not run a standard carbine buffer in a .308 build
- Buffer spring: heavier than AR-15 spec
- Stock of your choice
Tools Required for the Build
A standard AR-15 armorers block will not secure an AR-10 upper properly. Using one risks crushing or cracking the receiver during barrel installation. Get the right block before you start.
- AR-10 specific armorers block
- Pattern-specific barrel nut wrench
- Calibrated torque wrench: 30 to 80 ft-lbs range for barrel nut installation
- Gas tube roll pin punch
- Castle nut wrench
- Anti-seize compound for barrel nut threads
If the tool list or the build process feels like more than you want to take on, we assemble complete uppers in our shop at 2022 S Crockett St in Sherman, about 10 miles south of Denison on US-75. Every upper is headspaced, assembled, and function-checked before it ships to your door.
How to Assemble an AR-10: Upper and Lower Step by Step
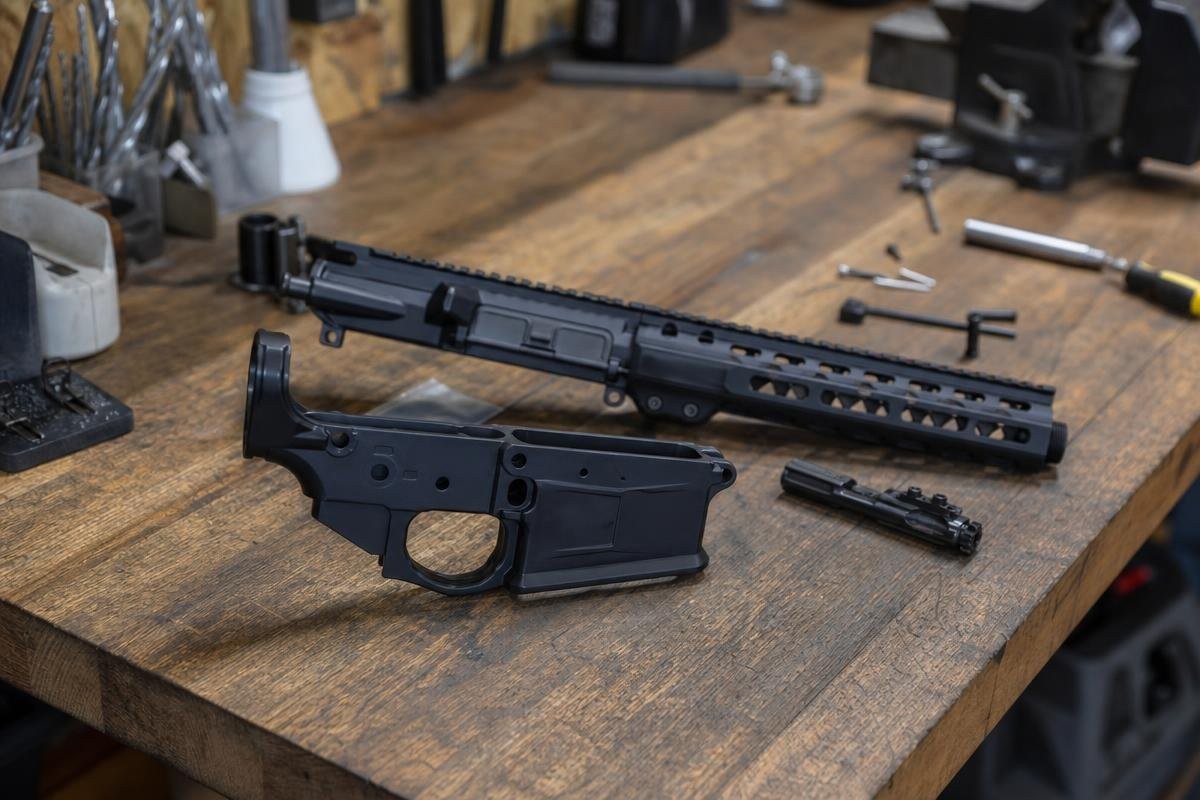
Assembly order matters more than most first-time builders expect. Get the sequence wrong and you are pulling everything apart to fix it. Follow this bench process and you will get it right the first time, whether you are building a .308 Win upper for whitetail in the Red River bottoms or a 6.5 Creedmoor upper for longer shots across open ranch country.
Upper Assembly Steps
Start with the barrel. Apply anti-seize to the barrel nut threads and torque the barrel nut to between 30 and 80 ft-lbs, timing it to align with the gas tube channel. Index the gas block directly over the barrel's gas port. Secure the gas tube through the gas block with a roll pin, then slide the handguard into place.
Now install your muzzle device. AR-10 muzzle threads are typically 5/8x24. Use a crush washer or peel washer and torque to spec. BCG goes in next, followed by the charging handle. That order is not optional. Sliding the charging handle in first and then trying to seat the BCG is one of the most common first-build mistakes. You will know immediately because nothing will close. Disassemble and start over.
Lower Assembly Steps
- Install the trigger guard first.
- Drop in the trigger with the spring legs wrapped around the trigger pin.
- Set the disconnector on top of the trigger, then install the hammer with spring legs resting on the trigger pin.
- Install the safety selector, then the magazine catch and bolt catch.
- Drop in the buffer retainer and spring before threading the buffer tube.
- Install the pistol grip.
- Thread the buffer tube and torque the castle nut to a minimum of 40 ft-lbs, then stake it. A staked castle nut does not back out under recoil.
- Drop in the buffer and buffer spring, then attach the stock.
Spring orientation on the trigger and hammer is where most lower builds go sideways. Double-check both before closing up.
Mating the Upper and Lower and Running a Function Check
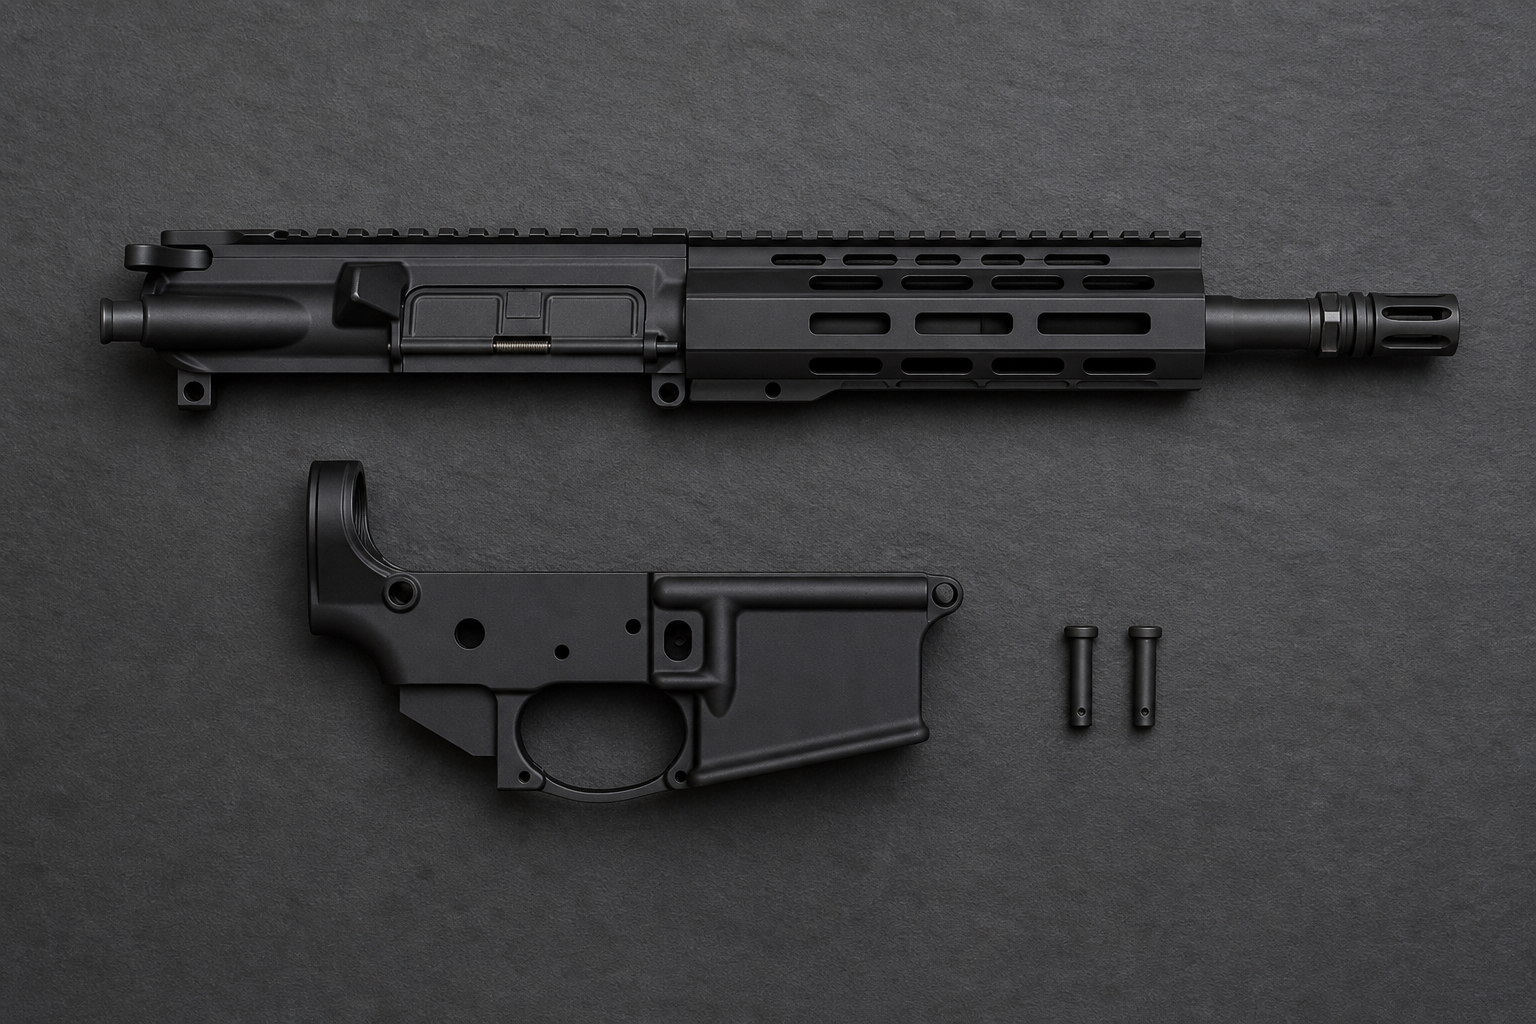
Pin the upper and lower together. Then run this function check before you ever load a round.
- Put the safety on. Pull the trigger. Hammer should not fall.
- Switch to fire. Pull the trigger. Hammer falls.
- Hold the trigger back. Rack the charging handle.
- Release the trigger slowly until you feel and hear the reset click.
- Pull the trigger again. Hammer falls. If it does not, your disconnector is not seating correctly.
- Test the bolt catch and magazine release for positive engagement.
One more thing on headspace. If you bought a factory complete upper, headspace is already set. If you assembled your upper from a stripped receiver and a bare barrel, you must verify headspace with go and no-go gauges before firing a single round. We run this exact check in our Sherman shop on every upper we build before it ships to your door.
Have questions about your AR-10 build? Call us at (888) 706-0633 or reach out online. We build uppers to order, headspaced and function-checked before they ship.
What to Expect From Your AR-10 Build: Break-In, Reliability, and Common Issues
Most new AR-10 builders expect their rifle to run perfectly out of the gate. It usually does not. Plan for a 100 to 200 round break-in period before you draw any conclusions about reliability or accuracy. The chamber is tight, the bolt carrier group is stiff, and everything needs time to seat properly.
Expect stiff extraction in the first 50 rounds. That is normal. Clean and lubricate the rifle thoroughly after your first range session, then go back out. Most issues that show up early sort themselves out once the components wear in.
Break-In Period and Gas System Tuning
An adjustable gas block is one of the smartest investments you can make on a 308 AR build. North Texas conditions push wide temperature swings between seasons, and heat and dust around Lake Texoma affect how your gas system performs. A rifle tuned for a cool January morning may run over-gassed on a hot August afternoon. An adjustable block lets you dial it in for the conditions you are actually hunting in, not just the conditions you built it in.
Start with the gas block fully open. Run 50 rounds. Then begin closing it down until you find the sweet spot where the bolt locks back reliably on an empty magazine.
Common Reliability Problems and Fixes
Short stroking is the most common reliability problem in AR-10 builds. The bolt cycles but does not travel far enough to strip the next round. Root causes are usually an under-gassed system, a buffer that is too heavy, or low-charge ammunition. Open the gas block adjustment first. If that does not fix it, move to a lighter buffer before changing anything else.
Over-gassing causes the opposite problem: excessive recoil, brass thrown hard, and accelerated wear on the bolt carrier group. Add buffer weight or close the gas block slightly. Failure to feed often traces to a magazine pattern mismatch, not the rifle itself. Confirm your magazines match your platform before blaming the build.
Accuracy Expectations by Barrel Length and Caliber
A 16-inch barrel chambered in .308 Win will push 168-grain match ammunition at 2,600 to 2,700 fps. Step up to a 20-inch barrel and you gain another 50 to 100 fps. With quality components, sub-MOA accuracy is achievable, but it requires quality brass, consistent loads, and a good trigger. Do not expect factory bulk ammo to show you what your rifle can do. The uppers we build ship with barrels selected for exactly this kind of performance.
For 6.5 Creedmoor, an 18-inch barrel is the practical sweet spot. Expect 2,550 to 2,650 fps with 140-grain match bullets and a meaningful ballistic coefficient advantage past 500 yards. That matters on open ranch terrain where shots stretch out. Our 6.5 Creedmoor complete uppers are built and headspaced in our shop before they ship, so you start with a solid foundation.
Building an AR-10 in Denison, TX: Local Considerations for Texas Shooters
If you're building an AR-10 in this part of North Texas, you already know the terrain. Open ranch land, creek draws, and lake bottom brush around Lake Texoma put deer and feral hogs at ranges from 100 to 400 yards on a regular basis. That's exactly the range where an AR-10 earns its keep, and it's also where the local precision rifle crowd puts these builds to work on steel and paper.
For that kind of hunting, .308 Win is the workhorse choice. It's easy to find locally, hits hard on hogs at distance, and gives you plenty of factory load options. If you're reaching past 300 yards consistently, a 6.5 Creedmoor complete upper gives you a flatter trajectory and better wind resistance across open ground. Either way, a .308 upper or a 6.5 upper on a compatible lower is a practical, legal build for any law-abiding adult in this state.
On the legal side, there are no state-level restrictions on home AR-10 builds for adults in Texas. Federal rules still apply: minimum 16-inch barrel and 26-inch overall length. Stay inside those numbers and you're building on solid ground.
We're based at 2022 S Crockett St, Sherman, TX 75090, about 10 miles south of the Denison area via US-75. Call us at (888) 706-0633 with parts compatibility questions before you order. If you'd rather skip the build entirely, browse our complete AR-15 rifles as a ready-to-go reference point.
Ready to start your AR-10 build? Browse our complete upper options, or call our Sherman, TX team directly at (888) 706-0633 with compatibility questions before you order. We stock components for DPMS-pattern builds and can help you put together the right parts list for your intended use.