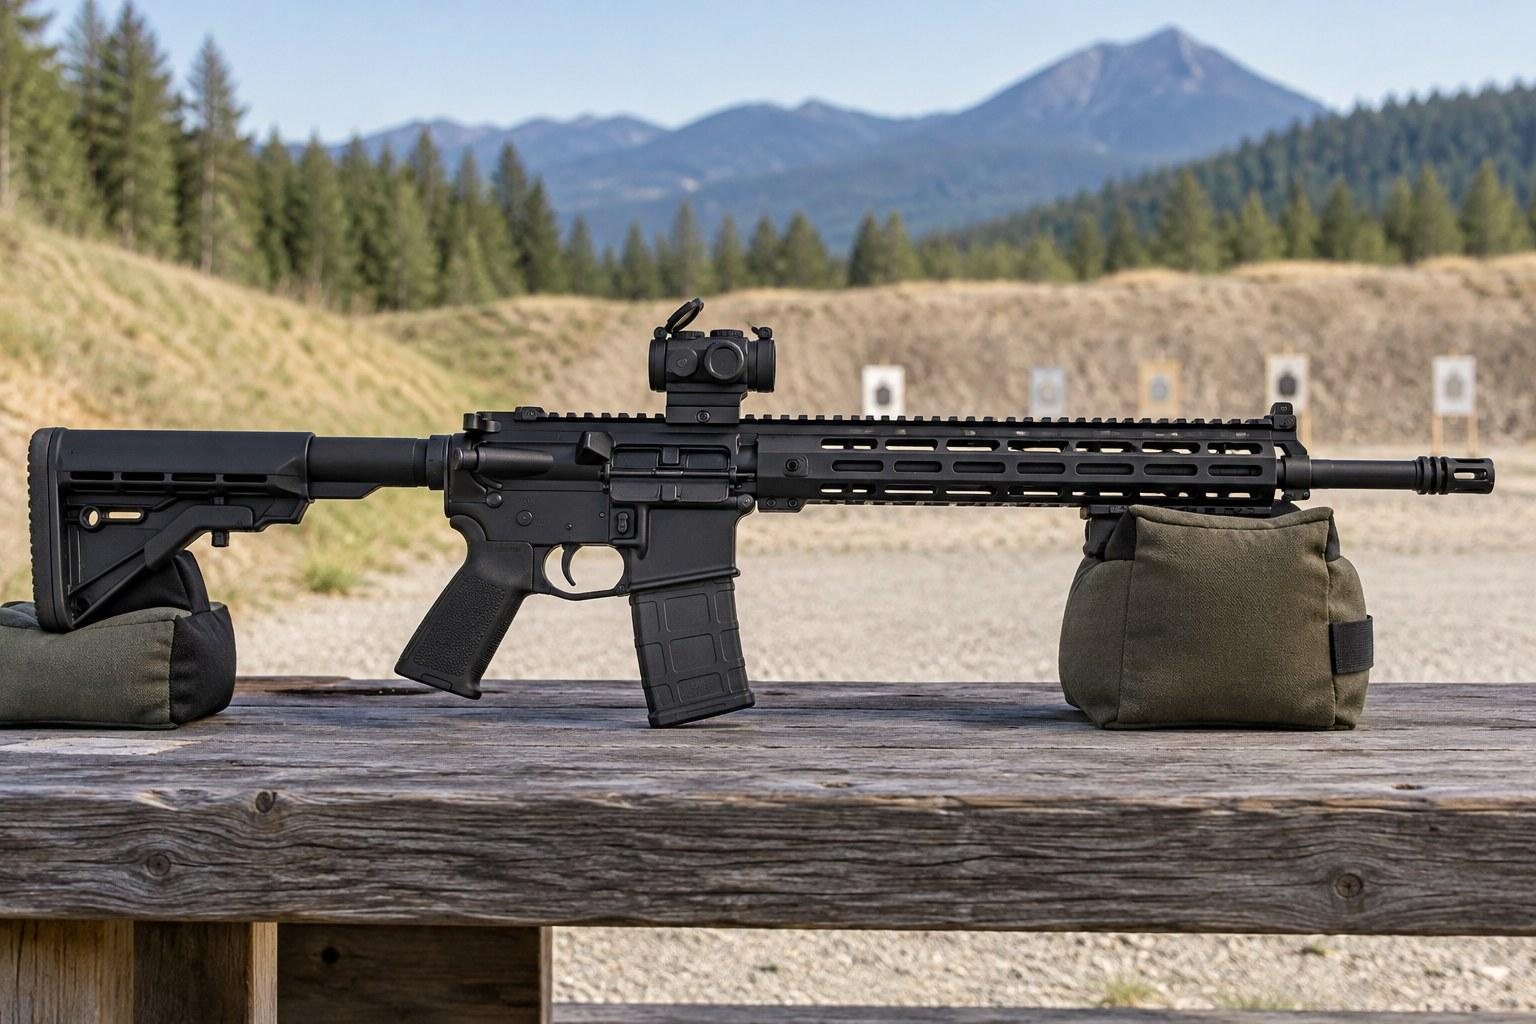
Placing a QD sling mount on your handguard looks like a small decision, yet it changes how the rifle hangs, how fast you can shoulder it and how the sling behaves when you switch sides. A common pattern shows up again and again: a shooter buys a good sling, clicks the swivel into the first slot that looks convenient, then fights the rifle at the range for months.
The right spot depends on your sling type, your handguard length, your attachment system and what else lives on the rail. Below we break each factor down so you can pick a position with a reason behind it instead of a guess, then test it safely at home with an unloaded rifle.
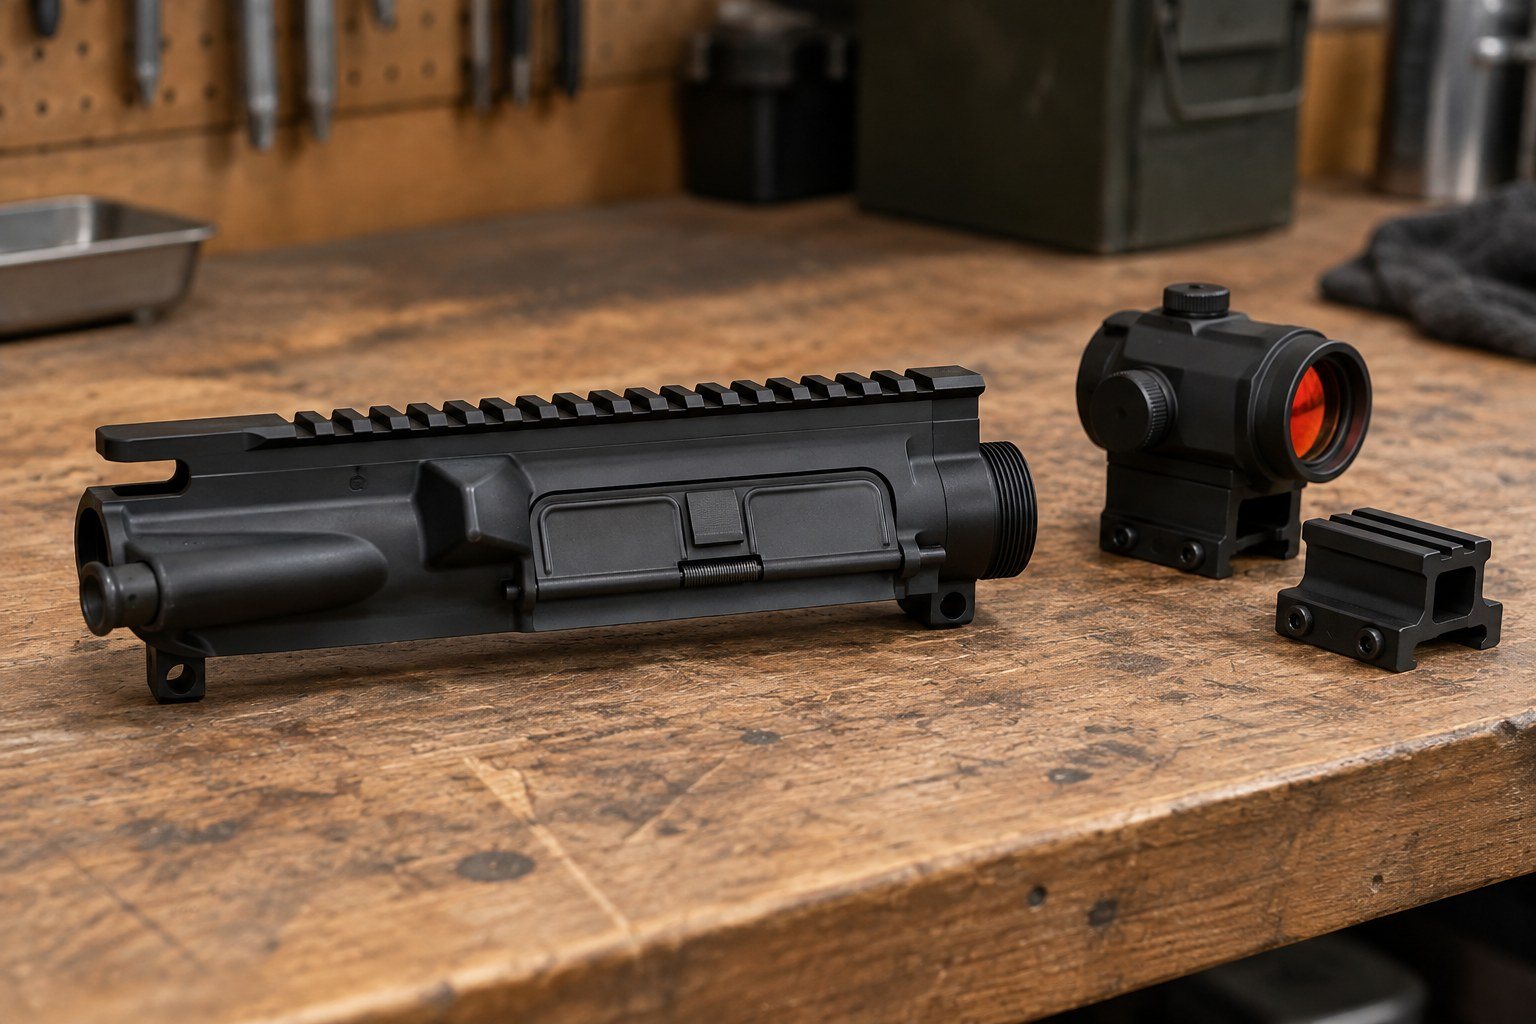
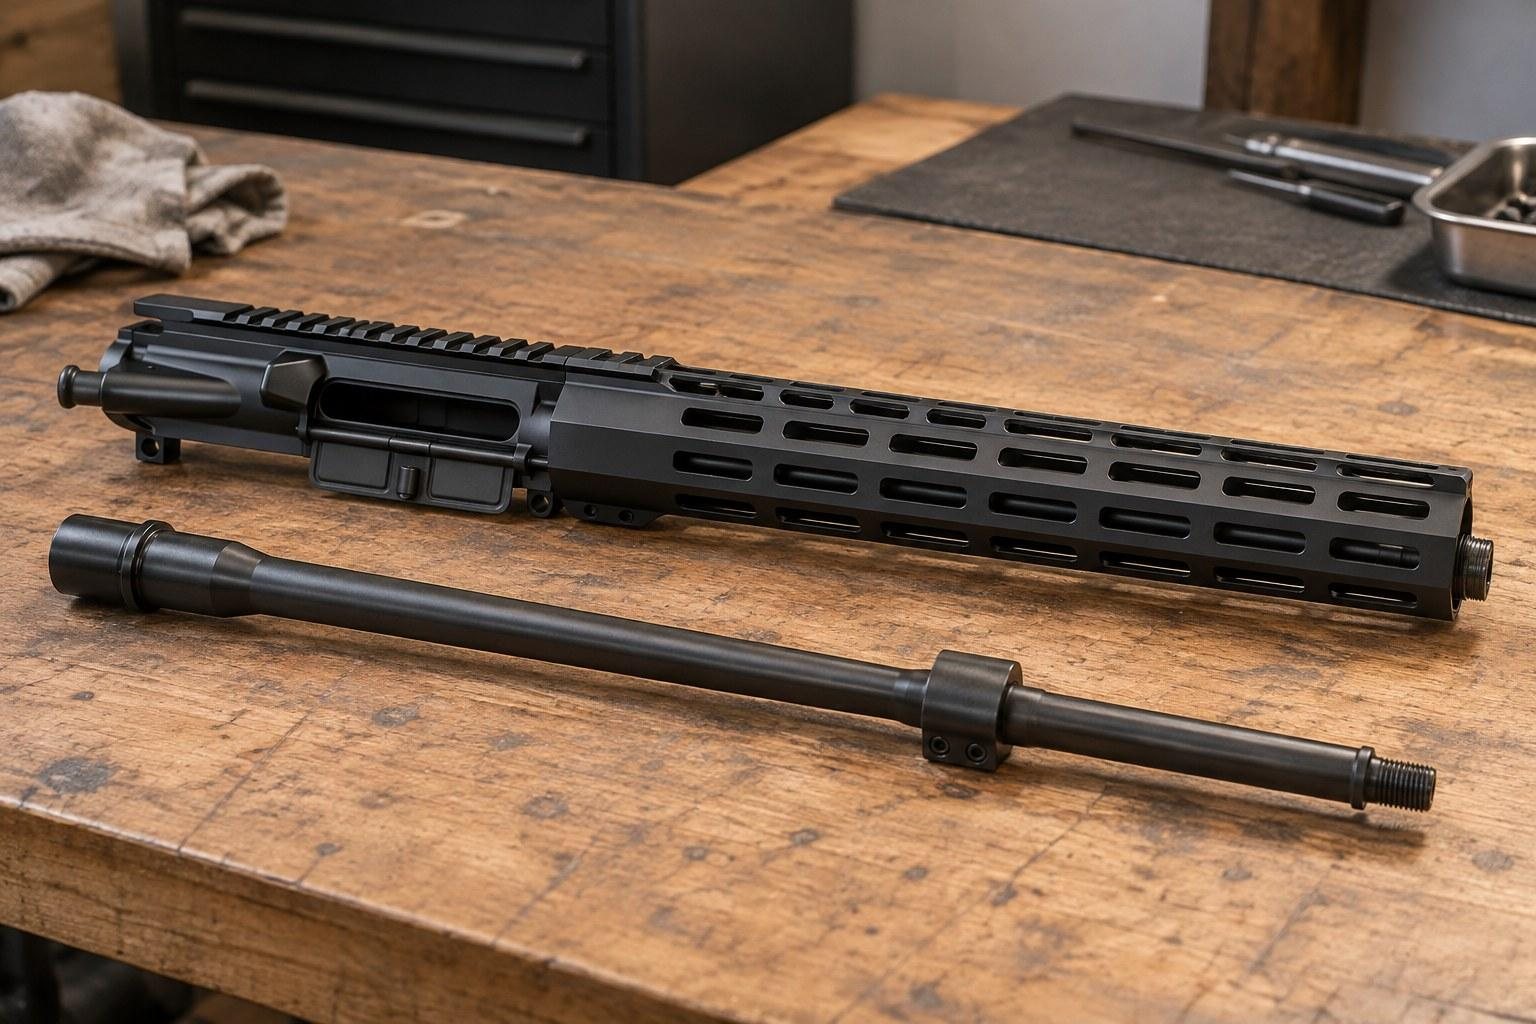
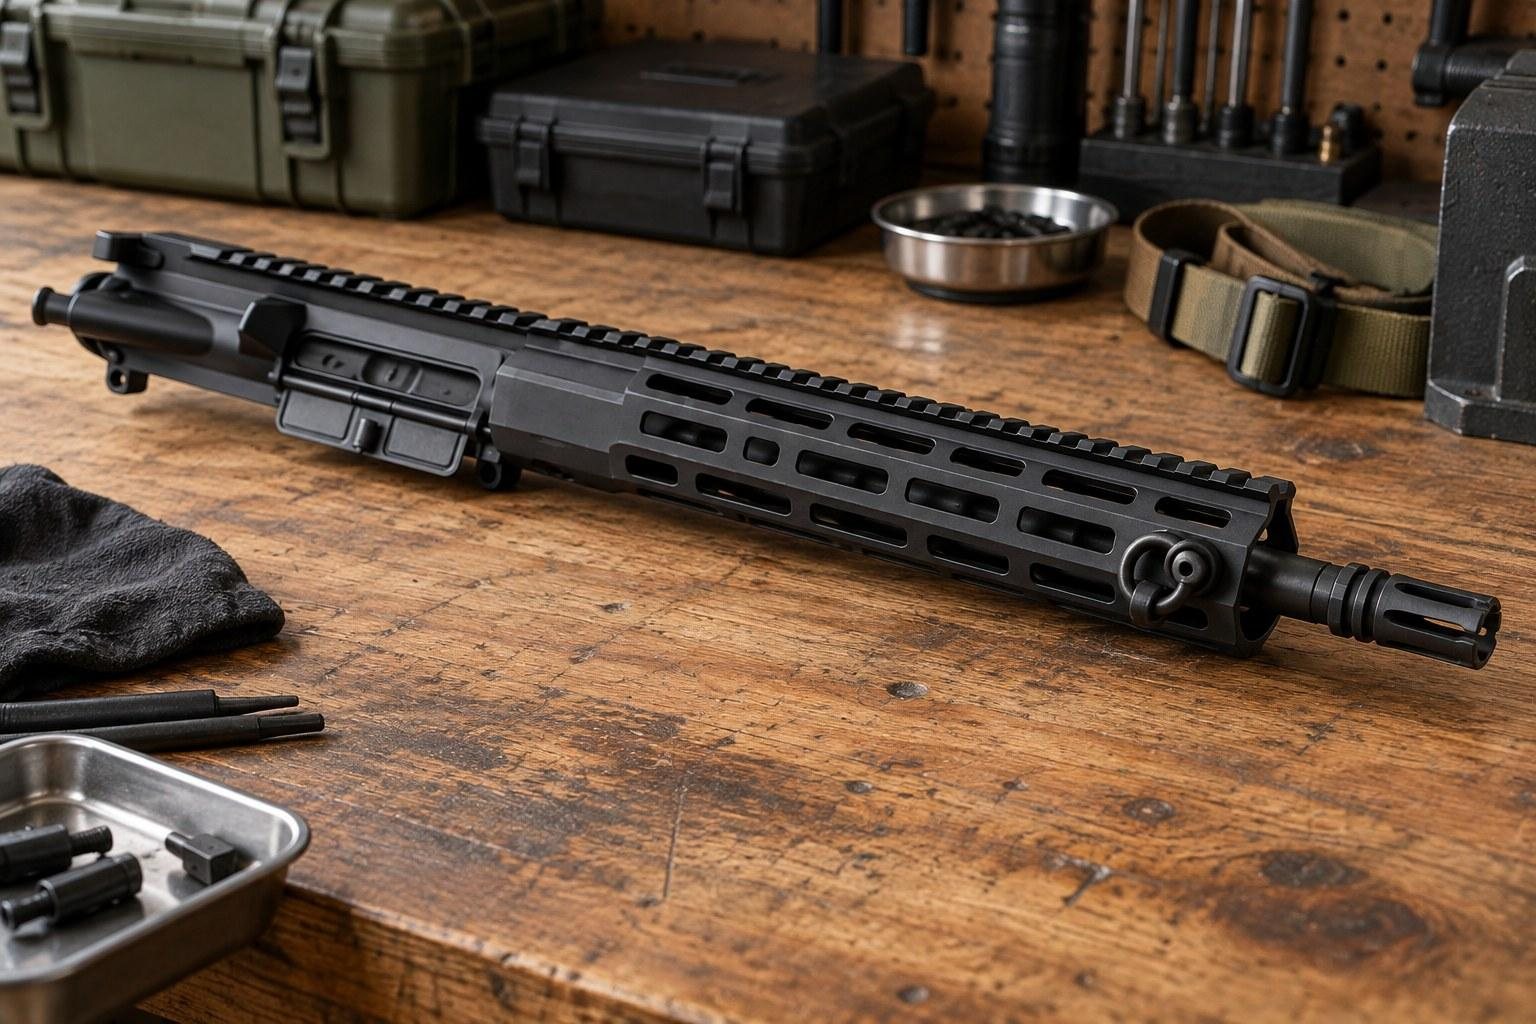
Shopping for a complete upper with a free-float rail ready for sling hardware? Start with our upper collection.
Key Takeaways
- A forward mount near the end of the handguard gives a two-point sling better control and helps the rifle stay steady when you use the sling for support.
- A rear mount close to the receiver suits single-point style carry and lets the rifle hang closer to your chest.
- Many shooters settle on a middle ground a few slots back from the front of the rail, which keeps the swivel clear of the support hand.
- M-LOK, KeyMod and Picatinny all accept QD sockets, but you need a mount made for your handguard's specific system.
- Always confirm placement with an unloaded rifle and follow the mount maker's instructions for installation and torque.
What a QD Socket Actually Does
QD stands for quick detach. The mount is a small socket that bolts to your rail, and a push-button swivel on the sling snaps into it. Press the button and the swivel releases, so you can remove the sling, move it to another socket or switch sides without tools.
That flexibility is why the QD socket is widely used as a sling connection on modern AR-15 handguards. It replaces fixed loops and webbing wraps with a clean, low-profile point that does not rattle.
The Socket and the Swivel
The socket is the part that lives on your rail. The swivel is the part sewn or attached to your sling. Both need to be quality pieces, since the whole rifle hangs from that connection. Our editors suggest giving the swivel a firm tug after every attachment to confirm the detents have locked.
Rotation and Anti-Rotation Designs
Some sockets let the swivel spin freely. Others limit rotation so the sling does not twist. Magpul, for example, describes its M-LOK QD sling mount as having an anti-rotation design that stops the sling from twisting and tangling. If your sling tends to twist when you transition, a limited-rotation design is worth a look.
How Your Handguard's Attachment System Shapes the Choice
Before you think about location, figure out which mounting system your rail uses. A socket built for M-LOK will not bolt into a KeyMod slot, and the reverse is also true.
| System | How the Mount Attaches | Placement Notes |
|---|---|---|
| M-LOK | T-nut style hardware locks into rectangular slots | Slots run along several faces of the rail, so you have many positions to test |
| KeyMod | Nuts slide into keyhole shaped slots and lock | Same idea as M-LOK, but parts are not interchangeable between the two |
| Picatinny | Clamps onto a rail section | Bulkier, but easy to slide fore and aft until you like the fit |
| Integrated socket | Socket machined directly into the handguard or end plate | No extra hardware, but position is fixed by the maker |
If you are still deciding between slot systems, our breakdown of M-LOK vs KeyMod handguards walks through the trade-offs in detail.
Free-Float vs Drop-In Rails
Free-float handguards attach only at the barrel nut, so sling tension pulls on the rail without pressing against the barrel. Drop-in handguards touch the barrel area more directly, and heavy sling tension can affect point of impact for some shooters. For precision work, a free-float rail is the cleaner platform. We compare both in our guide to free-float vs drop-in handguards.
Which Face of the Rail
Many shooters mount the socket on the side of the handguard facing the support hand, or on the bottom. Side placement keeps the sling from wrapping under the rifle. Bottom placement keeps the rifle ambidextrous. Test both before you commit.
Looking for a free-float rail? M-LOK and KeyMod options are common in several lengths.
Forward, Middle or Rear: The Three Main Positions
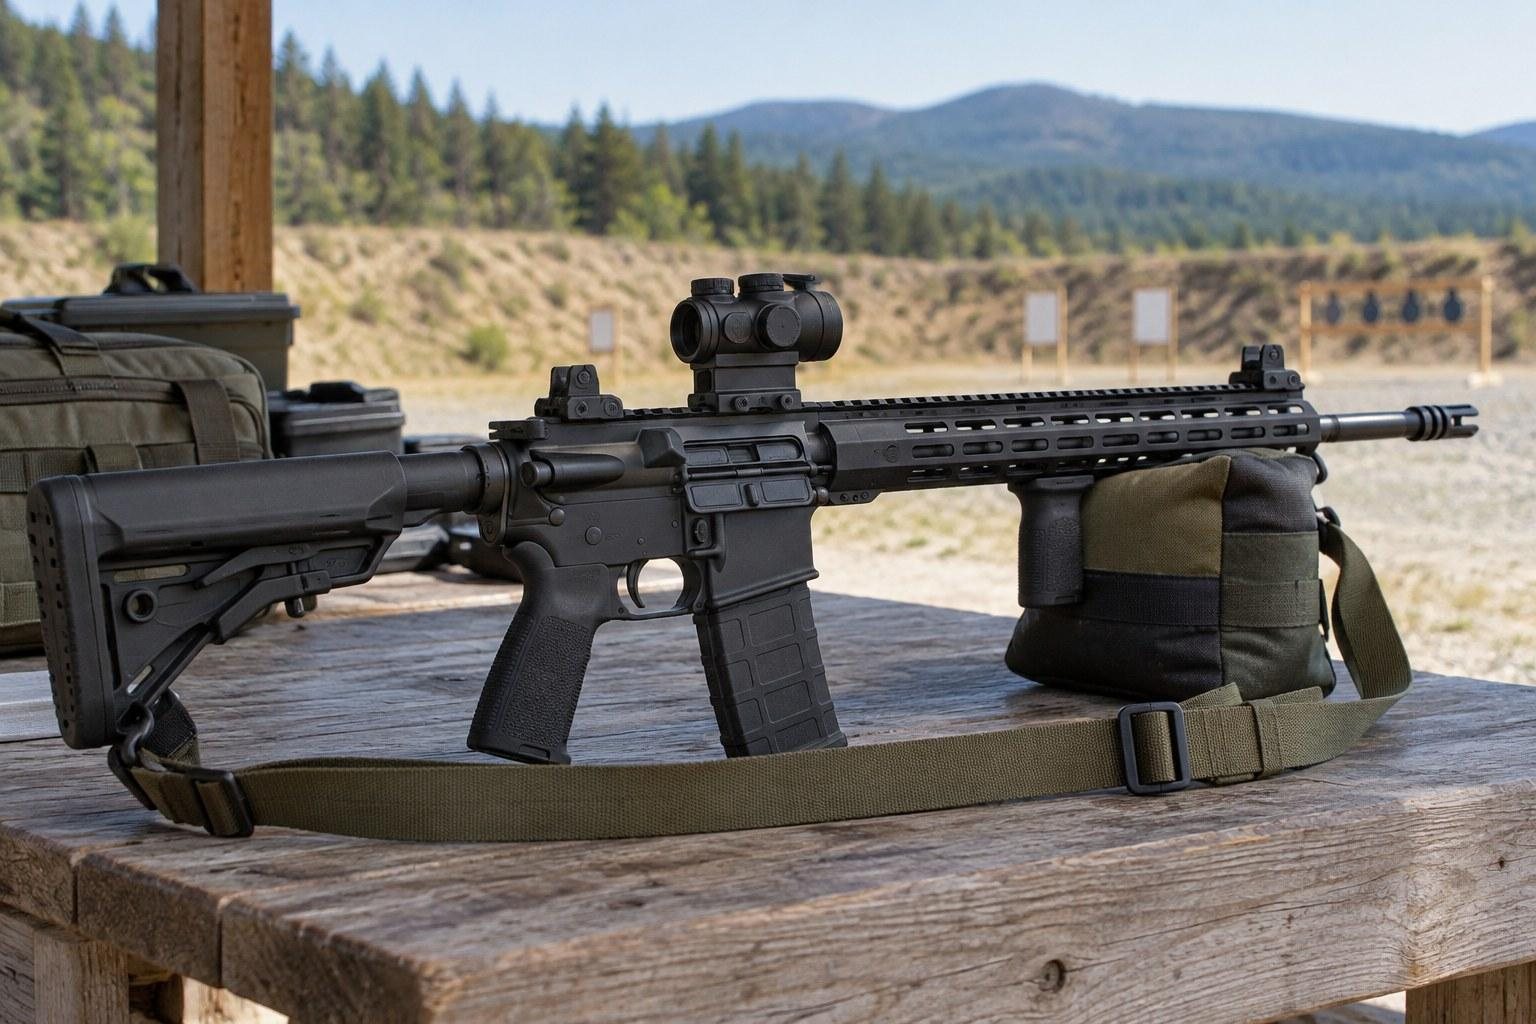
Every handguard gives you a spectrum from the muzzle end back to the receiver. Each zone has a clear purpose, and the best choice depends on how you carry and shoot.
Forward Position
Mounting near the front of the rail is common for two-point slings. The longer span between front and rear points lets you cinch the sling and use it as a brace when shooting from kneeling or seated positions. The trade-off is that the swivel can sit where your support hand wants to go on a shorter rail.
Middle Position
A socket a few slots back from the end of the handguard is a common compromise. It keeps the swivel clear of a forward grip on a long rail while still giving decent leverage. Many carbine builds with a mid-length rail end up here.
Rear Position
A socket close to the receiver, often on a rail end plate or the first slot, suits single-point style carry. The rifle hangs closer to the body and pivots easily for shoulder transitions. It gives less stability for braced shooting, so it fits fast handling more than long, slow shots.
Matching the QD Sling Mount to Your Sling Type
The sling you run matters as much as the rail. A sling socket that feels perfect with one sling can feel awkward with another.
| Sling Type | Typical Front Point | Why It Works |
|---|---|---|
| Two-point adjustable | Forward or middle of the handguard | Spreads tension across the rifle and helps with braced positions |
| Single-point | Rear, near the receiver | Lets the rifle pivot freely and hang centered on the chest |
| Traditional hunting strap | Bottom of the rail, forward | Rifle carries muzzle up over the shoulder like a classic bolt gun |
Two-Point Slings
Adjustable two-point slings are a versatile setup for general use. Pair a forward or middle handguard socket with a rear point on the stock or receiver end plate. Pull the adjuster tight to stabilize, loosen it to move.
Single-Point Slings
Single-point slings usually attach at the rear of the rifle rather than the handguard. If you run one, you may not need a front socket at all. Some shooters keep a forward socket anyway so they can convert to two-point carry.
Hunting Carry
For hunters who carry the rifle on the shoulder for long walks, a bottom-mounted socket toward the front of the rail mimics the sling stud on a traditional rifle. Check your state wildlife agency regulations on firearm transport, since state and local laws vary. Our sister site also covers rifle sling picks for hog hunting.
Handguard Length and What Else Is on the Rail
Rail length sets the boundaries. A short rail gives you only a few positions, while a long rail opens up more choices and more room for lights, grips and bipods.
Short Rails
On a short rail like a 10 inch M-LOK free-float rail, space is tight. The support hand, a light and the sling socket all compete for the same few slots. Many short-barreled and compact builds move the sling point back toward the receiver for that reason.
Long Rails
Longer 12 and 15 inch rails give you the room to put the socket well forward without crowding your grip. They pair well with rifle-length builds in calibers such as 6.5 Grendel uppers or 5.56 NATO uppers intended for longer shots, where a braced sling position is useful.
Lights, Lasers and Bipods
Plan the whole rail at once. A weapon light, pressure switch and bipod each take slots. Lay the parts out on the bench, then decide where the socket goes so the sling does not cover the light lens or snag the switch cable.
Installing and Testing Your Placement Safely
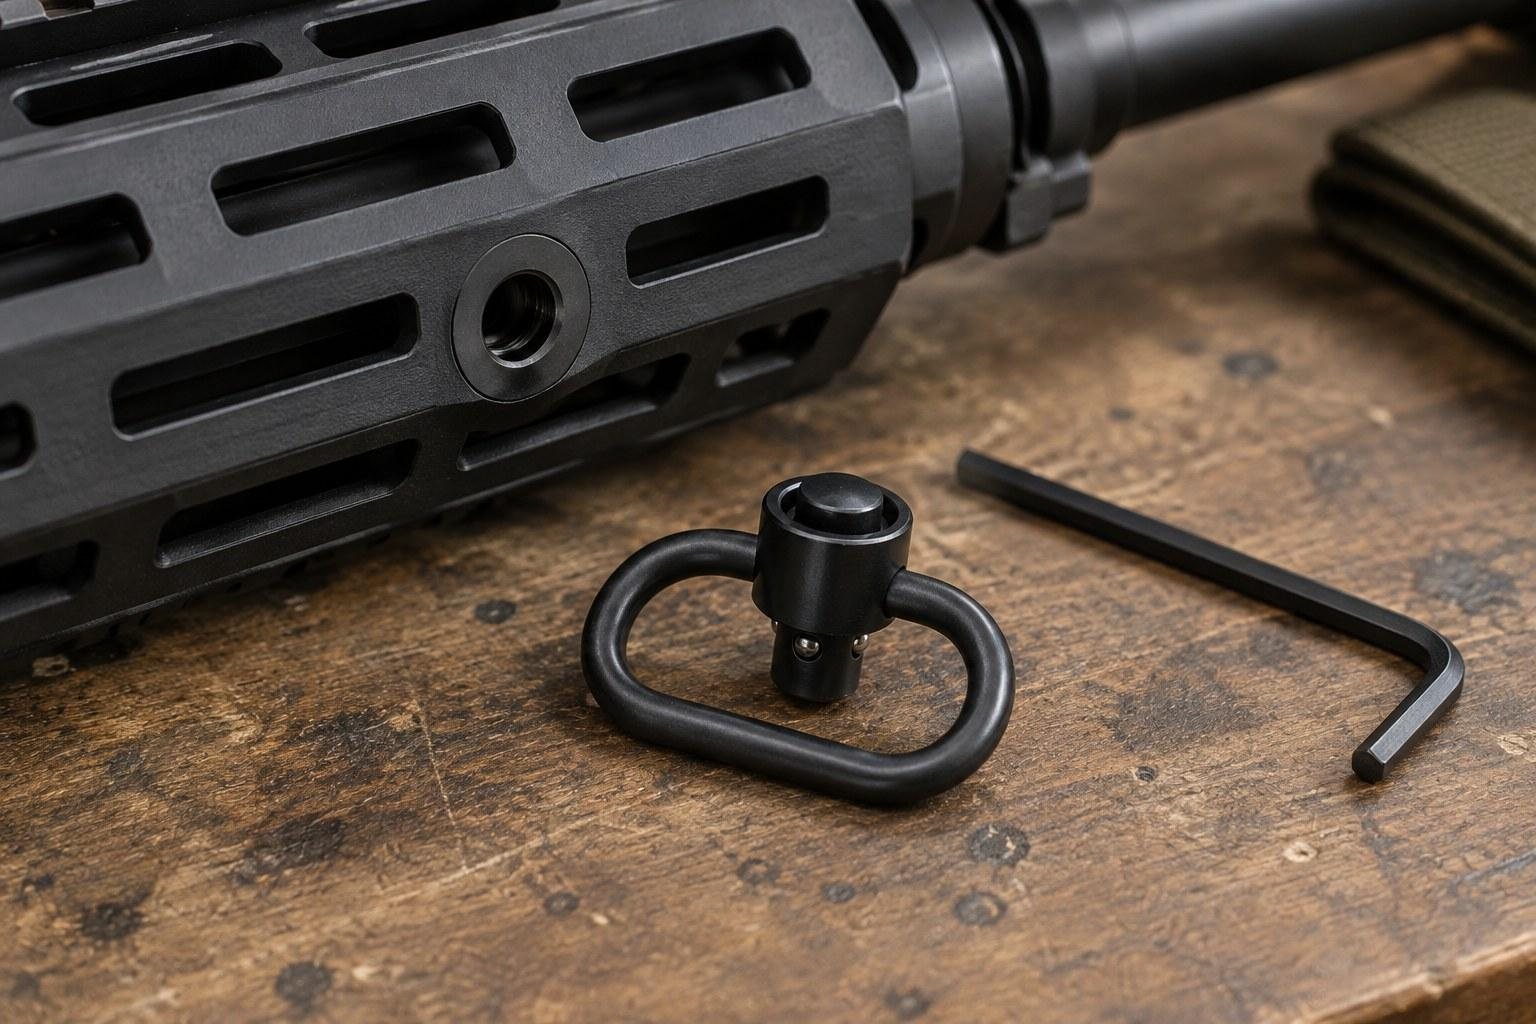
Installation is simple, but simple tasks still deserve care. A loose socket can fail at the worst moment.
Safety First
Start with an unloaded firearm. Remove the magazine, lock the bolt open and visually and physically confirm the chamber is empty. Keep ammunition out of the room while you work.
Install per the Manufacturer
Follow the mount maker's instructions for hardware orientation and torque. Do not guess at a torque value. If the T-nut or KeyMod nut does not seat cleanly, stop and check it rather than forcing it. If you are unsure, a qualified gunsmith can confirm the install.
Dry Test Before the Range
- Attach the sling and shoulder the empty rifle from your strong side and support side.
- Check whether the swivel touches your support hand in your usual grip.
- Walk around with the rifle slung to see how it hangs and whether the sling twists.
- Try a seated or kneeling position to test braced tension.
If anything feels wrong, unclip the swivel and move the socket a slot or two. That is the whole point of a QD system.
Planning a full build around the rail? Our assembly articles cover the rest of the upper.