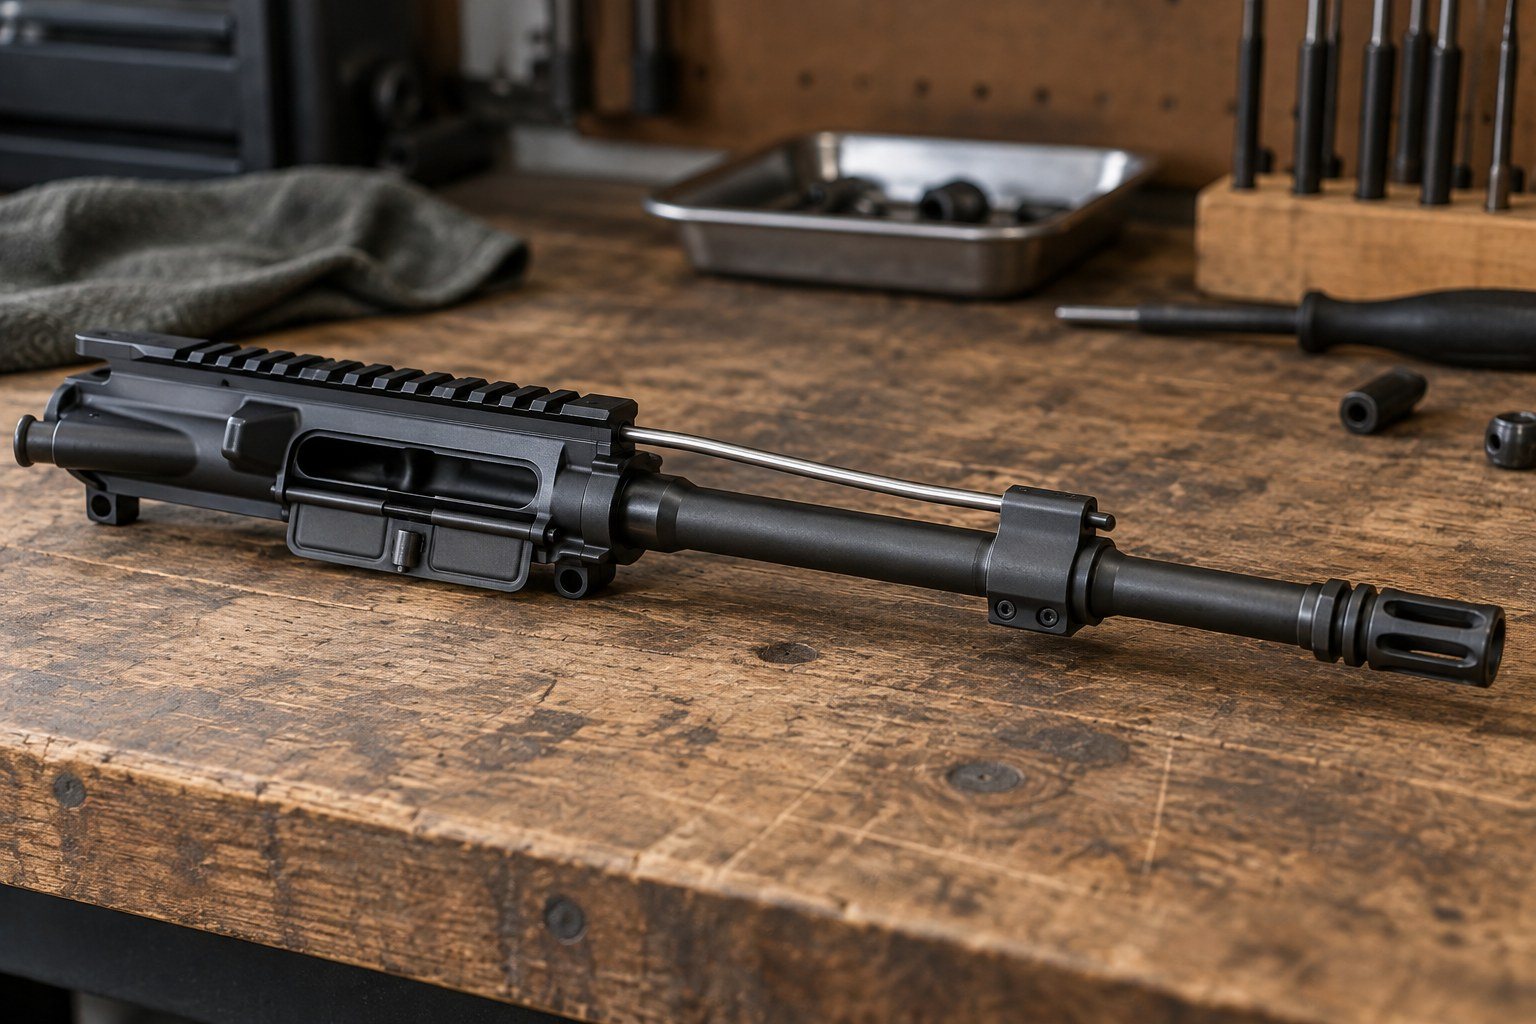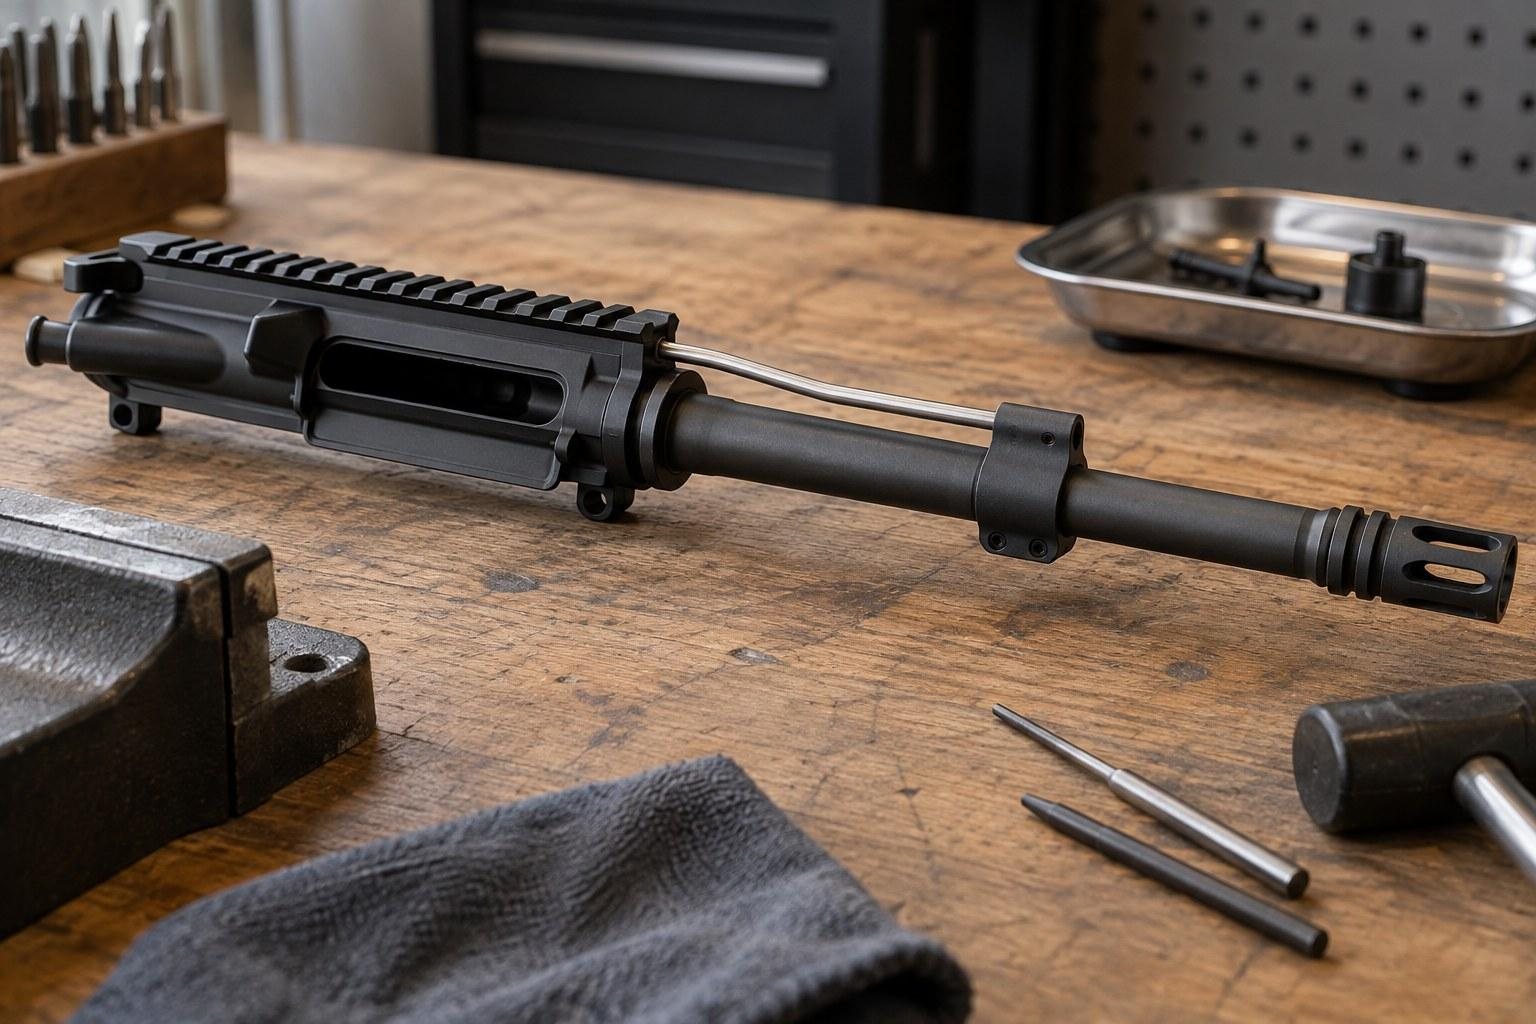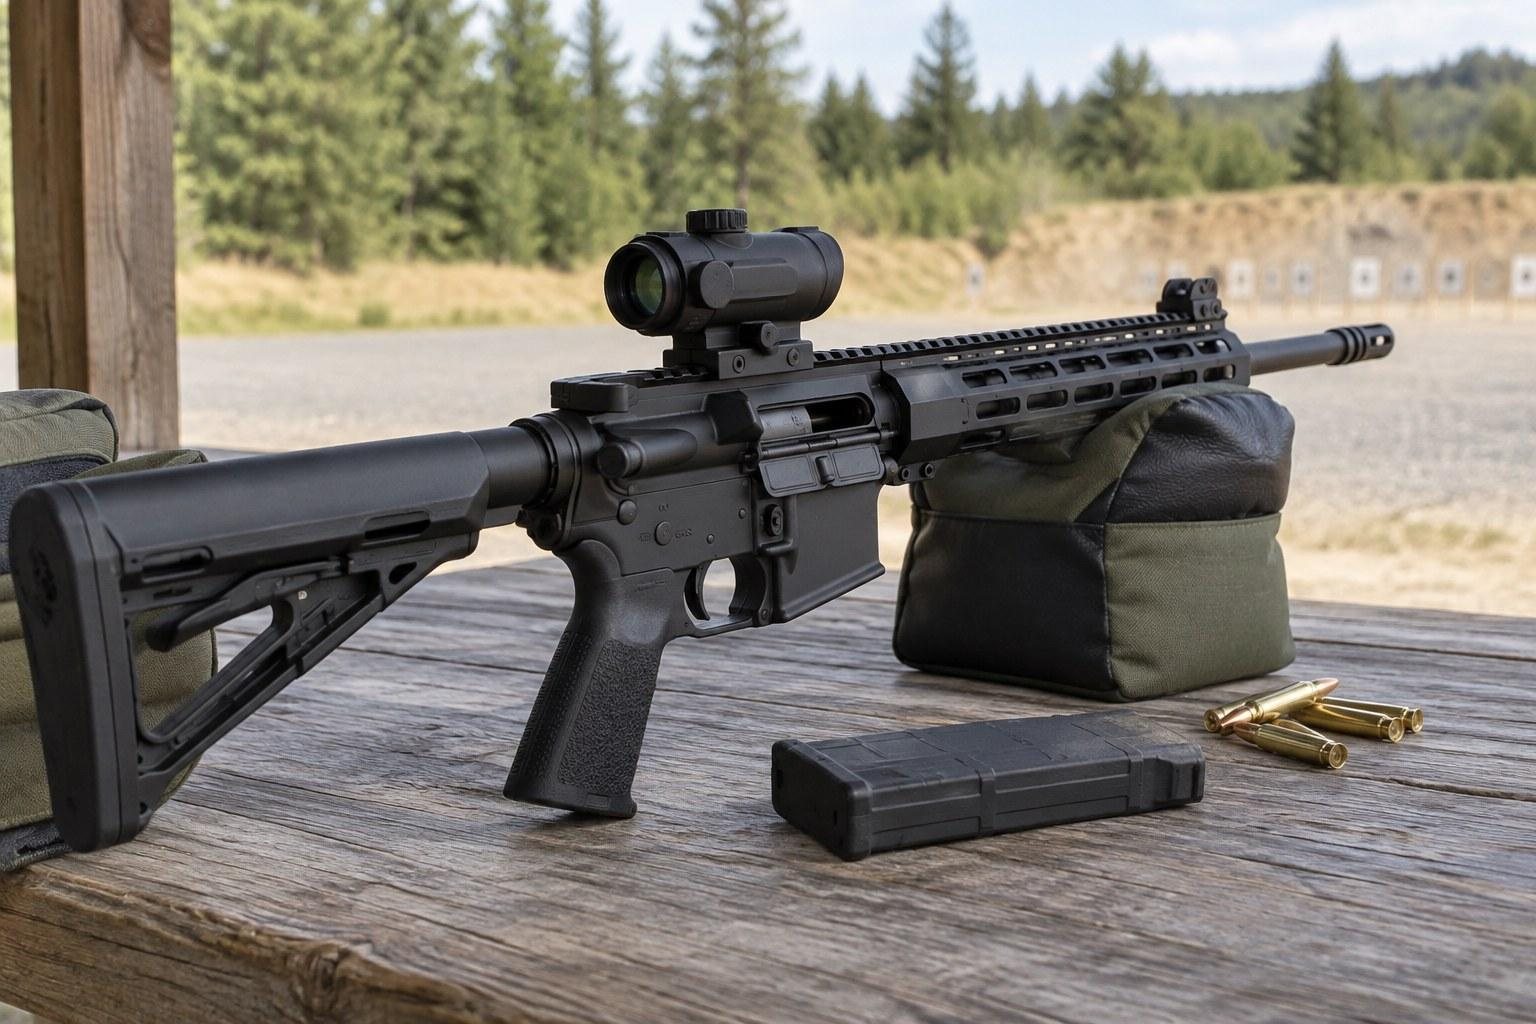
An AR-15 function check takes only a minute or two, and paired with a quick look over your upper receiver, it is one of the simplest habits that keeps a range day safe and productive. Most of the problems that end a session early, such as a loose muzzle device, a dry bolt or the wrong ammunition in the bag, show up plainly on a workbench at home.
Our editors put together five quick checks you can run on any AR-15 or AR-10 upper before you load the truck. None of them require special tools or gunsmithing skills. Each one starts the same way: an unloaded rifle, an empty chamber and the manufacturer's instructions close at hand.
Starting fresh with a rifle that was already assembled and checked? Browse complete uppers that are headspaced and function-checked before they ship.
Key Takeaways
- Every check begins by removing the magazine, locking the bolt to the rear and visually and physically confirming the chamber is empty.
- Matching the caliber stamped on the barrel to the ammunition you packed prevents one of the most dangerous range mistakes.
- Loose handguards, muzzle devices and optic mounts are easy to spot by hand and should be tightened to the component maker's published spec.
- A clean, lubricated bolt carrier group with an intact extractor and secure gas key is the heart of a reliable upper.
- A quick AR-15 function check confirms the safety, trigger and reset work correctly after the upper and lower are pinned together.
Why Pre-Range Checks Matter for Your Upper
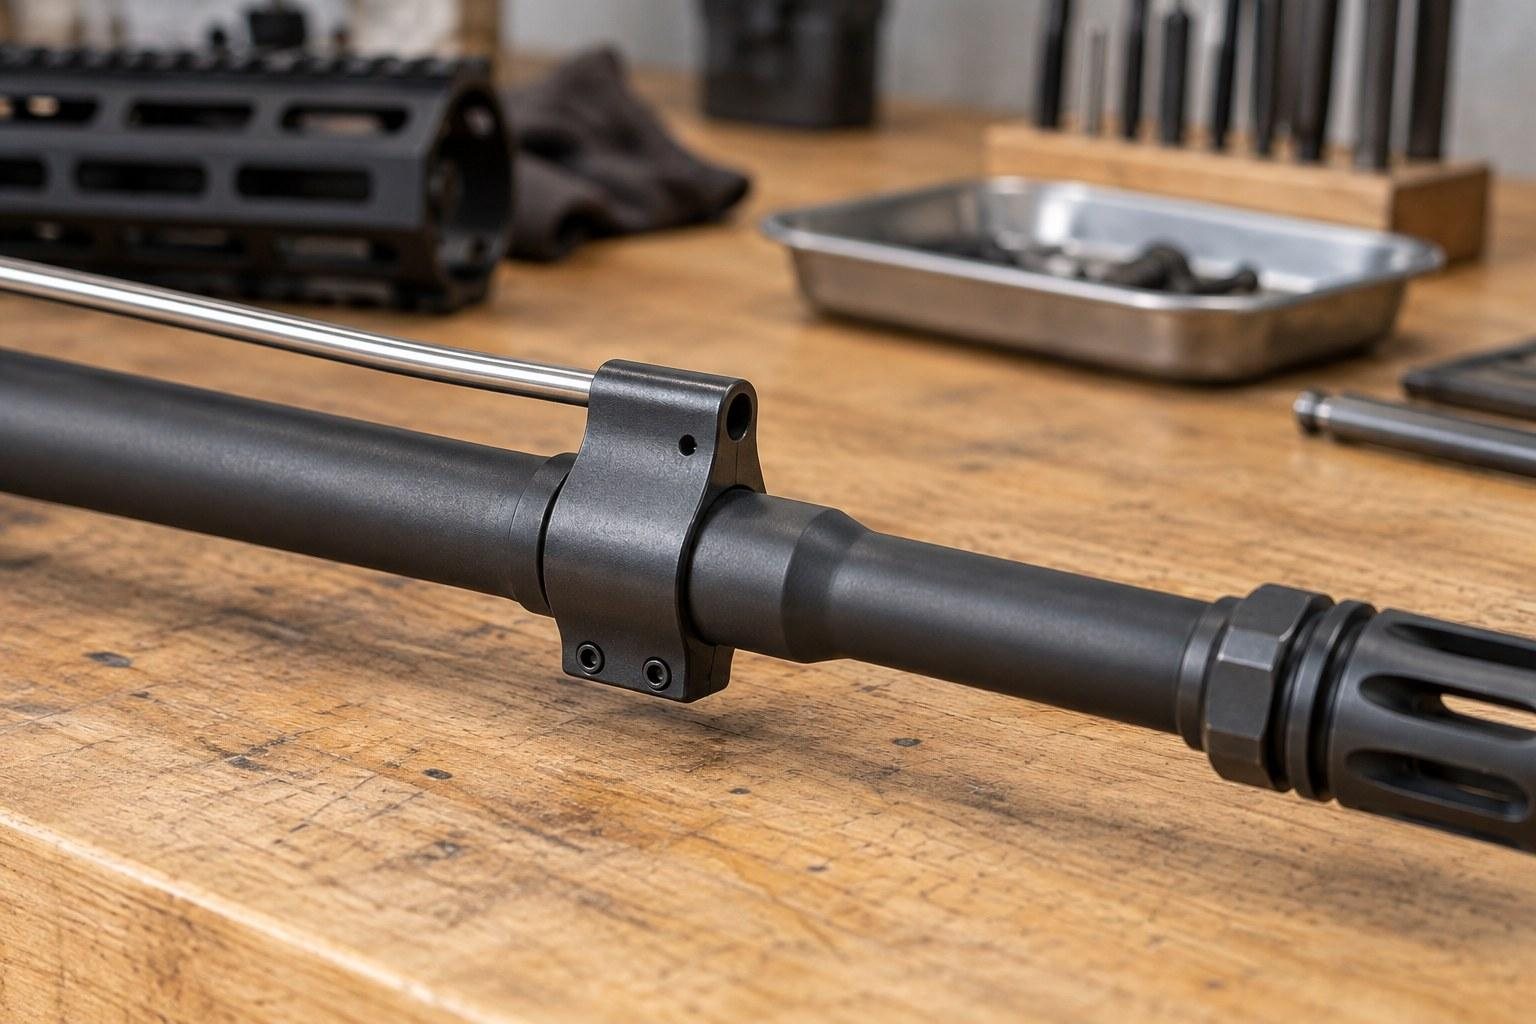
The upper receiver holds the parts that contain pressure and move at speed: the barrel, the bolt carrier group, the gas system and the muzzle device. When one of those parts works loose or wears out, the rifle may stop cycling, shoot off target or, in the worst cases, become unsafe to fire.
Recoil, heat and transport all take a toll. A rifle that rode in a case for months, or one that you recently swapped parts on, deserves a fresh look before it goes on the line. The good news is that most issues give clear warning signs if you know where to look.
Start With a Safe, Unloaded Rifle
Before touching anything else, point the muzzle in a safe direction, remove the magazine and pull the charging handle to lock the bolt to the rear. Look into the chamber and the magazine well, then feel the chamber with a finger to confirm it is empty. Keep all ammunition in a separate room or container while you work.
Use the Manual, Not Guesswork
Every barrel, gas block, handguard and muzzle device maker publishes its own instructions. When a check calls for torque or adjustment, follow that published spec rather than a number you remember from a forum. If anything looks wrong and you are not sure how to fix it, have a qualified gunsmith inspect the rifle before you shoot it.
Check 1: Confirm Caliber and Ammunition Match
This is the quickest check on the list and arguably the most important. Many AR-15 calibers use the same lower receiver and similar magazines, so mixing them up is easier than many shooters expect.
Read the Barrel Marking
Most barrels are marked with their chambering near the muzzle or under the handguard. Compare that marking to the headstamp on every box of ammunition you pack. If you own uppers in more than one caliber, keep each caliber's ammunition and magazines in clearly labeled containers.
Watch for Look-Alike Cartridges
The classic risk is loading 300 Blackout into a 5.56 NATO chamber. The 300 Blackout round can chamber in a 5.56 rifle, and firing it can cause a catastrophic failure. If you run both, consider distinct magazines or marked magazine baseplates so you can tell them apart at a glance. 300 Blackout uppers and 5.56 NATO uppers often look very similar from the outside, which is exactly why this check matters.
| What to Check | Where to Look | Why It Matters |
|---|---|---|
| Barrel chambering | Stamp on the barrel | Tells you which cartridge the rifle is built to fire |
| Ammunition headstamp | Base of each cartridge and the box label | Confirms the round matches the barrel |
| Magazines | Body, follower or baseplate markings | Helps keep look-alike calibers separated |
| Bolt | Bolt face and product listing | Some calibers need a specific bolt face |
Want a deeper look at which parts change between calibers? Read our compatibility checklist before you swap uppers on a shared lower.
Check 2: Inspect the Bolt Carrier Group
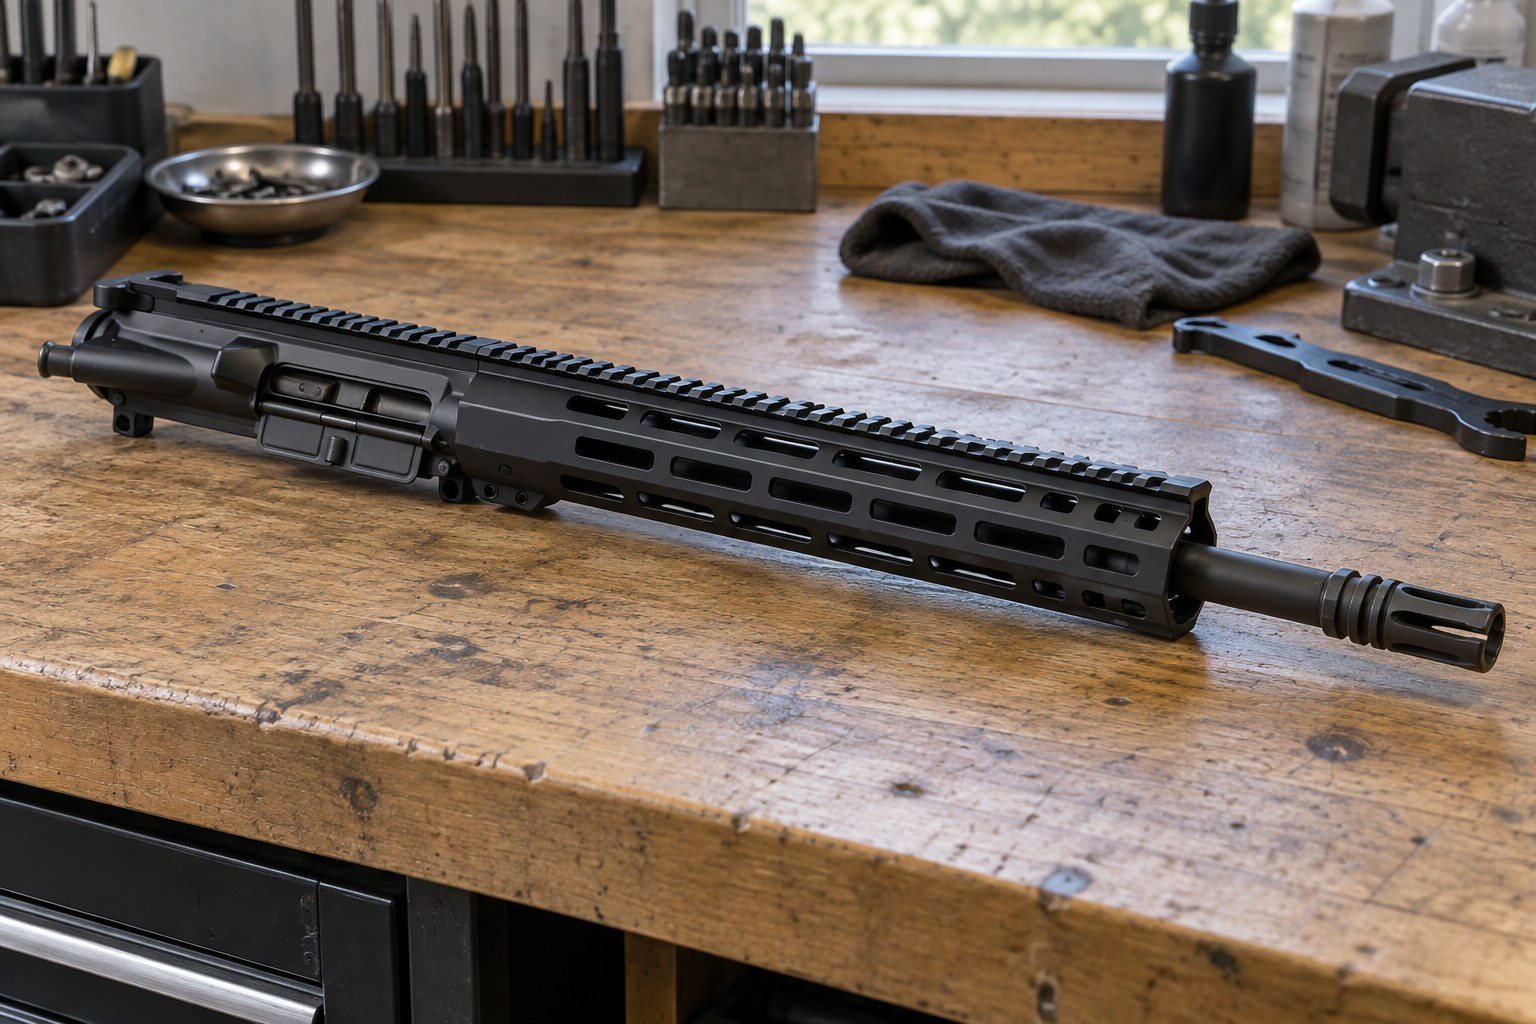
The bolt carrier group does the work of feeding, locking, firing and extracting. A quick inspection takes a minute once you have pulled it from the upper.
Look at the Gas Key and Bolt
Check that the gas key on top of the carrier is tight and that its screws are staked in place. Look over the bolt lugs for cracks or chips, and confirm the extractor snaps back firmly when you press it. Make sure the firing pin retaining pin and cam pin are present and seated correctly.
Clean and Lubricate
A dry bolt carrier group is a common cause of sluggish cycling. Wipe away heavy carbon and apply lubricant where the carrier and bolt manufacturer recommend. Our upper cleaning guide walks through the process step by step. If your bolt shows real wear, nitride and nickel boron finishes are both common options for replacement bolt carrier groups across several calibers.
- Gas key tight and staked
- Bolt lugs free of cracks or chips
- Extractor and its spring returning firmly
- Firing pin, retaining pin and cam pin in place
- Light, even lubrication on wear surfaces
Check 3: Verify Handguard, Muzzle Device and Optic Mounts
Anything bolted to the outside of the upper can loosen over time. A loose handguard can shift your zero, and a loose muzzle device can be a hazard if it backs off the threads.
Hand-Test Every Attachment
Grip the handguard and try to twist it. Do the same with the muzzle device, the optic and its mount, and any lights or slings attached to the rail. Nothing should rotate or wiggle. If something moves, tighten it to the component maker's published spec, and use thread locker only where the manufacturer calls for it.
Mind Pinned and Welded Devices
On some rifles the muzzle device is pinned and welded to bring the barrel to the legal 16-inch length. Never try to remove or adjust a permanently attached device. A barrel under 16 inches, or an overall length under 26 inches, on a rifle makes a short-barreled rifle, which still requires ATF registration even though the federal tax has been $0 since January 1, 2026. State and local laws vary, so check yours. For more on device types, see our muzzle devices guide, and muzzle devices such as A2 flash hiders and compensators are common replacement options if yours needs replacing.
Check 4: Test the Charging Handle, Dust Cover and Forward Assist
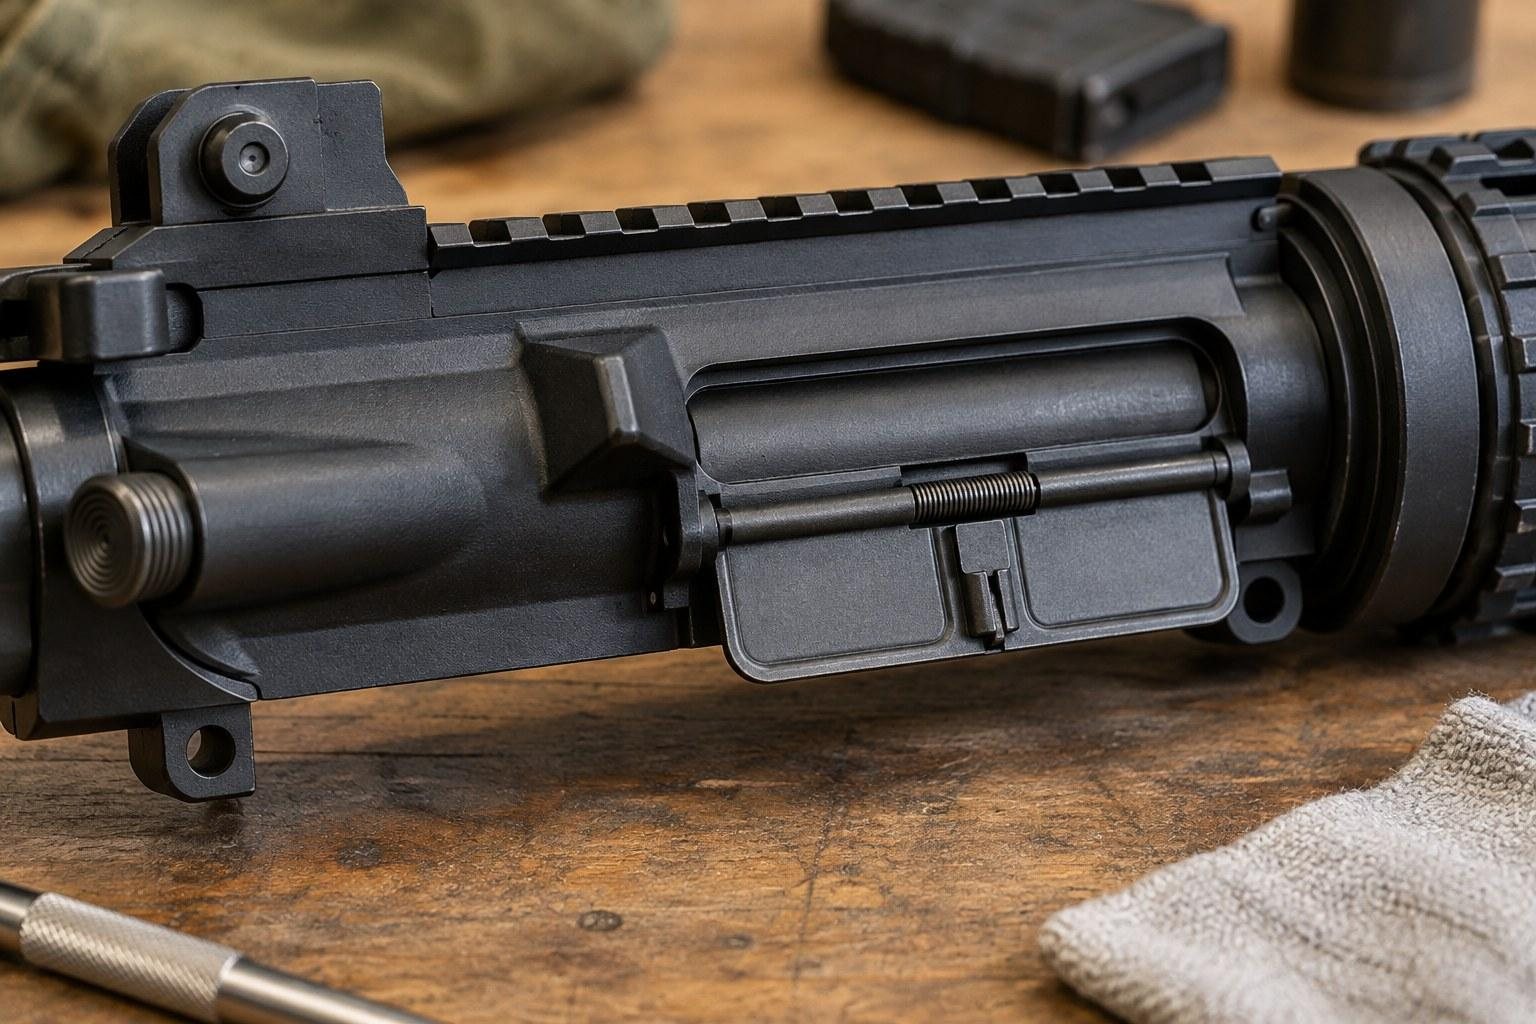
These small parts on the upper are easy to overlook, yet each one affects how safely and smoothly you can run the rifle.
Charging Handle
Pull the charging handle fully to the rear and let it return. It should move smoothly and the latch should lock it firmly in place. A cracked latch or a handle that drifts open under recoil is a reason to replace it. Mil-spec and ambidextrous charging handles are both common options for AR-15 and AR-10 uppers, and our charging handle guide explains the differences.
Dust Cover and Forward Assist
Close the ejection port cover and confirm it snaps open when the bolt moves. Press the forward assist and make sure it springs back. Remember that the forward assist is a backup tool, not a fix for a dirty or out-of-spec rifle. If a round will not chamber, unload the rifle and find the cause rather than forcing it.
Check 5: Run an AR-15 Function Check
Once the upper looks good, pin it to the lower and perform an AR-15 function check. This test confirms that the safety, trigger and disconnector work together as designed. Do it with an unloaded rifle and no ammunition in the room.
The Basic Sequence
- Confirm the rifle is unloaded and the chamber is empty.
- Pull the charging handle to cock the hammer, then set the selector to safe.
- Pull the trigger. The hammer should not fall.
- Set the selector to fire and pull the trigger. The hammer should fall with a click.
- Hold the trigger to the rear, cycle the charging handle, then slowly release the trigger. You should hear and feel a distinct reset, and the hammer should stay cocked.
- Pull the trigger again to confirm the hammer falls.
What a Failed Check Means
If the hammer falls on safe, follows the bolt forward or fails to reset, do not take the rifle to the range. Those symptoms point to a trigger, selector or assembly problem that needs correction. Follow the trigger maker's instructions or have a qualified gunsmith look at it. Every complete upper from AR15Parts.com is function-checked before it ships, but a fresh AR-15 function check on your own lower is still a smart habit after any assembly or parts swap.
Want to keep your upper in shape between range trips? Browse our maintenance and troubleshooting articles.