Know exactly what tools, solvents, and cleaning steps keep your AR-15 running. Full cleaning kit guide from AR15Parts.com. Call (888) 706-0633 for build help.
If your AR-15 is running dirty, it's only a matter of time before it lets you down. This AR-15 cleaning kit guide covers everything you need to keep your rifle running reliably, from the tools in your kit to how often you should be using them. Out here in Grayson County, summer heat and humidity hit hard, and unprotected steel corrodes faster than most shooters expect. We put this guide together because a clean rifle is a reliable rifle, and reliable is the only standard that matters.
Building out your maintenance setup or shopping for your next upper? Browse our in-stock AR parts and uppers, or talk to our Denison team.
What Tools Belong in an AR-15 Cleaning Kit?
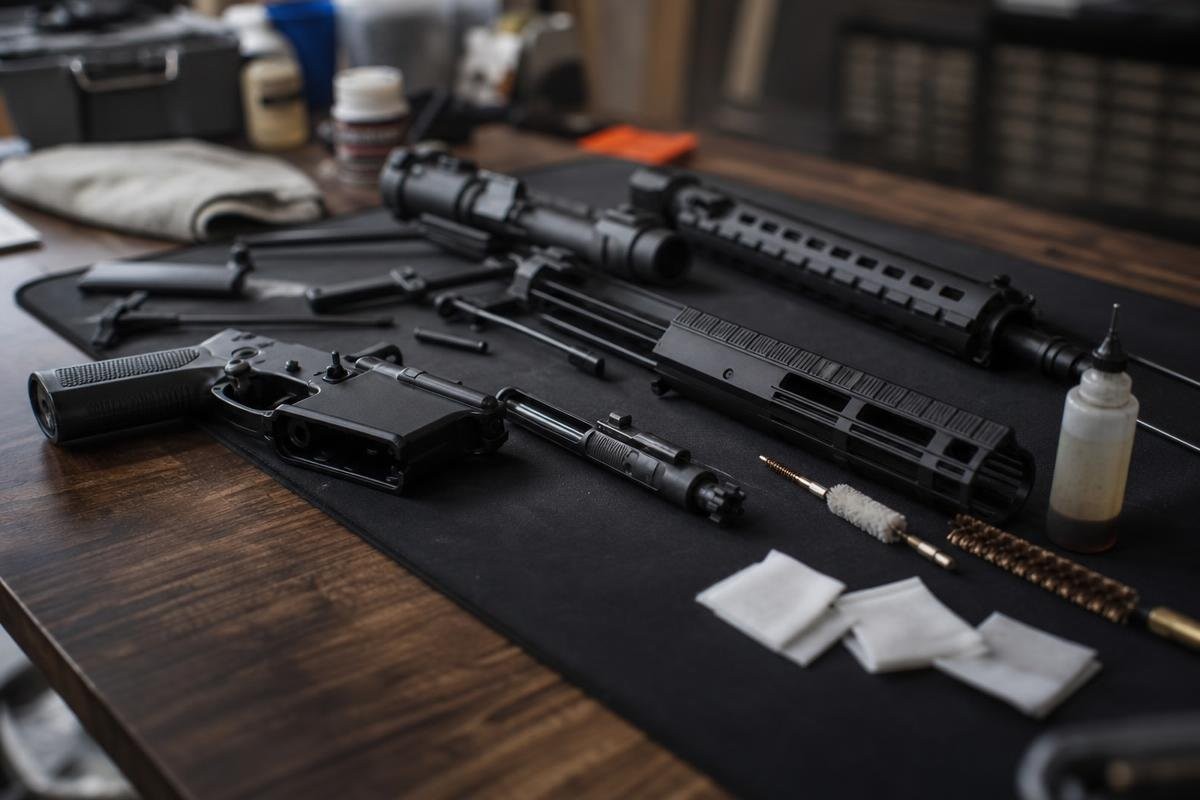
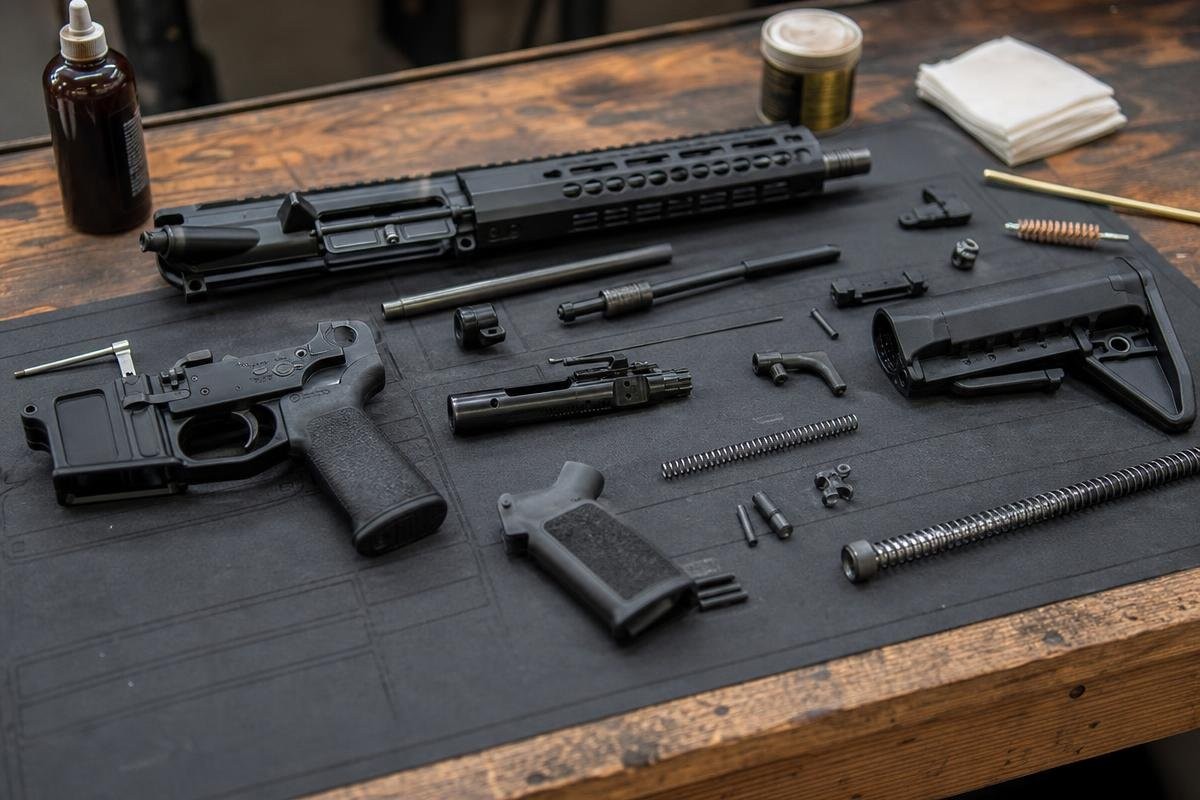
A proper AR-15 cleaning kit starts with caliber-matched tools, a quality one-piece rod, and dedicated brushes for the chamber and bore. Everything else is secondary. Get those right and your rifle stays clean. Skip them and you're either leaving carbon behind or damaging the rifling you paid good money for.
The Non-Negotiable Basics
Bore brush diameter is not optional. A .223/5.56 brush, a .308 brush, and a 6.5 Grendel upper each require a different diameter bronze or nylon brush. Use the wrong size and you either skip the bore surface entirely or you're scrubbing rifling that wasn't designed for that pressure. Match the brush to the caliber. Every time.
One-piece cleaning rods are the only rods worth using. Segmented aluminum rods flex under pressure. That flex lets the rod contact the crown and bore surface at odd angles, and over time it mars both. Brands like Dewey and Real Avid make solid one-piece options that protect the bore from the chamber end forward.
Add a dedicated chamber brush to the kit. It's stiffer than a standard bore brush and long enough to reach the locking lug recesses. A bore brush alone won't clean those recesses. Carbon builds there fast, especially after high round counts.
Specialty Tools Worth Adding
A dental pick or dedicated carbon scraper earns its place in any serious AR-15 maintenance kit. The bolt tail is where carbon cakes hardest. Brushes won't break that crust loose. A pick will. Real Avid makes a purpose-built bolt scraper that fits the geometry of the bolt carrier group without guesswork. Jags and patches round out the kit for bore wiping after solvent application.
What You Can Skip
Cheap 40-piece universal kits look like value. They aren't. Most of the brushes cover calibers you don't own. The rods are segmented aluminum. The patches are undersized. A lean, purpose-built AR-15 cleaning kit with four or five correct tools outperforms a cluttered universal set every time. Buy what fits your caliber and skip the rest.
Solvents, Lubricants, and CLP: Choosing the Right Chemistry
Not all fouling is the same, and not all chemistry removes the same fouling. Using the wrong product in the wrong place wastes time and can damage your finish. Here is what actually works and why.
Carbon Solvents vs. Copper Solvents
Carbon fouling is the black, sooty buildup from powder combustion. It collects on the bolt face, bolt tail, gas key, and inside the carrier body. Alkaline carbon solvents like Hoppe's No. 9, M-Pro 7, and Slip 2000 725 break it down fast. These are your go-to products for ar-15 bolt carrier group cleaning after any range session.
Copper fouling is different. It shows up as blue-green streaks inside the bore, left behind by jacketed bullet material. It requires an ammonia-based copper solvent like Bore Tech Eliminator or Sweets 7.62. Keep those products in the bore only. Ammonia-based solvents will damage the nitride or phosphate finish on your BCG if they make contact. Do not use the same solvent on both.
Lubricants: Where to Oil and How Much
Four points need lubrication on every cleaning: the bolt cam pin, the bolt body and extractor area, the charging handle latch, and the upper receiver interior rails. The cam pin takes the most friction in the system. Use grease there, not oil. A thin film of oil everywhere else is enough. Dry-running is the most common mistake new AR owners make.
If you shoot outdoor range sessions near Lake Texoma or anywhere else in Grayson County during summer, this matters more than you think. Humidity in Denison regularly hits 70 to 80 percent with temperatures above 100 degrees. Unprotected steel corrodes fast in those conditions. A proper oil coat is not optional here. It is your first line of defense against rust between range trips.
CLP Products and Their Trade-Offs
CLP cleans, lubricates, and protects in one product. That makes it useful in the field. It is not the right tool for a thorough bench cleaning. CLP does each job adequately but none of them exceptionally. For a full session, use a dedicated carbon solvent first, a copper solvent in the bore if needed, then apply a dedicated lubricant.
Save the CLP for a quick wipe-down between sessions or when you are running a 300 Blackout upper in a suppressed configuration that generates heavier fouling and needs fast field maintenance. Need a new BCG, gas key, or a complete upper that holds up to North Texas heat and dust? Browse our in-stock options by caliber.
How to Field Strip and Clean Your AR-15: Step by Step
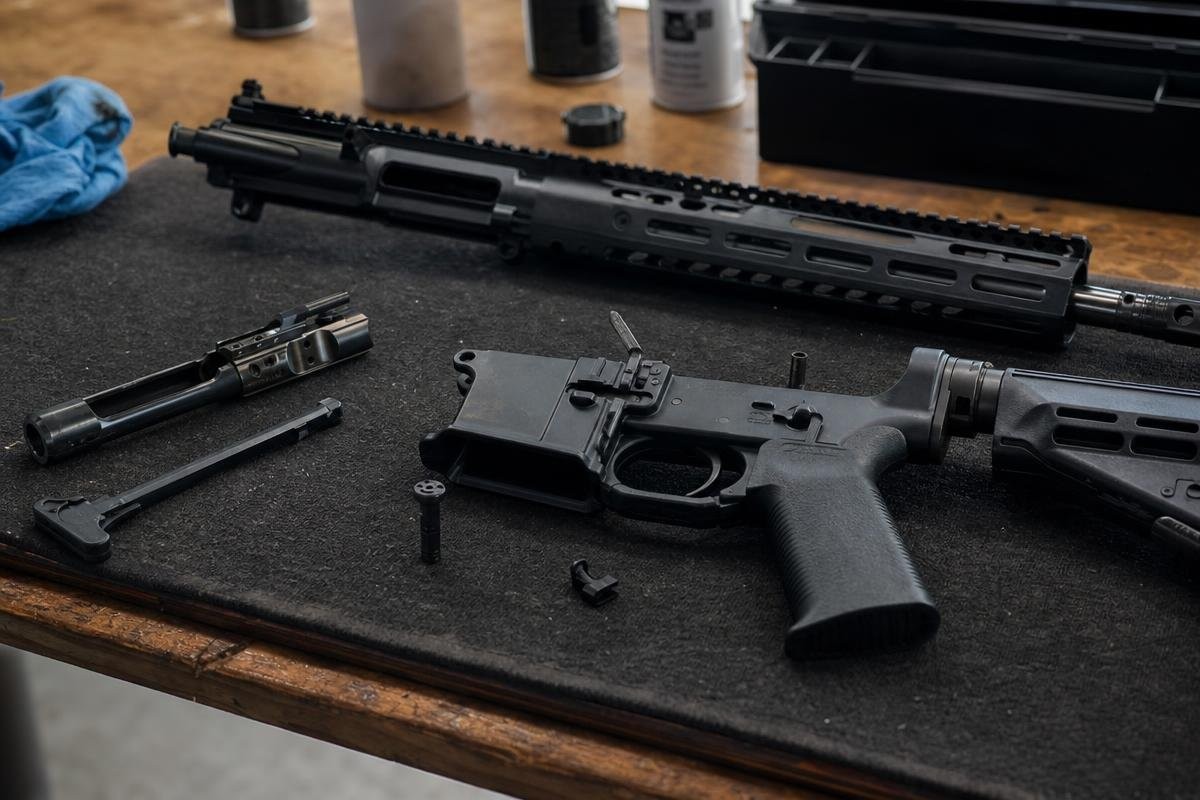
Knowing how to clean an AR-15 correctly matters more than how often you do it. A sloppy cleaning can leave carbon in the wrong places and oil in the wrong places. Follow these steps in order, every time.
Step 1: Clear the Firearm and Prep Your Workspace
Remove the magazine first. Lock the bolt back. Look into the chamber visually, then run your finger in to confirm it is empty. Do not skip the physical check. Eyes lie under stress. Fingers do not.
Lay a cleaning mat on a stable surface. Set out your solvent, lubricant, patches, brushes, and picks before you start. Having everything in reach keeps the process clean and safe.
Step 2: Separate the Upper and Lower Receivers
Push out the rear takedown pin until it stops. Pivot the upper receiver forward. Push out the front pivot pin. Separate the upper from the lower completely and set the lower aside on your mat.
Step 3: Remove the Charging Handle and Bolt Carrier Group
Pull the charging handle and bolt carrier group rearward together, then angle the charging handle out first. The BCG follows straight back out of the upper. Set both on your mat. The upper receiver is now ready for bore and chamber cleaning.
Step 4: Disassemble and Clean the BCG
AR-15 bolt carrier group cleaning has a specific sequence. Get it right every time.
- Push the firing pin retaining pin out with a punch and set it aside.
- Slide the firing pin straight out the rear of the carrier.
- Rotate the cam pin 90 degrees and lift it out.
- Pull the bolt forward and out of the carrier.
That is five parts total: carrier, bolt, cam pin, firing pin, and retaining pin. Keep them together on your mat.
The bolt tail, the rear face of the bolt, is where carbon cakes hardest. A nylon brush will not cut it here. Use a pick or dental pick to scrape the carbon ring off the bolt tail and around the gas rings. Follow up with a solvent-soaked patch and a bronze brush on the carrier interior. Wipe everything dry before lubricating. Reassemble in reverse: bolt into carrier, cam pin in with the flat side facing the bolt face, firing pin in, retaining pin through.
Step 5: Clean the Chamber, Bore, and Upper Receiver
Follow these steps in order for the bore and chamber:
- Run a solvent-soaked patch on your rod, pushed from the chamber end toward the muzzle. Always run patches and brushes chamber to muzzle with a one-piece rod. Never reverse direction with a brush still in the bore.
- Run a bronze bore brush sized for your caliber 5 to 10 passes through the bore. A 6.5 Grendel upper takes a .264-diameter brush, and a 300 Blackout takes a .308-diameter brush. Using a 5.56 brush in either one will not contact the lands.
- Follow the brush with dry patches until they come out clean, then one lightly oiled patch to finish.
- Scrub the chamber with a chamber brush and solvent, working the locking lugs and feed ramps.
- Wipe the upper receiver interior with a lightly oiled rag.
Step 6: Clean the Lower Receiver and Buffer Tube
Wipe the lower receiver interior with a dry rag, then a lightly oiled one. Pay attention to the trigger group area where debris collects around the hammer and trigger pins.
The buffer tube is the step most guides skip entirely. Depress the buffer retainer and ease the buffer and spring out. Wipe both with a lightly oiled rag and inspect the retainer spring for fatigue or deformation. When you reinstall the buffer spring, the tighter-wound end goes toward the BCG. It is a small detail that affects function over time if you get it backwards.
Reassemble in reverse order: BCG and charging handle into the upper, upper onto the lower, pivot pin in, takedown pin in. Do a function check before you call it done.
How Often Should You Clean Your AR-15?
There is no single answer, but there is a right framework. Cleaning frequency depends on round count, storage conditions, and what your rifle is telling you. Generic advice like "clean after every range trip" ignores how the AR-15 actually runs. Here is a tiered schedule that reflects real-world use and the manufacturer service intervals we lean on when advising customers.
Round-Count Cleaning Intervals
Every 250 to 500 rounds, do a light wipe-down of the bolt carrier group and re-lube the key contact points. No full disassembly needed.
Every 500 to 1,000 rounds, run a full field strip and scrub the BCG, chamber, and bore.
Every 2,000 to 3,000 rounds, add a copper solvent pass through the barrel and inspect the gas tube for carbon restriction.
At 5,000 to 6,000 rounds, you are into armorer-level territory: check headspace, inspect the bolt for stress cracks, and examine the gas key staking.
These intervals shift based on caliber and ammunition. Suppressors, steel-cased ammo, and high round-count range sessions all push you toward the shorter end of each window.
Storage Cleaning vs. Range Cleaning
A post-range cleaning and a storage cleaning are not the same job. Before long-term storage, clean the bore thoroughly, apply a light protective oil coat to all metal surfaces, and close the action on an empty chamber.
A rifle sitting in a non-climate-controlled safe in Denison through July, where humidity regularly runs above 70 percent and temperatures push past 100 degrees Fahrenheit, needs a heavier protective coat than the round-count schedule alone suggests. When that rifle comes back out, do a function check and apply fresh lube before the first round goes in.
Signs Your AR-15 Needs Immediate Attention
Failure to extract and short-stroking are not "clean it later" malfunctions. They point directly to a carbon-locked chamber, a dry extractor, or a restricted gas key. Stop. Clean it now. A rattling buffer spring instead of smooth compression and a stiff or cracked extractor are specific wear indicators that demand attention before your next range trip, not after.
If you run outdoor sessions on private property near Lake Texoma, pay attention to Grayson County's fine red clay. It is abrasive and works into actions fast. This is also worth remembering come whitetail season, when a lot of Grayson County rifles ride in dusty truck beds and blinds for weeks at a time. Wipe down your complete AR upper after every outdoor session, not just when the round count says so. Questions about AR-15 maintenance tools or how to clean an AR-15 the right way? Call us at (888) 706-0633 and we will walk you through it, or browse parts by caliber.
Caliber-Specific Cleaning Considerations for AR-Platform Rifles
Not every AR-platform upper cleans the same way. The caliber you run determines how fast carbon builds, how much copper fouling you get, and which brush sizes you need. If you run multiple uppers on the same lower, this section is for you.
5.56 NATO and .223 Wylde
These two are close, but not identical. The .223 Wylde upper has a slightly more generous chamber than mil-spec 5.56. That extra freebore can trap carbon in the throat area faster than you'd expect. Give the chamber an extra pass with your chamber brush every cleaning session.
It takes ten seconds and prevents buildup that scrubs out hard later.
AR-15 bore cleaning for these calibers is straightforward. A .223-caliber bore brush, patches, and a good solvent handle the job. Carbon fouling is the main enemy here, not copper. Standard CLP or a dedicated carbon solvent works fine.
300 Blackout and Suppressed Builds
Yes, your 300 Blackout upper needs more frequent cleaning than your 5.56 upper. Subsonic loads burn powder at lower pressure, which means incomplete combustion and heavy carbon deposits. Suppressed builds make it worse. The can pushes extra carbon back into the action with every shot.
Plan on AR-15 bolt carrier group cleaning every 200 to 300 rounds on a suppressed 300 Blackout build, not 500. Shooters running suppressed 300 Blackout on private range property near the Lake Texoma area will see the heaviest fouling loads of any common AR caliber. Budget the extra cleaning time accordingly.
Larger-Bore Calibers: 6.5 Grendel, .308, and Beyond
Higher pressure and larger bullet diameters mean more copper fouling in the bore. For a 6.5 Grendel upper, use a .264-caliber brush. For .308 Win, use a .308 brush. Wrong brush size either skips the bore surface entirely or damages the rifling. Neither is acceptable.
Add a dedicated copper solvent to your kit for these calibers. Standard CLP alone will not cut heavy copper fouling. AR-10 pattern lowers also use a larger BCG than mil-spec AR-15 lowers. The cleaning steps are the same, but the parts do not interchange.
Cleaning Your AR-15 in North Texas: What the Climate Adds to the Equation
North Texas is hard on firearms. The Red River corridor runs hot, humid, and dusty for a good chunk of the year, and rifles stored or shot in those conditions need more attention than the standard cleaning interval guides assume.
Humidity, Heat, and Rust Risk in Denison and Sherman
Summer humidity in the Sherman and Denison area regularly pushes 70 to 80 percent, with temperatures clearing 100 degrees Fahrenheit for weeks at a stretch. That combination accelerates surface oxidation on bare steel components faster than most shooters expect. We see it regularly on rifles that spent a season riding in a truck cab or sitting in a non-climate-controlled safe.
A rifle stored in a climate-controlled room can get by with a lighter protective oil coat. A rifle living in a vehicle or garage needs a heavier application on the bolt carrier group, charging handle, and any exposed steel surfaces. Nitride (Melonite/QPQ) and phosphate finishes handle humidity better than bare steel. Chrome-lined bores add another layer of corrosion resistance. If you are shopping for a complete AR upper and you shoot outdoors regularly around here, finish matters.
Dust and Red Clay: The Sherman Area Shooter's Extra Challenge
The red clay soil west of Sherman is fine-grained and abrasive. It works into the action through the ejection port faster than sandy soils do, and it mixes with carbon and oil to form a grinding paste inside your BCG rails. Keep your dust cover closed when the rifle is not in use. After any outdoor session in those conditions, a two-minute wipe-down of the upper receiver rails and BCG exterior is worth doing before you ever run a patch down the bore. That one habit prevents accelerated wear between your full ar-15 maintenance tools cleaning sessions.
We stock bore brushes, cleaning rods, solvents, and BCG scrapers for every caliber on the AR platform. If you are building out your AR-15 cleaning kit or need parts for your next complete AR upper, call us at (888) 706-0633 or stop by 2022 S Crockett St in Sherman, TX. We know what the Texas climate does to a rifle that does not get proper maintenance, and we are here to help you stay ahead of it.
Call (888) 706-0633 to speak with our team directly, or browse our in-stock parts and uppers by caliber. We're ready to answer your questions, help you pick the right BCG or complete upper, and get the right cleaning gear paired to what you shoot. Whether you're just starting to plan or ready to move forward, we'll make the process simple and stress-free. Get a build recommendation or shop parts today and let's talk about how we can help.