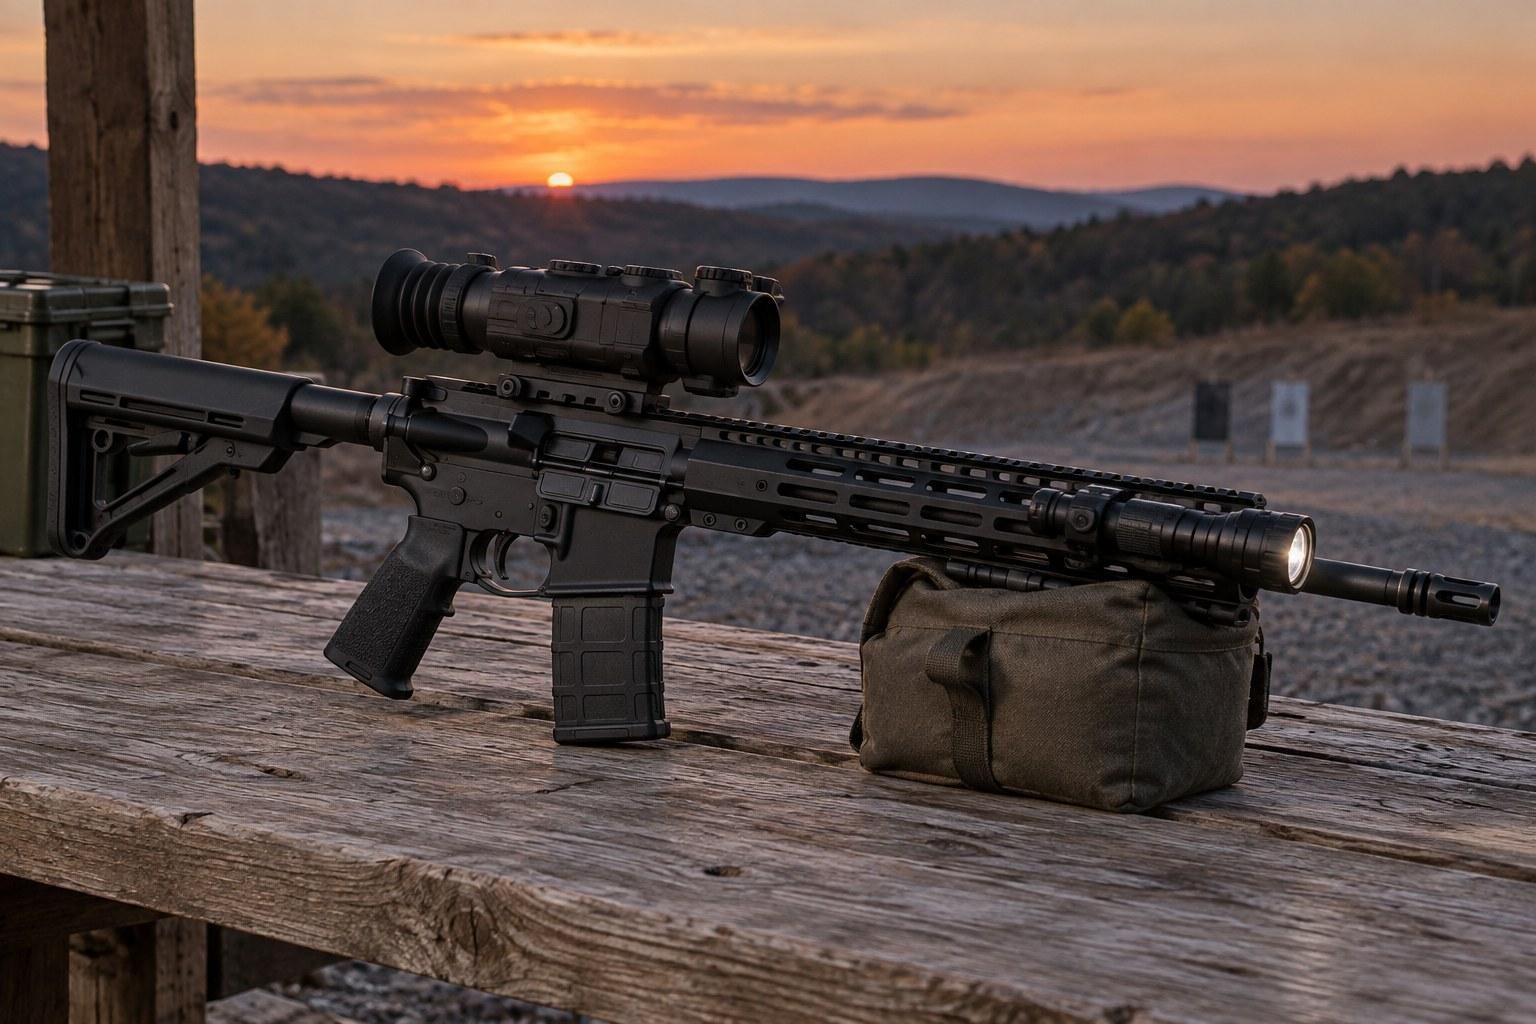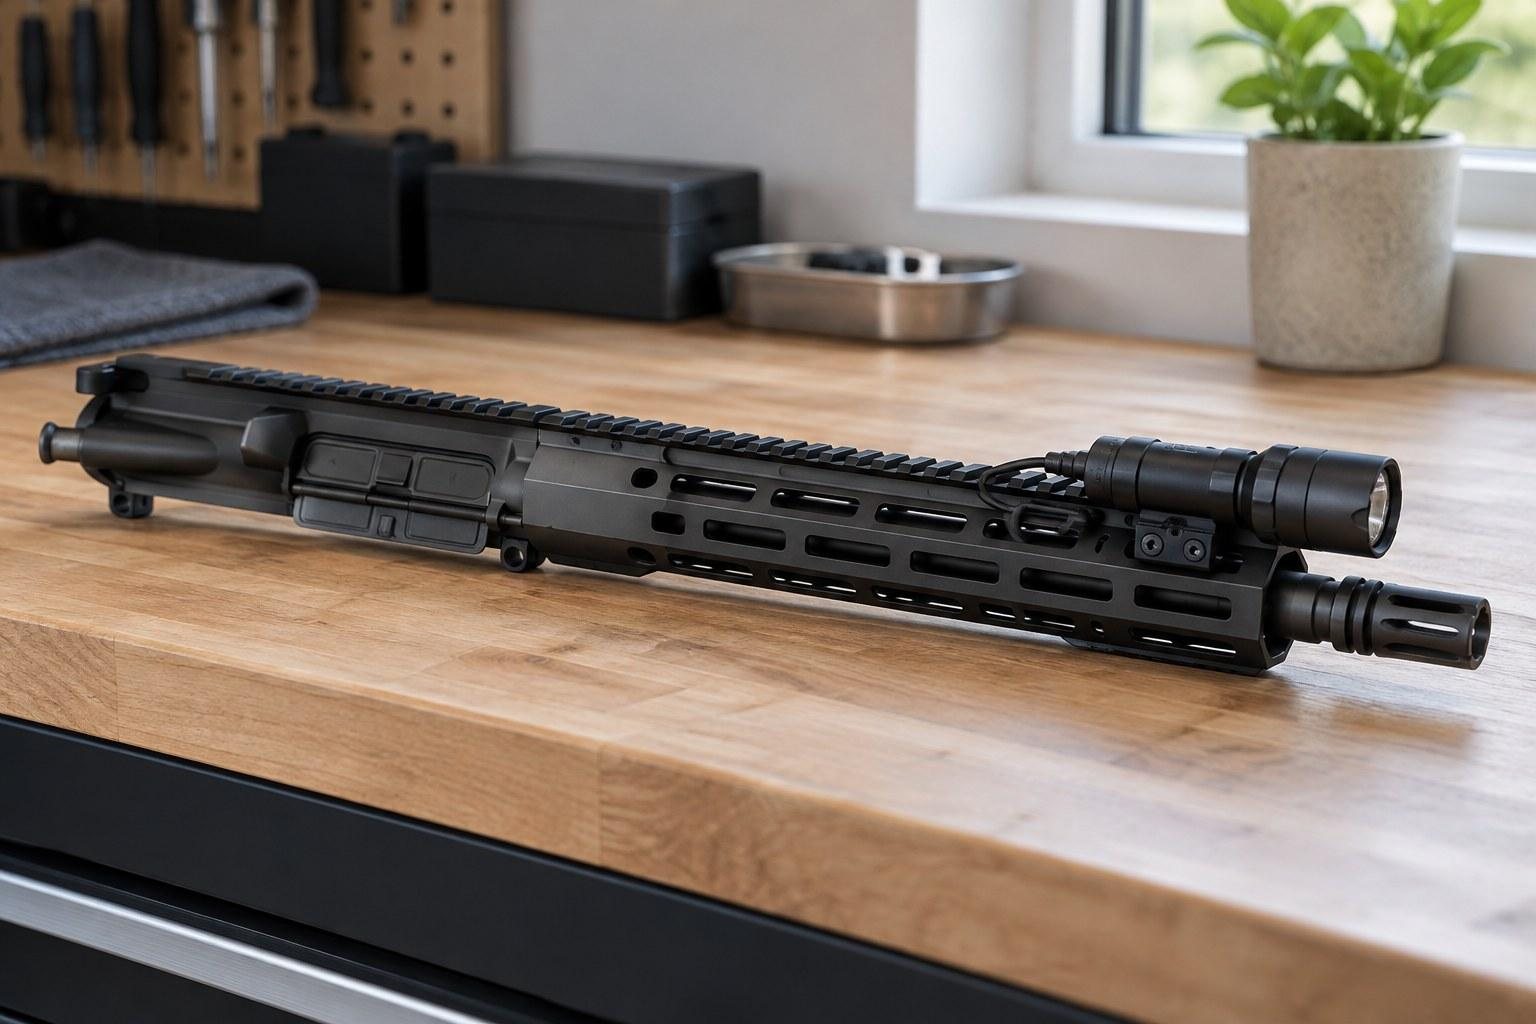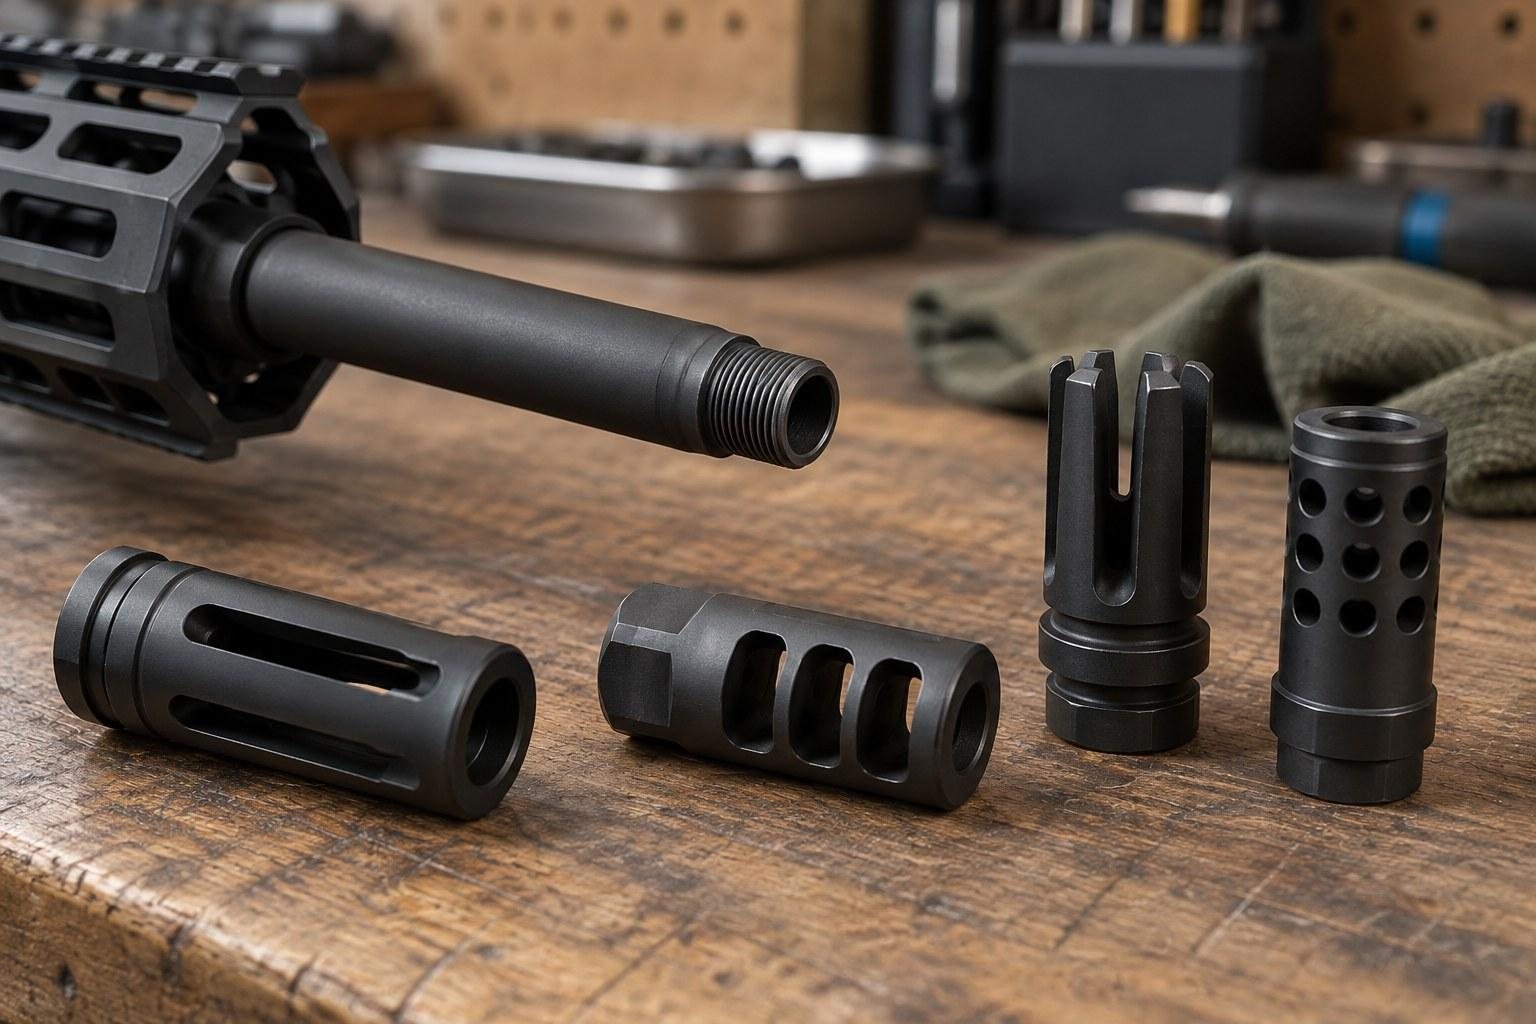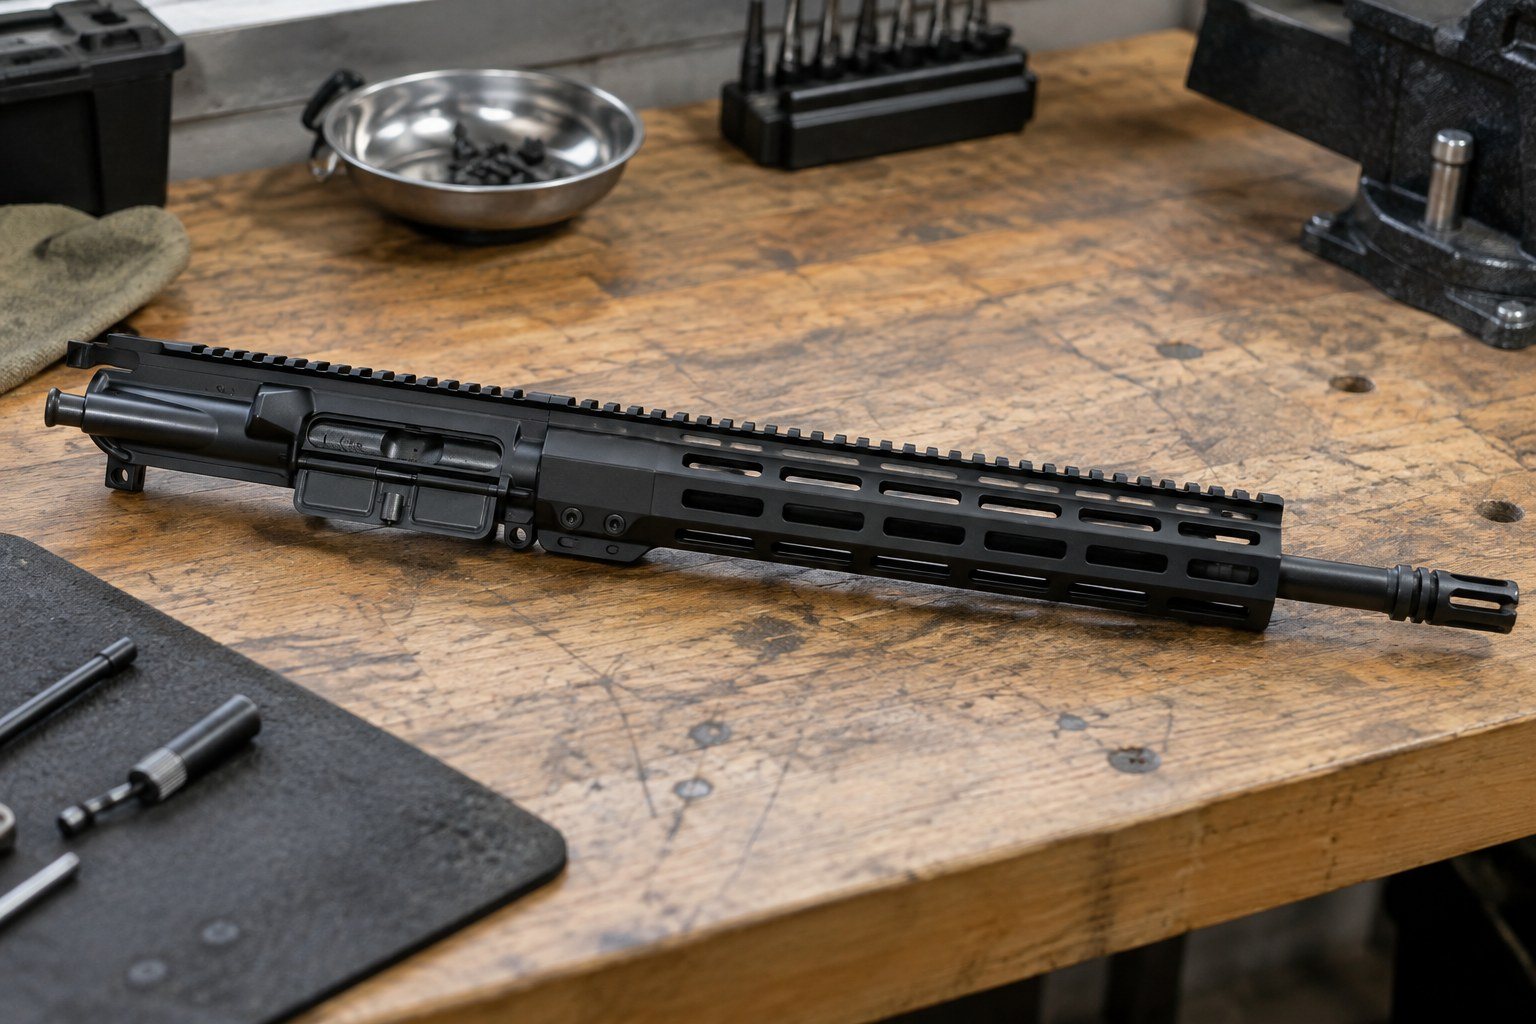
An AR-15 barrel replacement is one of the most rewarding upgrades you can make, and it is also one of the easiest to get wrong. Swapping a barrel lets you change caliber, length, profile or material without buying a whole new rifle. It also touches almost every critical part of the upper: the barrel nut, gas block, gas tube, handguard and muzzle device.
Our editors put together the full process from teardown to function check, with the tools you need, the order of operations and the checks that matter. Read it once before you start, keep the firearm unloaded throughout, and follow the instructions from each component manufacturer.
Rather skip the bench work? Compare complete uppers that arrive assembled and checked.
Key Takeaways
- Always confirm the rifle is unloaded and the bolt carrier group is removed before any work on the upper.
- A proper upper receiver action block or vise block is essential, because clamping the receiver itself can damage it.
- Barrel nut torque and handguard fastener torque should follow the published spec from the part manufacturer, not a number from a forum.
- Match the gas block to the barrel's journal diameter and the gas tube to the barrel's gas system length.
- Check headspace with gauges after installing a new barrel, and use a qualified gunsmith whenever you are unsure.
- A barrel under 16 inches makes a short-barreled rifle under federal law unless the rifle is registered with the ATF.
When an AR-15 Barrel Replacement Makes Sense
Barrels are wear items. Every round fired erodes the throat a little, and eventually accuracy opens up or the rifle stops performing the way it used to. That is the most common reason to swap one out, but it is far from the only one.
Common Reasons to Swap a Barrel
- Worn throat or lost accuracy: groups grow and the rifle no longer shoots to its earlier standard.
- Caliber change: moving from 5.56 to 300 Blackout, 6.5 Grendel or another AR-15 cartridge on the same receiver.
- Length or role change: going longer for precision work or shorter for a handier carbine.
- Material or finish upgrade: moving from a chrome-lined barrel to stainless, or the other way around.
If you are still deciding which length fits your goals, our barrel length guide breaks down the tradeoffs.
Caliber Swaps Need More Than a Barrel
Some cartridges share the standard 5.56 bolt face and magazines, and others do not. A 300 Blackout barrel generally works with a standard bolt, while cartridges such as 6.5 Grendel, 6mm ARC and 22 ARC use a larger bolt face and their own magazines. Larger rounds like 450 Bushmaster and 50 Beowulf have their own bolt requirements too. Always confirm bolt and magazine compatibility with the barrel maker before you buy.
Barrels are available across many chamberings, including 300 Blackout barrels and 223 Wylde barrels, from brands such as Ballistic Advantage, Wilson Combat, Satern Barrels and Shaw Barrels.
Tools and Parts You Need Before You Start
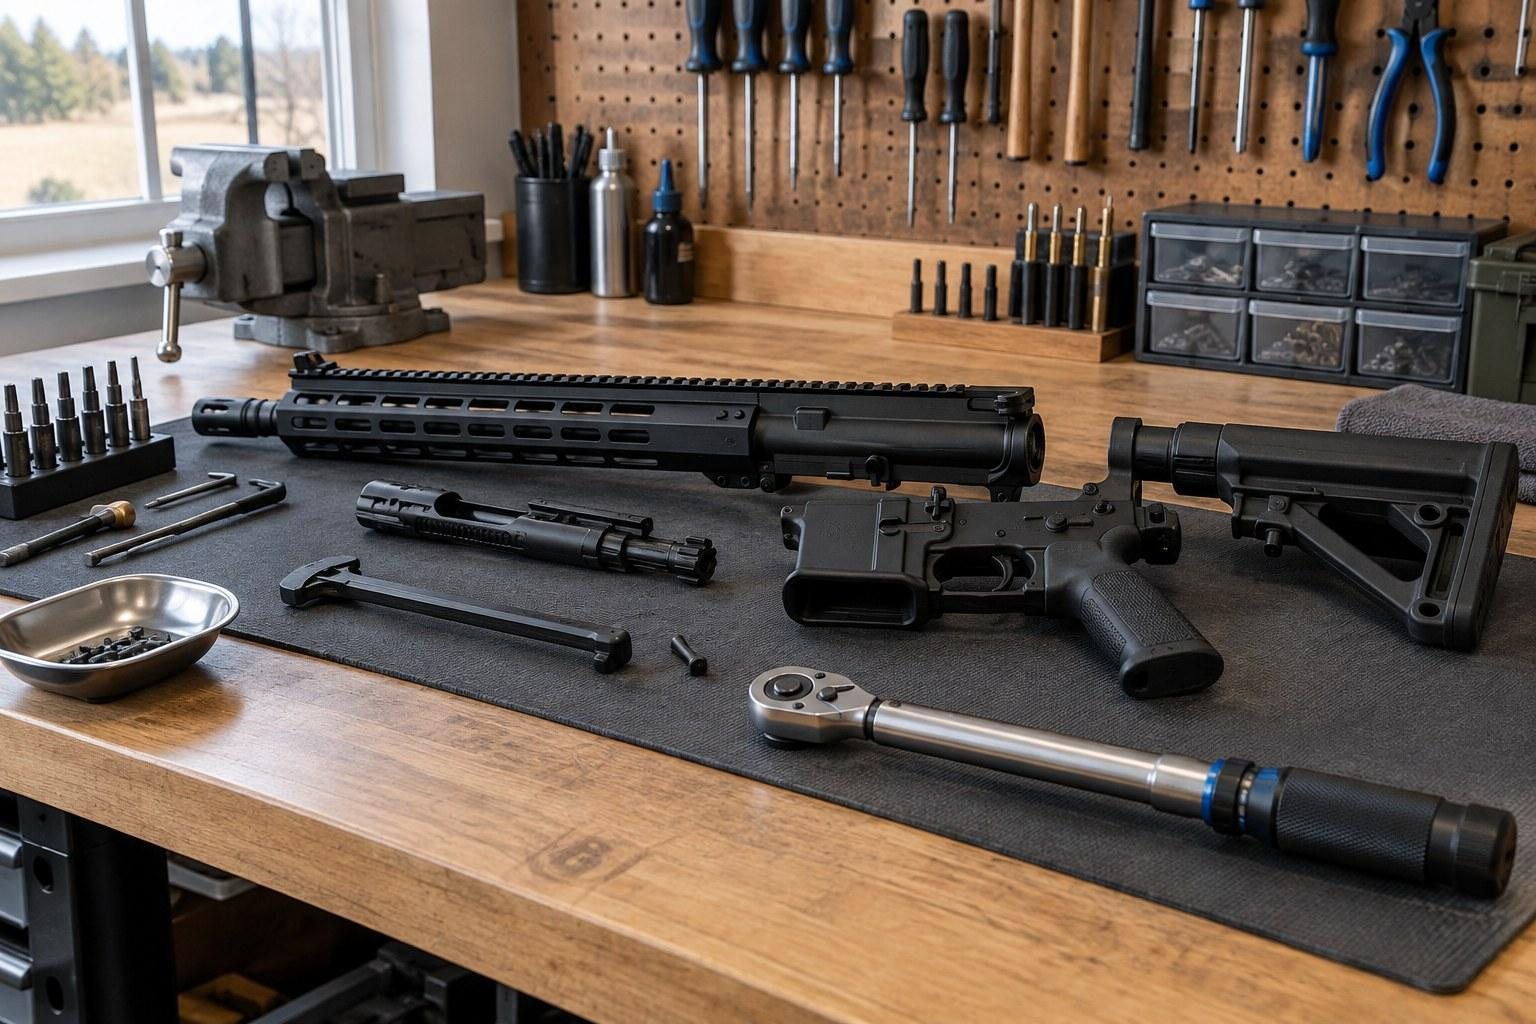
Having the right tools on the bench before you begin prevents many of the common mistakes seen on home-built uppers. Improvised tools tend to scratch finishes, crush receivers or round off barrel nuts.
Essential Tools
- A sturdy bench vise.
- An upper receiver action block or clamshell vise block that supports the receiver without crushing it.
- An armorer's wrench or the specific barrel nut wrench made for your handguard.
- A torque wrench that covers the range listed by your barrel nut and handguard manufacturer.
- Punches, a small hammer, hex keys and a gas block set screw driver as needed.
- Go and No-Go headspace gauges for the caliber you are installing.
- Gun grease for the barrel nut threads and a thread locker if the manufacturer calls for it.
Parts Checklist
Before teardown, confirm you have every part the new barrel needs. The table below lists what to verify.
| Part | What to Verify | Why It Matters |
|---|---|---|
| Barrel | Caliber, length, gas system length, muzzle thread pitch | Determines bolt, gas tube and muzzle device compatibility |
| Gas block | Journal diameter of the barrel | A wrong diameter will not seal or will not fit |
| Gas tube | Pistol, carbine, mid-length or rifle length | Must match the barrel's gas port location |
| Barrel nut and handguard | Compatibility with your receiver and gas block profile | Free-float rails often require a low profile gas block |
| Muzzle device | Thread pitch such as 1/2x28 or 5/8x24 | Wrong pitch cannot be installed safely |
| Bolt | Correct bolt face for the cartridge | Needed for feeding, extraction and safe headspace |
Low profile gas blocks are commonly available in 0.750, 0.875 and 0.936 inch sizes along with gas tubes in various lengths, so you can match both to your barrel. Our guide on choosing the right gas system length explains how gas length affects function.
Want more step-by-step build content? Browse our assembly library.
Step-by-Step Teardown of the Old Barrel
Take your time with the teardown. Lay parts out in order on a clean mat so reassembly is straightforward, and photograph each stage if this is your first time.
Step 1: Clear the Firearm and Separate the Upper
Remove the magazine, lock the bolt to the rear and visually and physically confirm the chamber is empty. Push out the takedown and pivot pins, separate the upper from the lower, then remove the charging handle and the bolt carrier group.
Step 2: Secure the Upper
Place the upper in your action block or vise block and clamp the block, not the receiver, in the vise. The goal is to resist barrel nut torque without stressing the receiver or the barrel.
Step 3: Remove the Muzzle Device and Handguard
Remove the muzzle device with the correct wrench, watching for a crush washer, peel washer or shims. Then remove the handguard. Free-float rails usually come off by loosening clamp screws or mounting bolts, while drop-in handguards come off by pulling back the delta ring. If a muzzle device is pinned and welded, removing it is a job for a gunsmith.
Step 4: Remove the Gas Block and Gas Tube
Loosen the gas block set screws or drive out the taper pins, then slide the gas block and tube forward off the barrel. Some low profile blocks are dimpled into the barrel, so go slowly and avoid gouging the journal.
Step 5: Remove the Barrel Nut and Barrel
Use the barrel nut wrench to break the nut loose and unthread it. With the nut off, the barrel slides forward out of the receiver. Note the indexing pin on the barrel extension and the matching notch in the receiver, since it sets alignment on reassembly.
Installing the New Barrel
Installation reverses the teardown, but each step has details that affect accuracy and reliability. This is where a careful AR-15 barrel replacement separates itself from a rushed one.
Step 6: Seat the Barrel and Grease the Threads
Clean the receiver threads and the inside of the receiver face. Slide the new barrel extension into the receiver with the indexing pin aligned with its notch. Apply a light coat of grease to the receiver threads unless the barrel nut maker specifies something different.
Step 7: Torque the Barrel Nut
Thread the barrel nut on by hand, then use the torque wrench and correct barrel nut wrench. Follow the barrel nut or handguard manufacturer's published torque value and procedure. Many instructions call for snugging and loosening the nut a few times to seat the threads before the final torque. If a timed nut has to line up with the gas tube, use the method the manufacturer describes. Our upper torque specs overview explains why the manufacturer's numbers come first.
Step 8: Install the Gas Tube and Gas Block
Insert the gas tube into the gas block and secure it with its roll pin. Slide the assembly onto the barrel, feed the tube through the barrel nut and into the upper receiver, then align the gas block over the gas port. A misaligned block can starve the rifle of gas, so check alignment carefully before tightening set screws or installing taper pins. Never drill or modify the gas port.
Step 9: Install the Handguard and Muzzle Device
Mount the handguard per its instructions and torque the fasteners to the listed spec. Align the top rail with the receiver rail. Then install the muzzle device with the correct washer or shims, and time it per the manufacturer. Shop the AR-15 handguards and muzzle devices at AR15Parts.com if your old ones will not fit the new barrel.
Headspace, Function Checks and Break-In
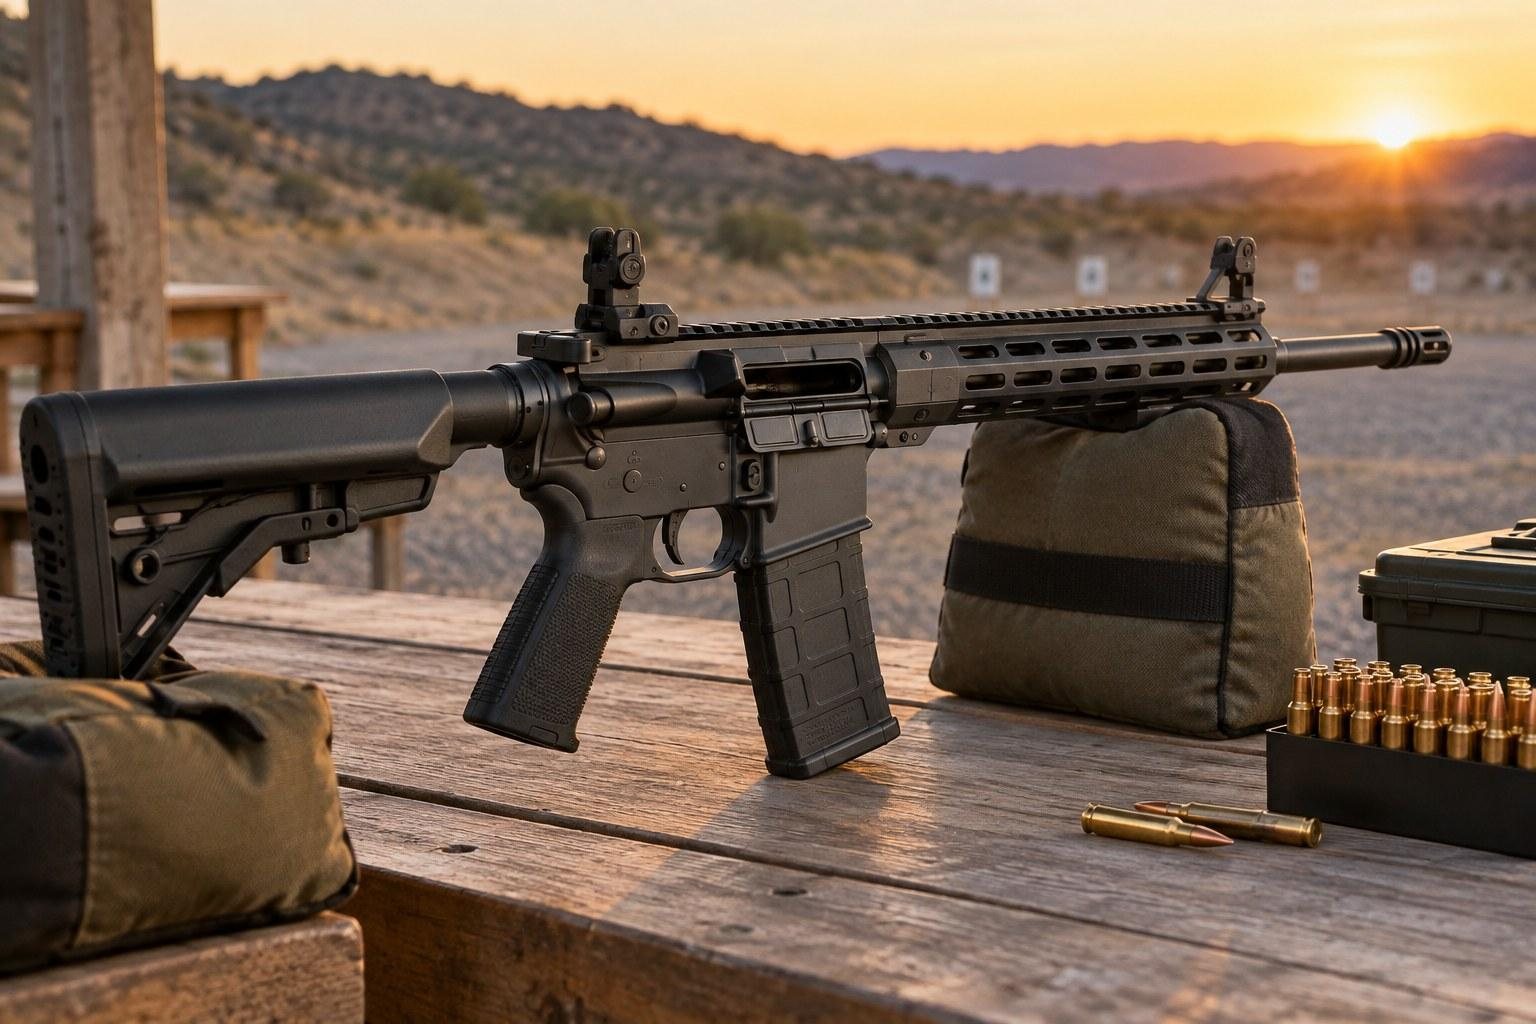
An upper is not finished until it has been checked. Skipping this step is how small mistakes become dangerous ones.
Check Headspace
Remove the extractor and ejector from the bolt, or use a stripped bolt, then install it in the carrier. With the Go gauge in the chamber, the bolt should close and rotate fully. With the No-Go gauge, it should not close. If results are not what you expect, stop and consult a qualified gunsmith. Gauges must match the cartridge you are installing.
Function Check
Reinstall the bolt carrier group and charging handle, reattach the upper to the lower and perform a full function check with the rifle unloaded. Confirm the safety, trigger reset and bolt operation all behave as they should. Then cycle dummy rounds if you have them.
Break-In and Zero
Barrel break-in practices vary by manufacturer, so follow the barrel maker's recommendation. Our AR-15 barrel break-in guide covers the common approaches. After that, re-zero your optic, since a new barrel will shift point of impact.
Legal Notes and When to Call a Gunsmith
Barrel length is a legal question as well as a performance one. Under federal law, a rifle with a barrel under 16 inches or an overall length under 26 inches is a short-barreled rifle that must be registered with the ATF before it is built. Since January 1, 2026 the federal tax for SBR registration is $0, but registration is still required. A pinned and welded muzzle device can bring a shorter barrel to 16 inches. State and local laws vary, so check yours before you order a barrel.
Jobs Best Left to a Pro
- A barrel nut that will not break loose with proper tools.
- Pinned and welded muzzle devices.
- Headspace gauge results that are not a clean pass.
- Any sign of a cracked, bent or damaged receiver.
AR15Parts.com does not offer installation or fitting services, so a local qualified gunsmith is the right call for these cases. Another option is to skip the bench entirely: complete uppers from AR15Parts.com are assembled in-house, headspaced and function-checked before they ship.
Want to compare a factory-assembled upper with a DIY AR-15 barrel replacement? Explore our complete upper coverage.