The only honest way to judge AR-15 accuracy is to shoot groups on paper under controlled conditions and measure them. Forum claims, a single lucky group or a feeling from behind the optic will not tell you what your upper can really do. A structured set of group shooting drills will.
A repeatable process for testing a new or freshly assembled upper can make all the difference. You will learn how to set up a stable bench, which variables to lock down, how many shots to fire, how to measure a group and how to tell the difference between a rifle problem, an ammunition problem and a shooter problem.
Looking for an upper worth testing? Browse complete uppers that are assembled, headspaced and function-checked before they ship.
Key Takeaways
- Group size, measured center to center on paper, is the most practical way to judge how precisely an upper can shoot.
- Testing only means something when you control the variables, including the rest, the ammunition, the optic and the shooter's technique.
- Several groups of the same size and type tell you far more than one small group, so plan to shoot a series and average the results.
- Ammunition is often the biggest single variable, so test more than one load before you blame the barrel.
- Large or wandering groups can point to loose parts, a shifting optic, a fouled bore or shooter error, and each has a different fix.
Why Group Shooting Is the Standard for AR-15 Accuracy
Accuracy and precision are related but not identical. Precision is how tightly your shots cluster. Accuracy is how close that cluster lands to your point of aim. Group shooting measures precision first, and once you know the rifle groups well, you can adjust the optic to move the group onto the aiming point.
That is why shooters, barrel makers and reviewers talk about group size. It is a simple number you can measure with a ruler or calipers, and it lets you compare one upper, load or setup against another on equal terms.
What a Group Actually Tells You
A group shows the combined result of everything that touches the shot: the barrel, the ammunition, the optic and mount, the rest and you. A tight group means all of those pieces worked together. A loose group means at least one of them did not, and the job of a good test is to figure out which one.
Understanding Minute of Angle
Group sizes are often expressed in minutes of angle, or MOA. One minute of angle is one sixtieth of a degree, which works out to a little over one inch at 100 yards and grows in proportion with distance. Expressing groups in MOA lets you compare a group shot at 50 yards with one shot at 100 yards. Many optics also adjust in MOA, so the same unit helps you make sight corrections after a test.
Setting Up a Fair Test
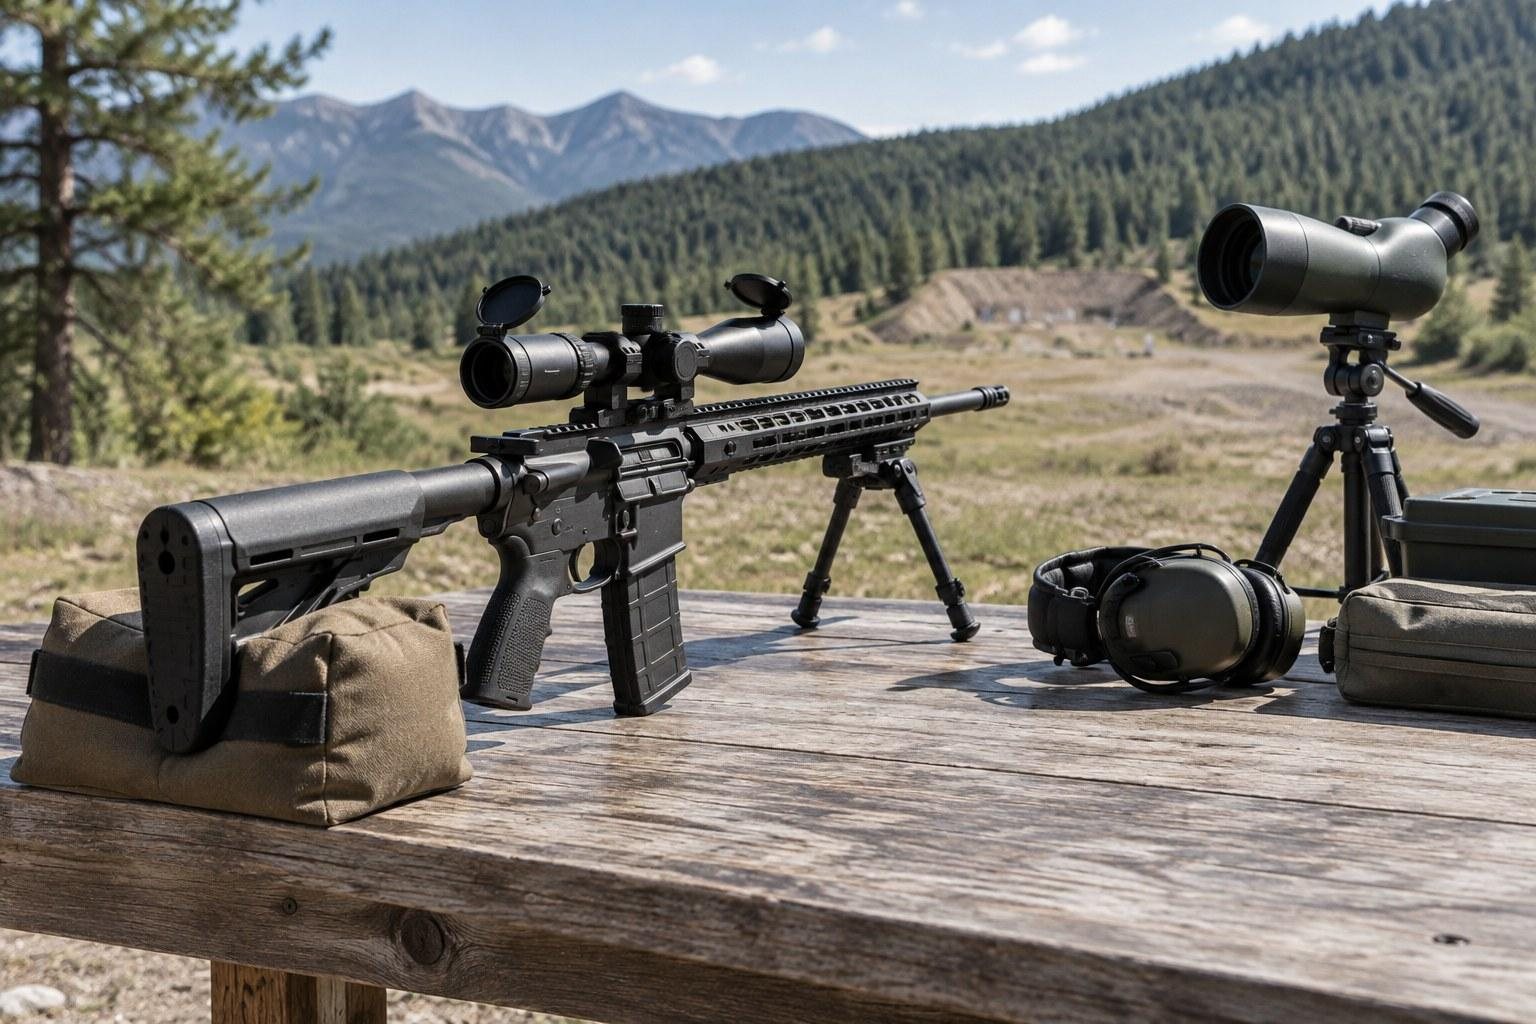
A fair accuracy test removes as much of the human element as possible. The goal is to let the upper show what it can do, not to test how steady your arms are after a long range day.
Start With Safety
Before you mount an optic, tighten anything or inspect the bore, make sure the firearm is unloaded with the magazine removed and the chamber visually and physically checked. Follow the manufacturer's instructions for every component, follow your range's rules and wear eye and ear protection. If anything about the rifle seems off, have a qualified gunsmith look at it before you shoot.
Build a Stable Rest
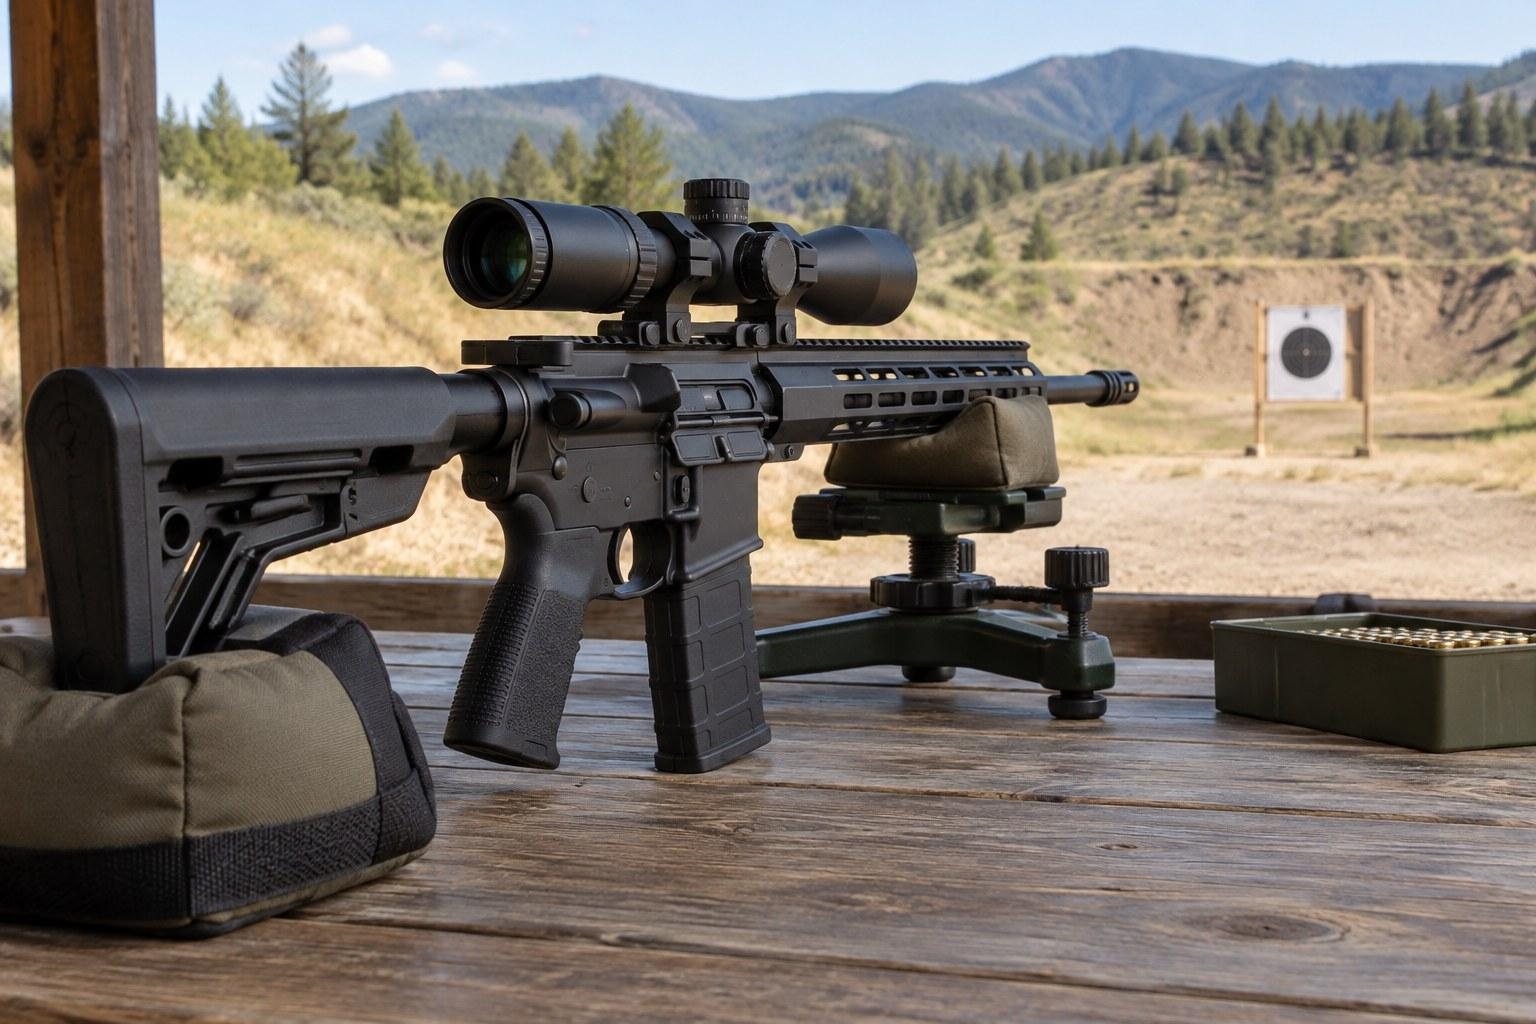
Shoot from a solid bench with a front rest or bipod and a rear bag under the stock. The rifle should return to the same spot after every shot with little effort from you. Avoid resting the handguard directly on a hard surface if your upper uses a drop-in handguard, because pressure on the handguard can shift the point of impact. A free-floated handguard is less sensitive to how you rest it.
Want to understand that difference in more detail? Read our comparison of free-float and drop-in handguards before you set up your rest.
Lock Down the Optic
A magnified optic makes small groups easier to see and shoot. Mount it in a quality mount, torque the rings and mount screws to the optic or mount manufacturer's published spec, and adjust the parallax if your scope allows it. A loose mount is one of the most common hidden causes of poor groups, so check it before you blame anything else.
Pick the Right Distance and Target
100 yards is a common distance for accuracy testing because it is long enough to reveal differences between loads and short enough that wind is easier to manage. If you only have access to a shorter range, a 50 yard test still tells you a lot. Use a target with a fine, high-contrast aiming point such as a small square or diamond so you can hold the crosshair in the exact same place every shot.
Want to make sure your rifle is pointing in the right place first? Our editors cover the zeroing process step by step in our resource on zeroing an AR-15 at 25, 50 and 100 yards.
Need help with the build side of your test rifle? Explore our build and assembly resources.
Group Shooting Drills That Reveal AR-15 Accuracy
The drills below build on each other. Run them in order and keep notes on every group, including the load, distance, temperature and anything unusual you noticed.
Drill 1: The Fouling and Settling Group
If the bore was just cleaned, fire a few rounds onto a separate target before you start recording groups. A freshly cleaned barrel can place its first shots differently from a fouled one. These shots also let you confirm the rifle is cycling properly and the optic is roughly on target. If your barrel is brand new, follow the barrel maker's break-in advice, and see our notes on AR-15 barrel break-in.
Drill 2: Five-Shot Groups With One Load
Fire five shots at a single aiming point at a steady, unhurried pace. Repeat for several groups with the same ammunition, letting the barrel cool between groups. Five-shot groups are a common middle ground: three shots can make a rifle look better than it is, while larger strings take longer and heat the barrel more. Whatever you choose, use the same group size every time so your results stay comparable.
Drill 3: The Ammunition Comparison
Repeat Drill 2 with two or three different loads, ideally with different bullet weights. Barrels often show a clear preference for certain loads, and bullet weight interacts with twist rate. If you want to know why a particular bullet suits your barrel, our AR-15 twist rate guide explains the relationship.
Drill 4: The Cold Bore Shot
For hunting or defensive rifles, the first shot from a cold, clean or lightly fouled barrel matters most. On a separate visit, fire one shot from a cold rifle at the start of the session and mark it. Over several range trips, those single shots form a group of their own and show you where your first round really goes.
Drill 5: The Heat and String Test
Fire a longer string at a steady pace and watch whether the point of impact walks as the barrel heats. Thinner barrel profiles tend to shift more as they get hot than heavier profiles do. This drill tells you how the upper behaves during a long training session or a match stage, not just on the first few shots.
How to Measure and Record Your Groups
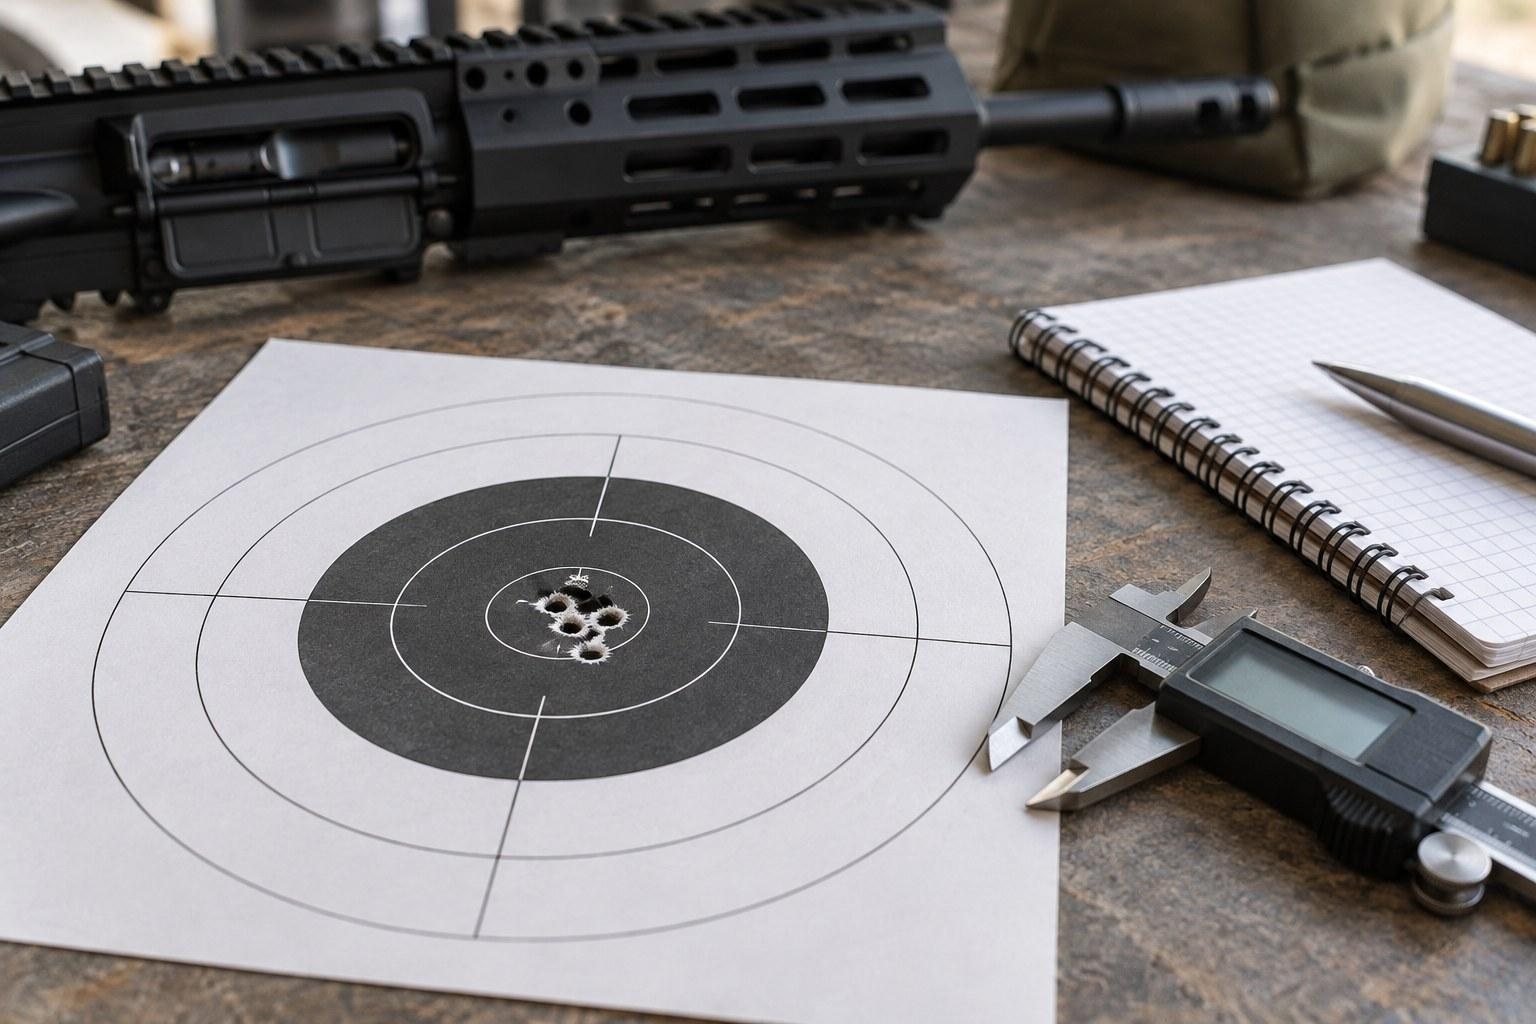
Measuring a group is simple, but consistency matters. Use the same method every time so your numbers mean something.
Center-to-Center Measurement
Measure from the outside edges of the two shots that are farthest apart, then subtract one bullet diameter. That gives you the center-to-center group size, which is the standard way to report extreme spread. Calipers make this more precise, but a ruler will get you close.
Average Several Groups
One small group can be luck. Average the size of all the groups you shot with a given load to get a realistic picture. If the average is much larger than your best group, your rifle or your technique is less consistent than the best group suggests.
A Simple Test Log
Keep a log for every session. The table below shows the fields it is generally wise to track.
| Field | What to Record | Why It Matters |
|---|---|---|
| Ammunition | Brand, bullet weight, lot number | Different loads and lots can group differently |
| Distance | Measured yardage to target | Needed to convert group size to MOA |
| Group size | Center-to-center measurement for each group | Lets you average and compare results |
| Conditions | Wind, temperature, light | Explains outliers and day-to-day changes |
| Rest setup | Bipod, bags or sled, handguard contact | Rest changes can move point of impact |
| Rounds since cleaning | Approximate count | Fouling can affect where shots land |
| Notes | Flyers, malfunctions, called pulls | Separates shooter error from rifle issues |
Reading the Results and Troubleshooting
Once you have a stack of measured groups, look for patterns. The shape and behavior of your groups often point to the cause.
Groups That Are Consistently Large
If every load groups poorly, look at the hardware. Check that the optic and mount are tight, that the barrel nut and handguard are secure and that the muzzle device is properly installed. Follow the component manufacturer's published torque specs, and see our overview of AR-15 upper torque specs for context. A worn or damaged crown or a heavily fouled bore can also open groups. If you are not sure, a qualified gunsmith can inspect the barrel.
Groups With Random Flyers
Single shots far from the group are often shooter error, such as a jerked trigger or a change in cheek weld. Call each shot as it breaks. If you knew a shot was bad, note it. If flyers show up even when every shot felt good, look at ammunition consistency and the condition of the bore.
Groups That Walk or String
Shots that climb or drift in a line as you fire can point to barrel heat, inconsistent pressure on a drop-in handguard or a shifting rest. Slow your pace, let the barrel cool and check how the rifle sits on the bags. Vertical stringing can also come from ammunition with inconsistent velocity.
When One Load Shines
If one load clearly outperforms the others, that is good news. It means the upper is capable and the barrel simply prefers that ammunition. Buy more of the same lot if you can and use it for serious work.
Upgrades That Can Improve Your Groups
Testing gives you a baseline. If the results fall short of your goals, these are the parts most likely to make a difference, roughly in the order many shooters would look at them.
Barrel Quality and Profile
The barrel has the greatest single influence on mechanical precision. Material, rifling method, profile and chamber all play a role. AR-15 and AR-10 barrels are available from a wide range of makers, including Ballistic Advantage and Satern Barrels. A 223 Wylde barrel is a popular choice because its chamber lets shooters fire both 5.56 NATO and .223 Remington, and these barrels are commonly offered in 16, 18 and 20 inch lengths with a 1:8 twist, so it is worth checking current options. Our comparison of cold hammer forged and button rifled barrels covers how manufacturing method fits in.
Free-Float Handguard
A free-float handguard keeps your hand and rest pressure off the barrel, which can make groups more consistent from different positions. AR-15 handguards are widely available if your current upper uses a drop-in design.
Bolt Carrier Group
A properly headspaced, well-maintained bolt carrier group helps the rifle cycle consistently. It is rarely the first fix for poor groups, but a worn or damaged bolt can cause problems. Bolt carrier groups are commonly available in nitride and nickel boron finishes, and it is generally wise to confirm headspace with the correct gauges or a qualified gunsmith.
A Complete Upper Built for Precision
If you would rather start fresh, a complete upper with a quality barrel and free-float handguard takes much of the guesswork out of AR-15 accuracy. Complete uppers from AR15Parts.com are assembled, headspaced and function-checked before they ship, and shipping takes 3 to 5 business days. You can compare options by caliber on the complete AR uppers page.
Ready to compare complete uppers side by side? Start with our buying guides.