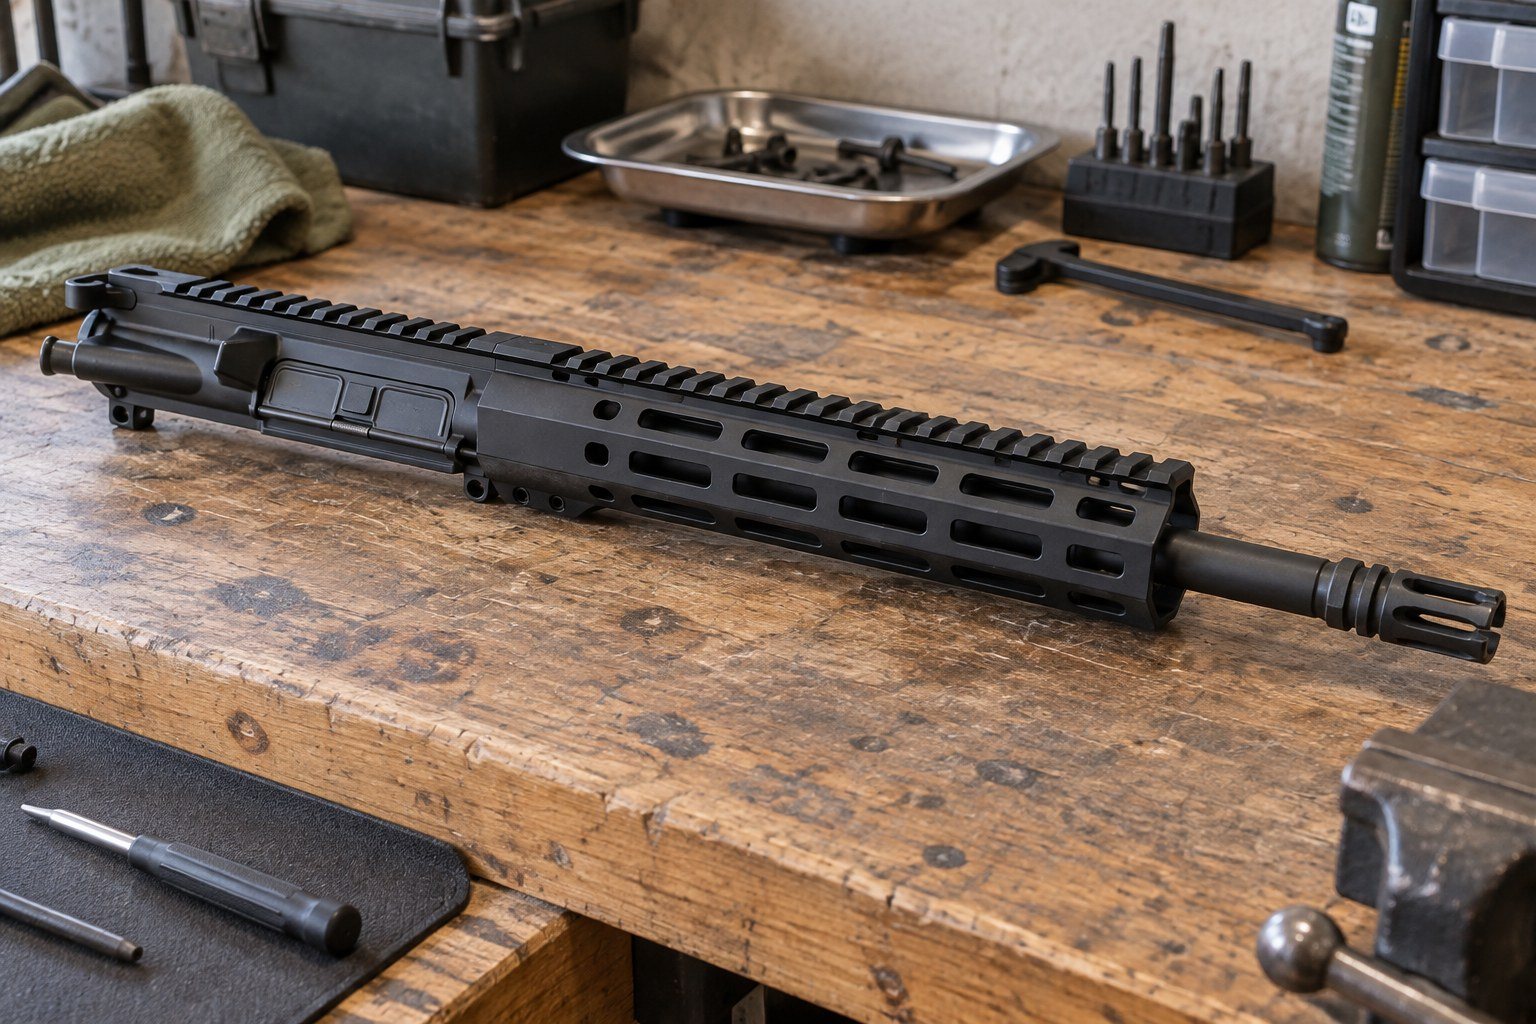
The right AR-15 build tools turn upper assembly from a frustrating afternoon into a clean, repeatable job. You do not need a full machine shop, but you do need a few purpose-built items that hold the receiver securely, apply the correct torque and seat small pins without marring the finish.
Our editors at AR15 Uppers have sorted the tool list into must-haves, nice-to-haves and the checks that keep a home build safe. You will learn what each tool does, which assembly step it supports and when it makes more sense to buy a finished upper instead. Always work on an unloaded firearm and follow each component manufacturer's instructions.
Would you rather skip the bench work entirely? Browse complete uppers that are assembled, headspaced and function-checked before they ship.
Key Takeaways
- An upper receiver vise block and a sturdy bench vise are the foundation of any home upper build.
- An armorer's wrench and a torque wrench let you install the barrel nut to the manufacturer's published spec.
- Roll pin punches, a starter punch and a small hammer handle the forward assist and ejection port cover pins.
- Headspace gauges let you confirm the bolt and barrel work together safely before the first live round.
- If you are unsure about any step, a qualified gunsmith or a factory-assembled complete upper is the safer choice.
What Assembling an AR-15 Upper Actually Involves
Before you buy anything, it helps to know which jobs the tools need to do. An AR-15 upper starts as a stripped or assembled receiver and ends as a working unit with a barrel, gas system, handguard, bolt carrier group and charging handle.
The Main Assembly Steps
- Install the forward assist and ejection port cover if you started with a stripped receiver.
- Seat the barrel extension in the receiver and install the barrel nut.
- Install the gas block and gas tube, aligning the tube with the gas key path.
- Mount the handguard and muzzle device.
- Insert the bolt carrier group and charging handle, then check headspace and function.
Each step leans on a different tool. Our upper installation walkthrough covers the sequence in more depth, while the sections below focus on what belongs on your bench.
Stripped Receiver or Assembled Receiver
Starting with an assembled receiver removes the roll pin work for the forward assist and dust cover. If you want to compare the two starting points, our article on stripped vs. complete uppers breaks down the tradeoffs. AR-15 upper receivers are available for builders who want to start from the receiver up.
The Essential AR-15 Build Tools for Upper Assembly
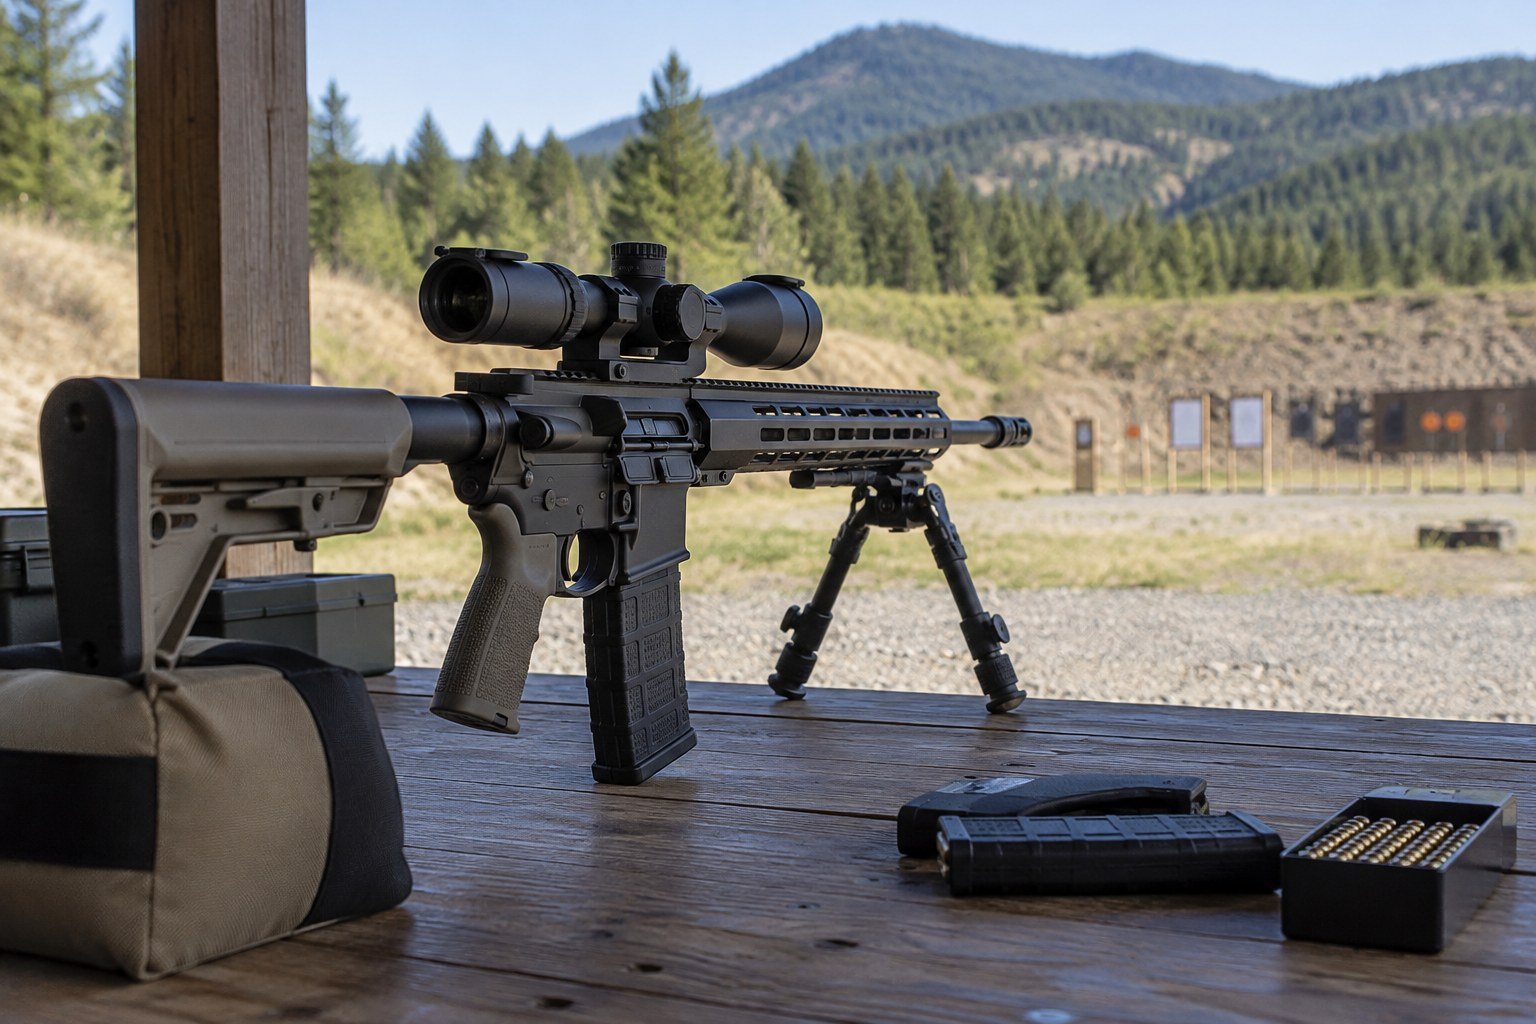
These are the items our editors consider non-negotiable for a home upper build. Skipping any of them usually means scratched parts, guessed torque or a misaligned gas system.
Bench Vise and Upper Receiver Vise Block
A heavy, well-mounted bench vise anchors everything. On its own, though, a vise will crush or scratch an aluminum receiver, so you pair it with an upper receiver vise block or a reaction rod.
Clamshell-style vise blocks wrap around the receiver body. Reaction rods slide into the receiver and engage the barrel extension lugs, which moves the barrel nut torque into the steel extension instead of the aluminum receiver. Many builders prefer a reaction rod for exactly that reason.
Armorer's Wrench
The armorer's wrench is the multi-tool of AR-15 building. Depending on the design, it tightens a standard barrel nut, removes A2 flash hiders and adjusts carbine stock castle nuts.
Many free-float handguards ship with their own proprietary barrel nut and a matching wrench. Check what your handguard maker includes before buying a separate tool, since a generic wrench may not fit their nut.
Torque Wrench
A torque wrench with a square drive that accepts your armorer's wrench is essential. Barrel nut torque is not a guess, and different handguard and barrel nut designs carry different published values.
Always use the torque spec published by the manufacturer of your barrel nut or handguard. Our upper torque specs reference explains how to read those specs and why the barrel nut may need to be indexed to align with the gas tube.
Punches and a Hammer
You need roll pin punches, ideally a starter punch with a hollow tip that holds the pin straight, and a few solid punches for driving pins home. A small brass or nylon hammer gives you control without denting the receiver.
These tools handle the forward assist roll pin, the ejection port cover pin and, on many builds, the gas tube roll pin. Want to see which upper parts you will be pinning in? Our upper receiver category gathers the guides that explain each piece.
Helpful Tools That Make the Job Easier
These items are not strictly required, but they save time, protect finishes and reduce the chance of small mistakes.
Bench Block
A polymer or rubber bench block with holes and grooves supports the receiver while you drive pins. It keeps the part from rolling and gives the pin somewhere to go as it exits.
Gas Tube Alignment Rod
A gas tube alignment rod slips through the barrel nut and upper receiver to confirm the gas tube lines up with the bolt carrier's gas key path. It is a quick check that prevents binding or short-stroking from a misaligned tube.
Lubricants and Thread Compound
Many barrel and handguard makers call for grease or anti-seize on the barrel nut threads, and some call for thread locker on gas block set screws or handguard bolts. Follow the instructions that came with your parts, since the requirements vary by design.
Hex and Torx Keys
Low-profile gas blocks, free-float handguards and many muzzle devices use set screws or cap screws. A quality set of hex and Torx keys or bits, preferably for a small inch-pound torque driver, keeps those fasteners from stripping.
Protective Tape and a Gun Mat
Painter's tape over the receiver near punch work and a padded mat on the bench protect the anodized finish. They cost little and prevent the cosmetic scratches that come from a slipped punch.
Safety and Function Checks After Assembly
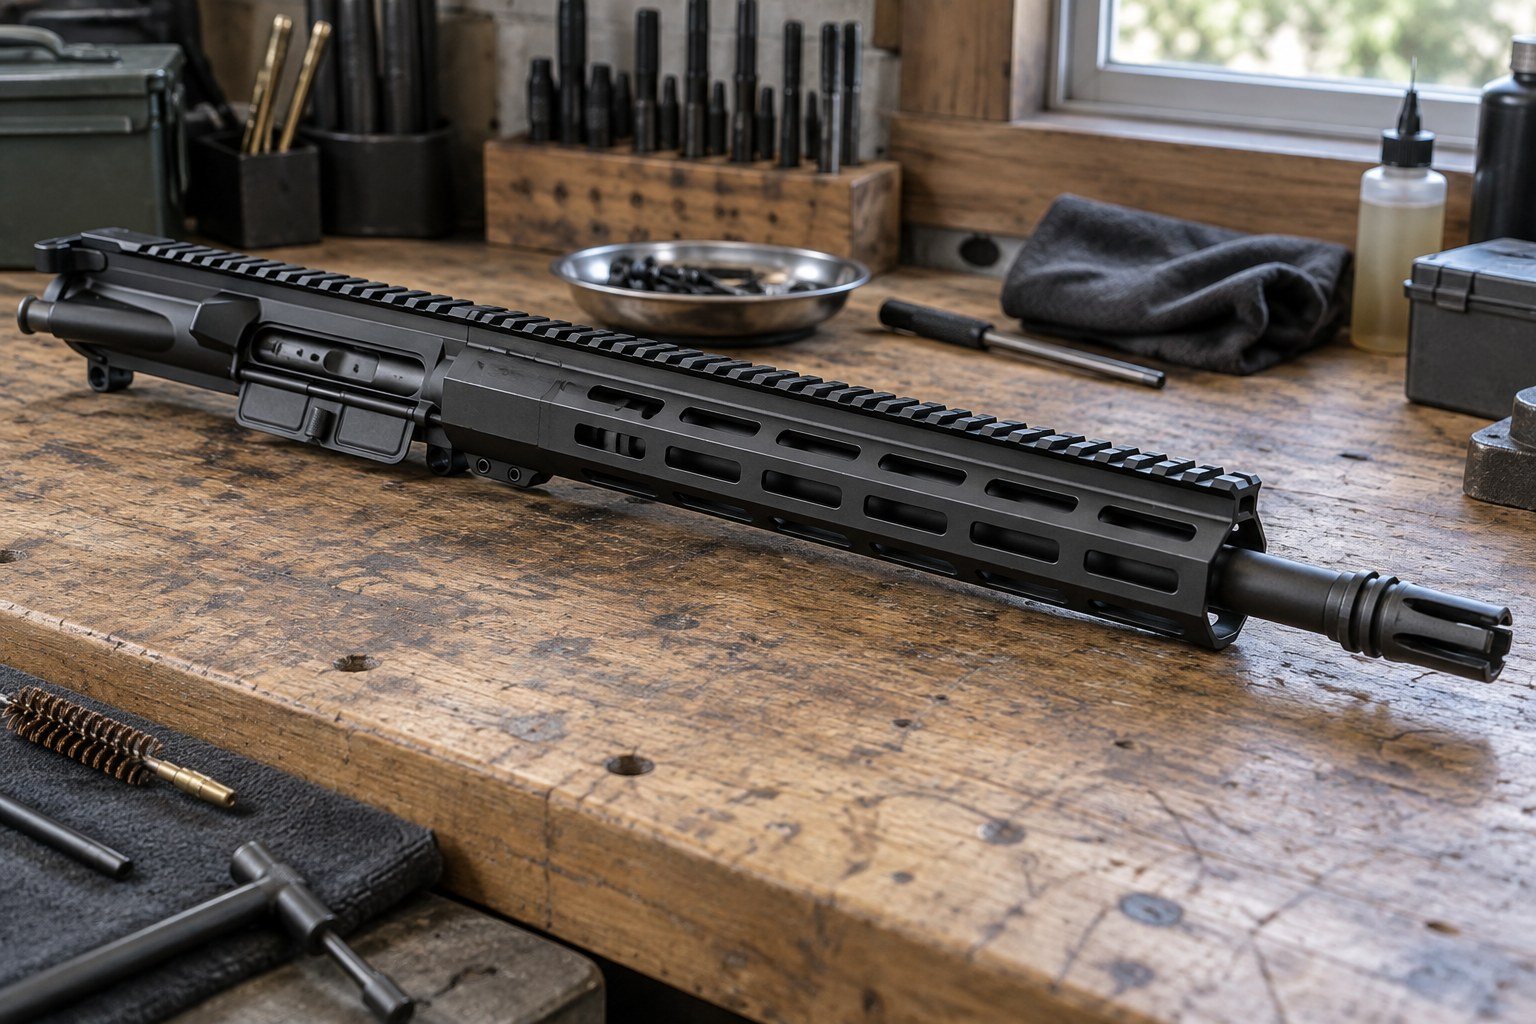
Assembly is only half the job. A home-built upper should be checked carefully before it ever sees live ammunition.
Headspace Gauges
Headspace describes the fit between the bolt face and the chamber. Go and no-go gauges for your chambering let you confirm the bolt closes on a go gauge and does not close on a no-go gauge.
Remove the extractor and ejector from the bolt, or use a stripped test bolt, so spring tension does not mask the reading. If a bolt closes on the no-go gauge, stop and consult a qualified gunsmith before firing.
Function Checks
With the upper installed on a lower and the rifle confirmed unloaded, cycle the charging handle and confirm the bolt carrier moves freely. Check that the gas tube does not bind against the bolt carrier key and that the handguard and muzzle device are secure. If you have never headspaced a rifle before, have a qualified gunsmith inspect the work. A small error here can create real safety risks.
Legal Considerations
Your choice of barrel affects more than performance. A rifle barrel under 16 inches, or an overall length under 26 inches, creates a short-barreled rifle that requires registration with the ATF. Since January 1, 2026 the federal tax on that registration is $0, but registration is still required, and a pinned and welded muzzle device can bring a shorter barrel to 16 inches. State and local laws vary, so check the rules where you live.
Choosing Parts That Match Your Tools
Your tool list depends partly on the parts you choose. A handguard with a proprietary barrel nut may need its own wrench, while a low-profile gas block uses set screws rather than taper pins.
Quick Reference Table
| Assembly Step | Primary Tools | Helpful Extras |
|---|---|---|
| Forward assist and dust cover | Roll pin punches, small hammer | Bench block, painter's tape |
| Barrel installation | Vise, vise block or reaction rod, armorer's wrench, torque wrench | Grease or anti-seize per the maker's instructions |
| Gas block and gas tube | Hex keys, punches for the gas tube pin | Gas tube alignment rod, thread locker if specified |
| Handguard and muzzle device | Handguard wrench, hex or Torx keys, armorer's wrench | Inch-pound torque driver, crush washer or shims |
| Final checks | Headspace gauges | Gun mat, flashlight |
Matching Components
If you are piecing a build together, AR-15 and AR-10 barrels, free-float handguards and upper parts such as gas blocks, gas tubes and forward assist assemblies are widely available for matching to your build. Our guide on choosing the right gas system length can help you match the gas tube to your barrel.
When a Complete Upper Makes More Sense
Buying a full set of AR-15 build tools makes sense if you plan to build more than one rifle or enjoy the hands-on process. For a single build, the tools can add up, and you still carry the responsibility for headspace and function.
Reasons to Build at Home
- You want to choose every component yourself.
- You plan to build or maintain several rifles over time.
- You want to understand how your rifle works from the inside.
Reasons to Choose a Complete Upper
- You want a rifle that is ready to install on your lower.
- You would rather not buy tools you may only use once.
- You want headspace and function verified before the upper arrives.
Complete uppers from AR15Parts.com are assembled in-house, headspaced and function-checked before they ship, typically within 3 to 5 business days. If that sounds like a better fit, browse our complete upper guides and comparisons.