Good AR-15 storage is mostly about controlling three things: moisture, residue and neglect. A spare upper that sits in a cold garage or a damp closet from November to March can come out with surface rust on the barrel extension, gummy lube in the bolt carrier group and a crusty bore that was never cleaned after the last range trip.
The good news is that putting an upper away properly takes one focused evening. Our editors walk through how to clean it, how much oil to leave on it, where to keep it, and what to check when spring arrives. None of it requires special tools, and all of it starts with a cleared, unloaded firearm.
Shopping for a spare before you put the main rifle away for the season?
Key Takeaways
- Clean the bore, chamber and bolt carrier group before storage, because fouling and old lube hold moisture against the steel.
- Leave a thin, even film of a protective oil on steel parts rather than a heavy coat that collects dust and turns sticky in the cold.
- Store the upper indoors in a climate-controlled room whenever possible, and add a desiccant or dehumidifier if the space runs damp.
- Avoid sealing a cold upper in an airtight case and then moving it into a warm room, since that temperature swing can cause condensation.
- Check stored uppers periodically through the winter, and do a full inspection and function check before the first range trip of spring.
Why Winter Is Hard on a Stored Upper
Winter itself is not the enemy. The problem is the swing between cold storage spaces and warm, humid air. When warm air meets cold steel, moisture condenses on the metal, and bare or lightly finished steel can start to rust surprisingly quickly.
Where Rust Shows Up First
Most upper receivers are aluminum with an anodized finish, so the receiver body is not where you usually see trouble. The steel parts are. Watch these areas closely:
- The bore and chamber, especially if the upper was put away dirty.
- The barrel extension and locking lugs inside the upper.
- The bolt face, bolt lugs and the inside of the carrier.
- Exposed barrel steel near the gas block and muzzle device.
- Small springs and pins, such as the ejector and extractor parts.
Why Finish Matters
Barrel and bolt finishes vary. Chrome lining, nitride treatments and stainless steel all behave differently when it comes to corrosion, and no finish makes a part rustproof. If you want the details on how each option holds up, read our breakdown of chrome lined, nitride and stainless barrels. Whatever you own, the same rule applies: clean it, protect it and keep it dry.
Step One: Clean Before AR-15 Storage
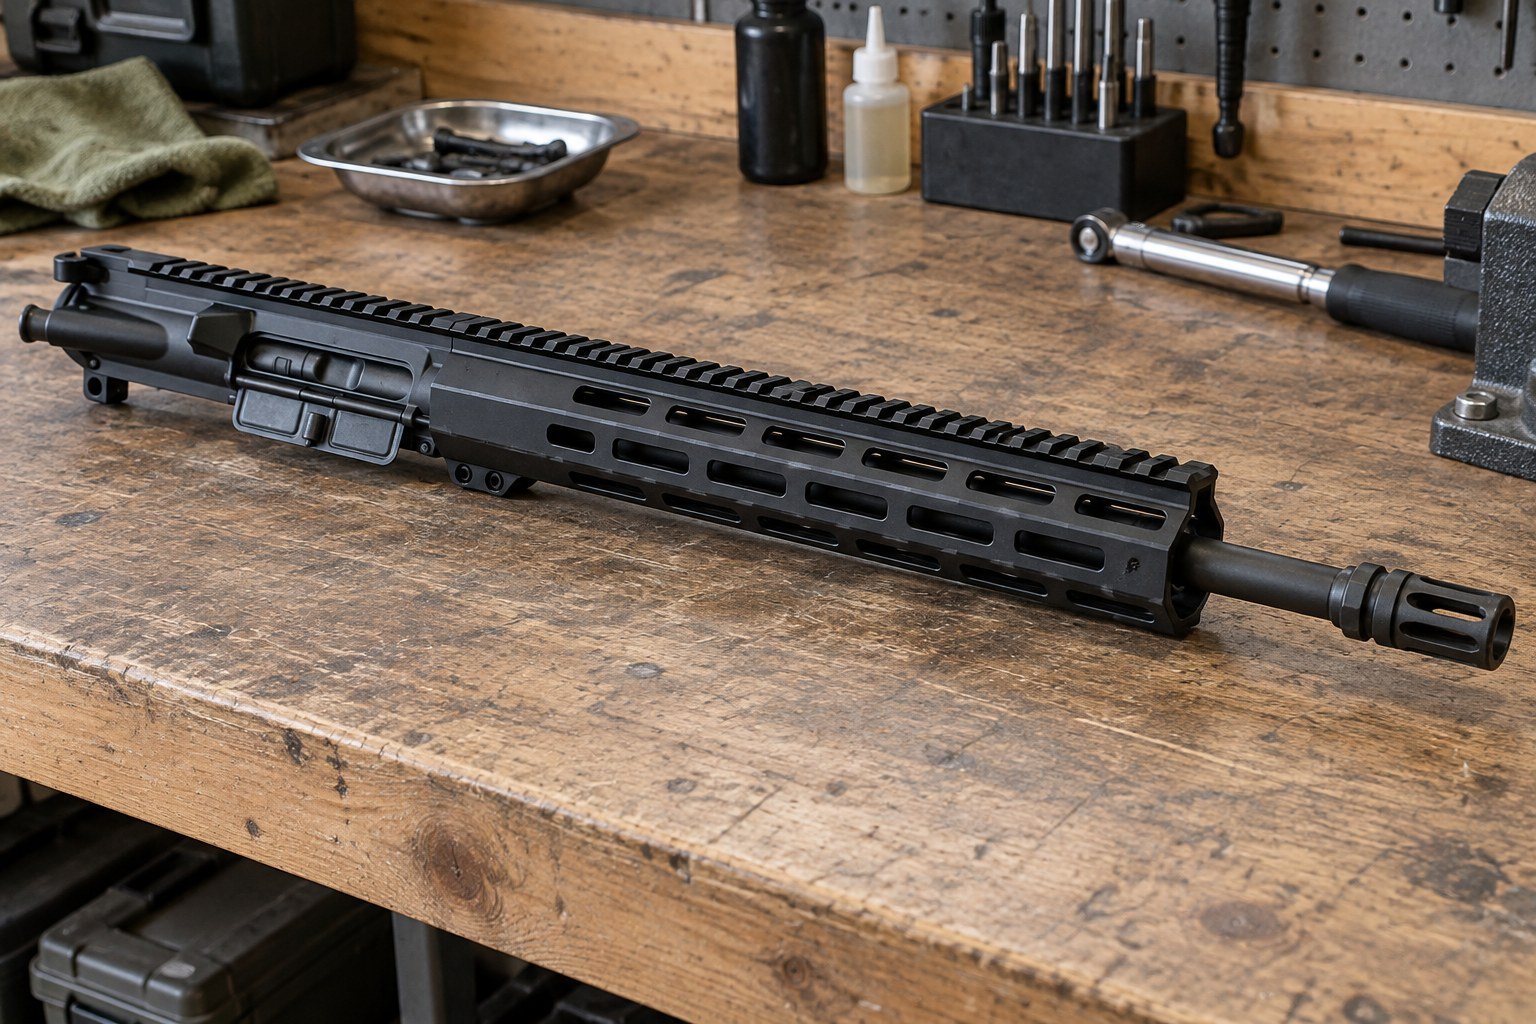
Putting an upper away dirty is the most common storage mistake. Carbon fouling and spent lube can trap moisture, and residue from some ammunition can attract it. A clean upper simply gives corrosion fewer places to start.
Clear and Separate
Remove the magazine, lock the bolt to the rear, and visually and physically confirm the chamber is empty. Separate the upper from the lower, then pull the charging handle and bolt carrier group. Follow the manufacturer's instructions for your specific parts, and if anything feels wrong, have a qualified gunsmith take a look.
Bore, Chamber and Bolt Carrier Group
Clean the bore from the chamber end toward the muzzle with a solvent and patches until they come out reasonably clean, then run a dry patch. Scrub the chamber and the locking lugs in the barrel extension, which collect carbon that is easy to miss. Strip the bolt carrier group and clean the bolt tail, carrier interior and firing pin.
For a full step-by-step process, our AR-15 upper cleaning guide covers each area in order. AR15Parts.com also publishes a complete AR-15 cleaning and maintenance guide that pairs well with it.
Replace Worn Parts Now, Not in Spring
While the bolt carrier group is apart, inspect the extractor, gas rings and bolt lugs. Winter is a convenient time to swap tired parts, because nothing is pulling you to the range. If your bolt or carrier is past saving, you can compare options in the bolt carrier groups category, and a worn or sloppy charging handle can be replaced from the charging handles lineup.
Want to understand coatings before you replace a BCG?
Step Two: Protect the Metal
After cleaning, the steel needs a protective film. The goal is a thin, even layer, not a dripping coat. Heavy oil collects dust and lint, and some lubricants get thick and sticky when temperatures drop.
Choosing a Protectant
There are three broad categories, and each has a place in AR-15 storage:
| Product Type | What It Does Well | Storage Considerations |
|---|---|---|
| CLP (clean, lubricate, protect) | One bottle handles cleaning residue, lubrication and a light protective film | Convenient for short storage; wipe to a thin film so it does not gather dust |
| Dedicated rust preventive oil | Formulated mainly to protect steel from moisture | Good for long storage; some products should be wiped off or the action relubed before firing, so read the label |
| Grease | Stays in place on high-wear surfaces | Better for wear points than for coating a bore; can stiffen in cold |
| Wax or dry film protectant | Leaves a dry, low-dust barrier on exterior surfaces | Useful on external steel; not a substitute for bore protection |
For a deeper comparison of oils, greases and CLPs, see AR15Parts.com's article on choosing an AR-15 lubricant. Always follow the protectant manufacturer's directions for application and removal.
Where to Apply It
- Run a lightly oiled patch through the bore, followed by a dry patch if the label calls for it.
- Wipe the chamber and barrel extension with a lightly oiled patch or swab.
- Coat the bolt, carrier and cam pin lightly, then reassemble the bolt carrier group.
- Wipe exposed exterior steel, including the barrel and muzzle device.
- Give the anodized receiver a light wipe to remove fingerprints, which can leave corrosive residue on steel parts.
Note It Before You Forget
If you used a heavy preservative in the bore, tape a small note inside the case reminding yourself to clean it out before firing. That simple step prevents a range day surprise in April.
Step Three: Pick the Right Storage Spot
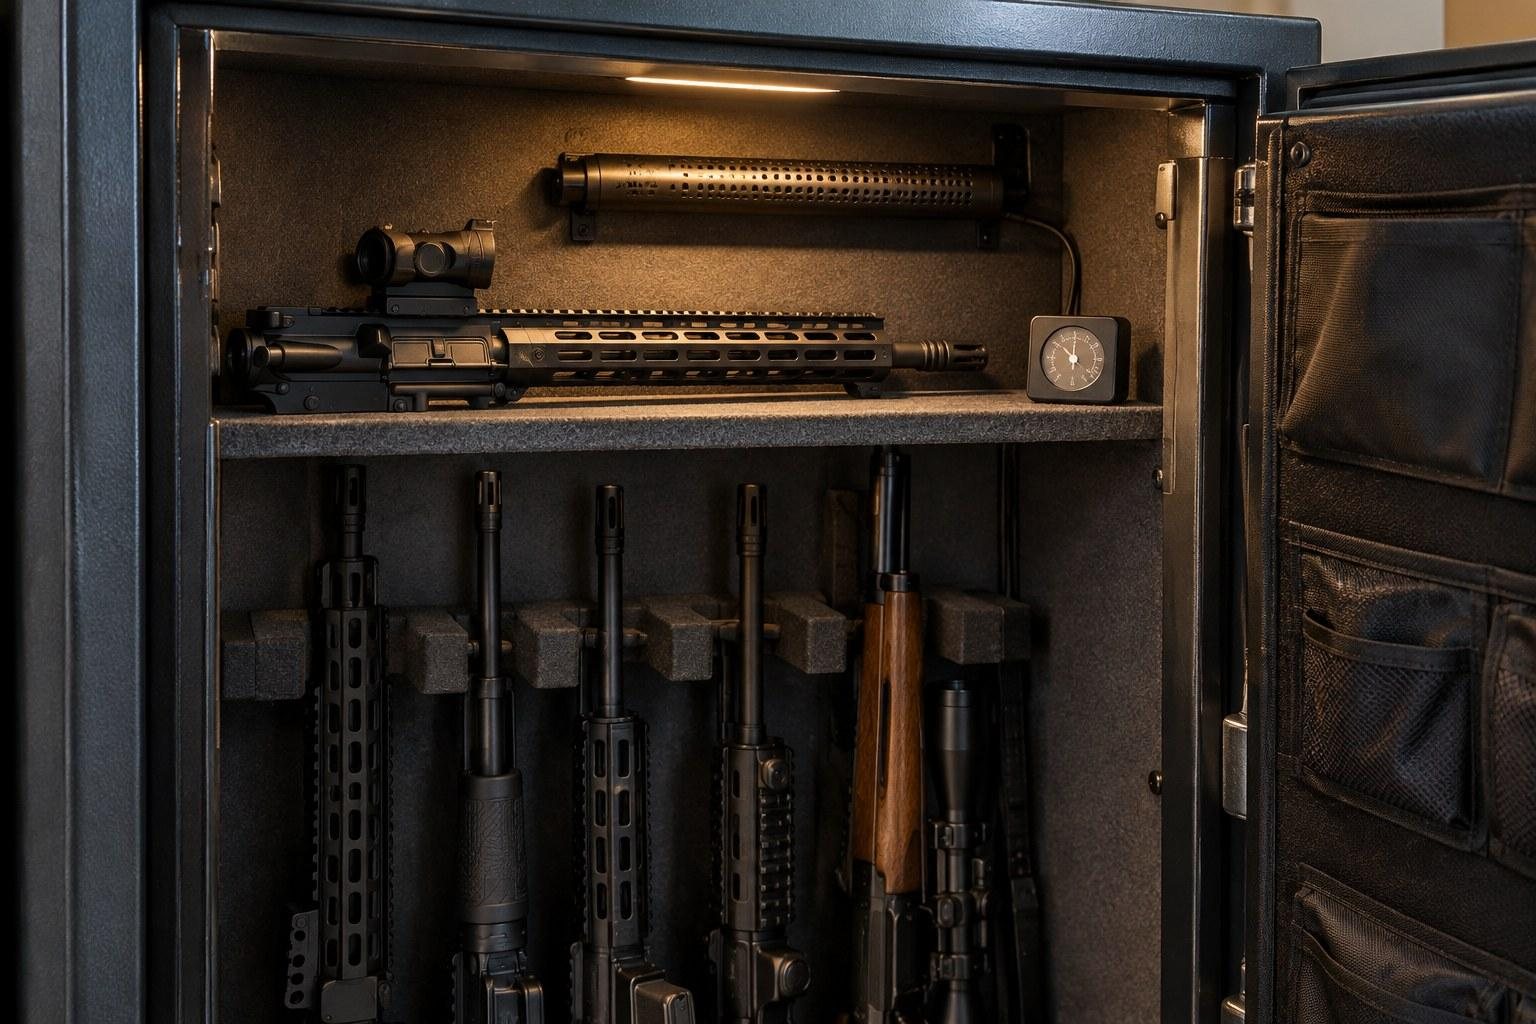
Where the upper lives matters as much as how you prepared it. The best place is usually the most boring one: an interior room in your home where the temperature and humidity stay fairly steady.
Spots to Avoid
- Unheated garages and sheds, where temperatures swing the most.
- Basements without dehumidification, which often run damp.
- Exterior walls and areas near heating vents, windows or water heaters.
- Vehicles, for both corrosion and security reasons.
Safes and Moisture Control
A gun safe is great for security, but a closed steel box can hold moisture. Many owners add a rechargeable desiccant canister or an electric dehumidifier rod made for safes. A small hygrometer inside the safe lets you see whether humidity is staying under control instead of guessing.
Security and the Law
An upper without a lower is still part of a firearm, and responsible storage means keeping it locked away from children and unauthorized people. Storage, transport and ownership rules differ by state and city, so check the laws that apply to you. Nothing here is legal advice.
Step Four: Case It Correctly
The case you choose can either protect the upper or quietly trap moisture against it.
Soft Cases and Foam
Padded soft cases are fine for transport, but the fabric and padding can absorb moisture. Many owners avoid leaving an upper zipped inside one for months. If you do, keep the case in a dry room and open it periodically.
Hard Cases
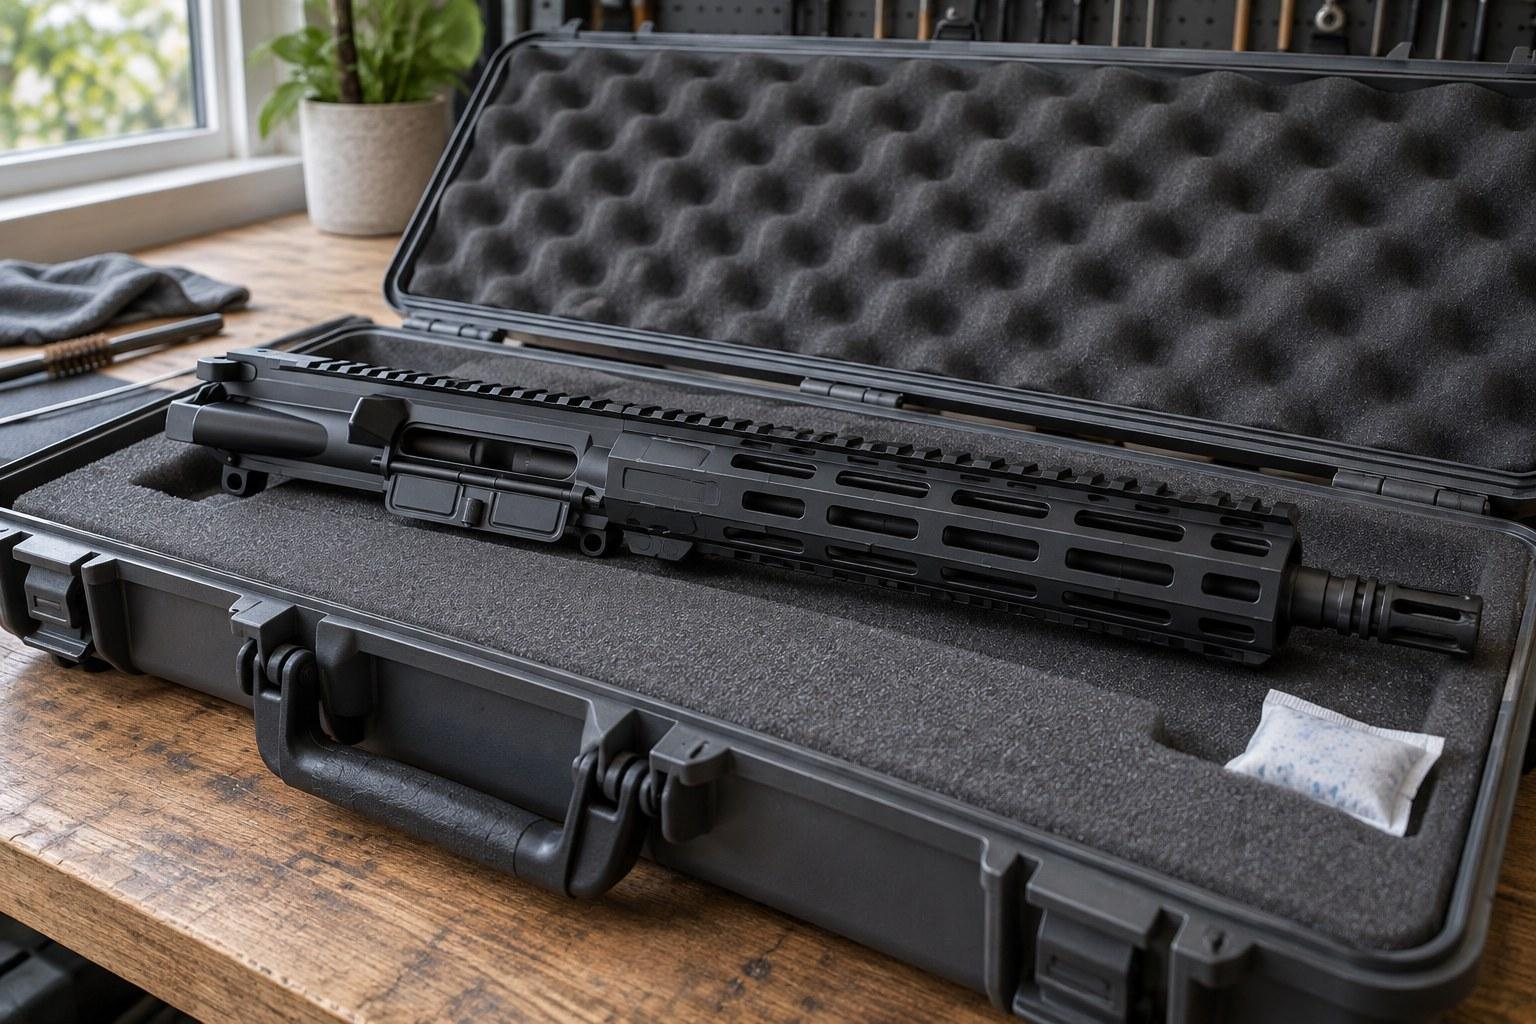
A gasketed hard case keeps out dust and humidity, which sounds ideal. The risk is sealing an upper that is already cold or damp, or moving a sealed cold case into a warm room and opening it. Let the case and the upper reach room temperature before you open it, and toss a desiccant pack inside.
Silicone-Treated Sleeves and VCI Bags
Silicone-treated gun socks wick away fingerprints and keep dust off. Vapor corrosion inhibitor (VCI) bags release a protective vapor inside a closed bag. Both can be useful layers, but neither replaces cleaning and a proper oil film.
Step Five: Store the Pieces Smartly
Storing a spare upper also means thinking about the parts and accessories that travel with it.
Optics and Batteries
If the upper wears a red dot or illuminated scope, consider removing the battery for long storage, since cold and time can drain batteries and a leaking cell can damage the optic. Follow the optic maker's recommendations, and leave the mount in place if you want to keep your zero.
Magazines
Store magazines clean and dry, ideally in the same controlled space. Whether to leave magazines loaded long term is a topic owners debate, and the safest answer is to follow your magazine manufacturer's guidance. If you need replacements for spring, a practical option is 223, 5.56 and 300 Blackout magazines.
Keep a Simple Log
A note in the case listing the date you stored it, the protectant you used and any parts you replaced makes spring prep faster. It also helps if you rotate between several uppers through the year.
Step Six: Spring Inspection and AR-15 Storage Wrap Up
When the weather turns, take the upper out of storage the same careful way you put it away.
Inspect
- Confirm the upper is unloaded and clear.
- Look for any orange or brown spotting on steel parts, especially the barrel extension and bolt.
- Run a dry patch through the bore to remove heavy preservative, then inspect it.
- Check that the gas block, handguard and muzzle device are still tight.
Relubricate and Function Check
Strip and wipe the bolt carrier group, then lubricate it for shooting according to the manufacturer's guidance. Reassemble the rifle and perform a function check. If you find rust you cannot remove or anything that will not function correctly, stop and take it to a qualified gunsmith.
If the rifle runs rough on its first trip back, our AR-15 cycling troubleshooting guide can help you narrow down the cause.
Keep your upper running well all year with more maintenance reading.