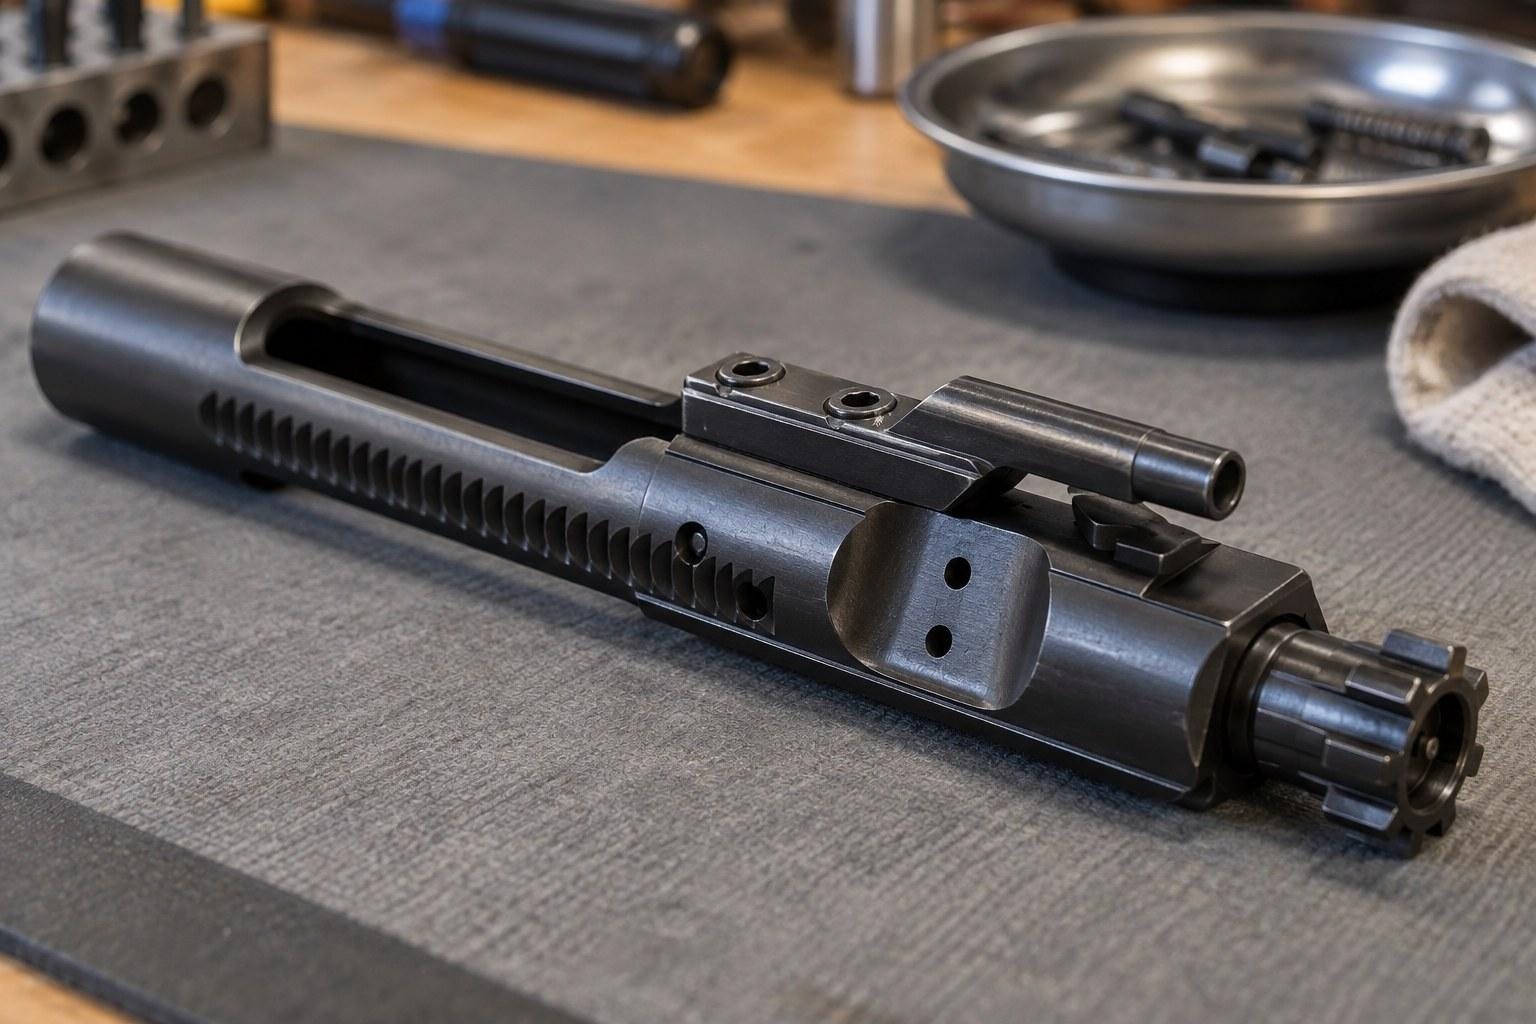
Gas key staking is one of the smallest details on an AR-15 bolt carrier group, and one of the easiest to overlook. The gas key sits on top of the carrier and receives the gas that drives the action. Two screws hold it in place, and the staking keeps those screws from backing out.
If the key loosens, gas can leak at the joint and the rifle may short stroke. The good news is that checking it takes a few minutes, a good light and no special tools. This guide walks you through what proper staking looks like, how to inspect it, which warning signs matter and when a carrier should go to a qualified gunsmith.
Want an upper that ships assembled and function-checked? Browse complete uppers below.
Key Takeaways
- The gas key is held to the bolt carrier by two screws, and staking pushes gas key metal into the screw heads so they cannot rotate loose.
- Good staking shows clear, deep marks that displace metal into the screw head notches on both screws.
- A gas key that moves, screws that turn, or shallow marks that do not touch the screw heads are reasons to stop and get the carrier inspected.
- You can check staking with the rifle unloaded, the bolt carrier removed, and nothing more than a bright light and a magnifier.
- Restaking or replacing a gas key is a job for a qualified gunsmith or a carrier replacement, not a quick fix at the bench.
What the Gas Key Does and Why Staking Matters
The direct impingement AR-15 sends gas from the barrel's gas port, through the gas block and gas tube, into the gas key on top of the bolt carrier. That gas pressurizes the space inside the carrier behind the bolt, which unlocks the bolt and pushes the carrier rearward.
Because the gas key is the doorway for that gas, its seal against the carrier has to stay tight. Our overview of the bolt carrier group covers how each part works together.
How the Key Is Fastened
The key bolts to the top of the carrier with two screws. Tightening alone is not trusted to hold them, because every shot sends heat, pressure and vibration through that joint. Staking is the mechanical lock that backs up the screw torque.
What Staking Actually Is
Staking means striking the gas key metal right next to each screw head with a staking tool. The tool pushes a small lip of that gas key metal into the slots or notches of the screw head. Once that metal is moved, the screw cannot turn without first shearing or deforming it.
What Happens When It Fails
A loose key lets gas escape at the joint instead of driving the carrier. The usual result is a rifle that fails to eject, fails to feed the next round, or fails to lock back on an empty magazine. Our cycling troubleshooting guide lists those symptoms alongside other causes.
What Good Gas Key Staking Looks Like
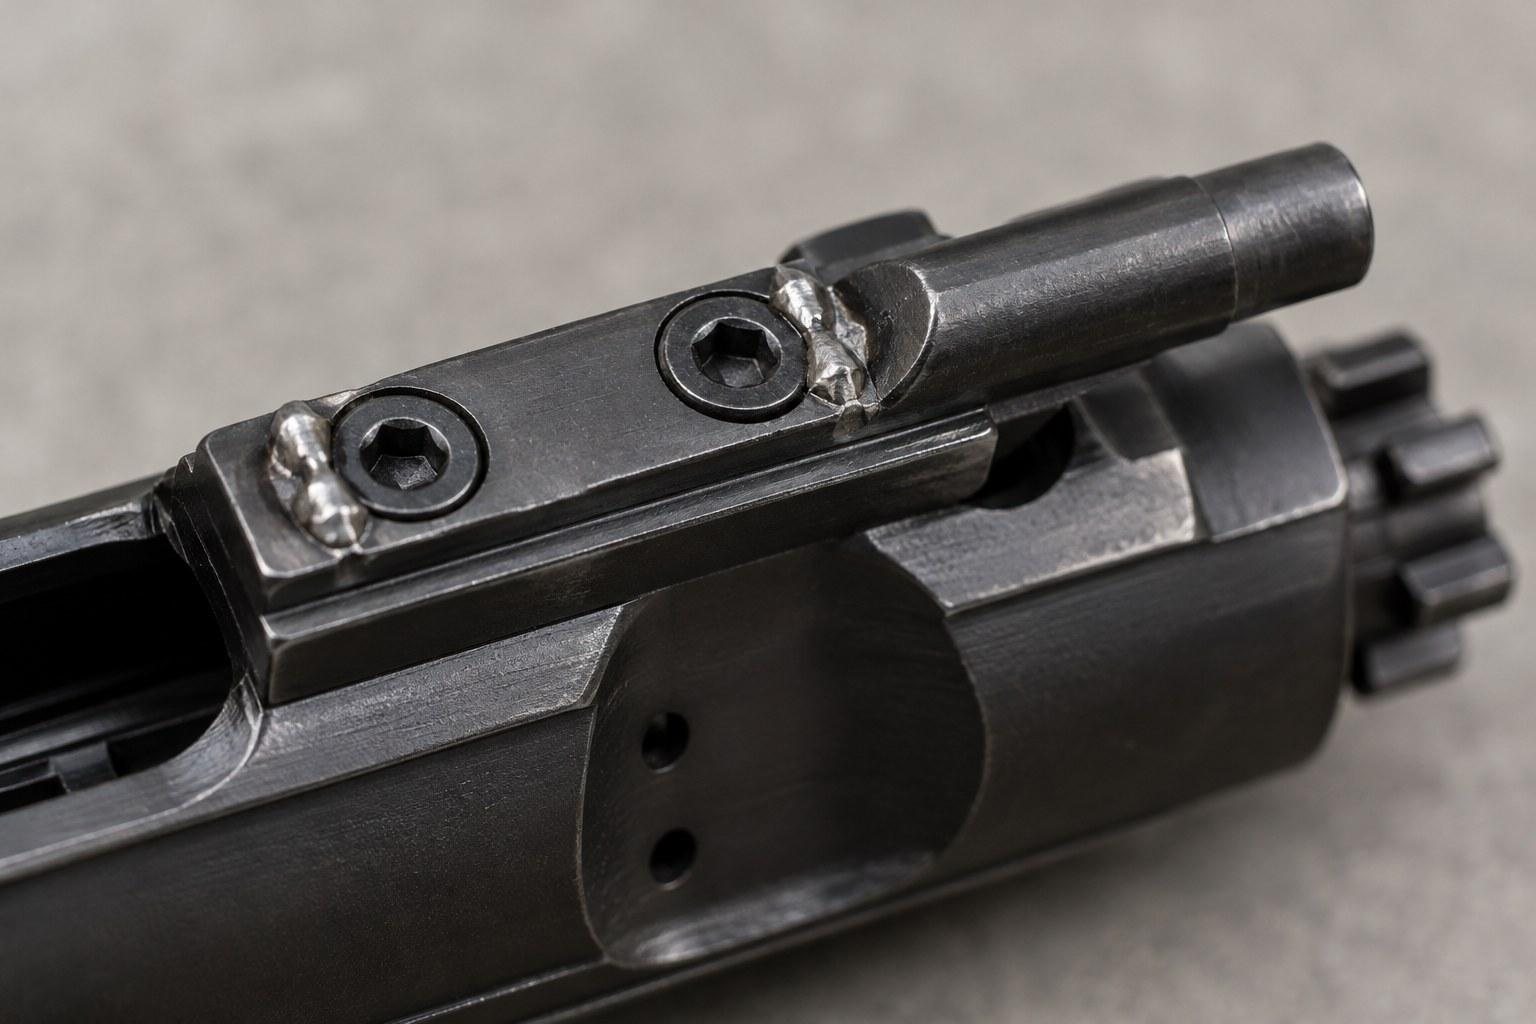
Before you inspect your own carrier, it helps to know the target. Look at the top of the gas key where the two screw heads sit beside the key body.
Signs of Proper Staking
- Both screws are staked, not just one.
- Each stake mark is distinct and deep enough to see clearly without magnification.
- Displaced metal visibly fills part of the notch or slot in each screw head.
- The screw heads sit flush and show no sign of having turned since staking.
Common Staking Styles
Some makers use a single heavy stake per screw, while others use more than one mark per screw. Either can hold well. The detail that matters is whether metal has actually been moved into the screw head, not how many punch marks you count.
| What You See | What It Likely Means | What to Do |
|---|---|---|
| Deep marks with metal pushed into both screw heads | Staking is doing its job | Keep using the carrier and recheck during cleaning |
| Faint marks that do not reach the screw heads | Cosmetic or weak staking | Check whether the key or screws move; have it inspected |
| Only one screw staked | Incomplete staking | Have a gunsmith restake it or replace the carrier |
| No stake marks at all | Screws rely on torque or thread locker alone | Have it evaluated before relying on the rifle |
| Screw heads turned or gas key shifts by hand | Staking has failed | Stop using the carrier until it is repaired or replaced |
If you are shopping for a carrier, the product listing should tell you how the key is secured. Nitride carriers in the bolt carrier group category, for example, often list mil-spec staking on the keys in their specifications.
Want to understand carriers in more depth? A dedicated guide breaks down types and finishes.
How to Check Gas Key Staking Step by Step
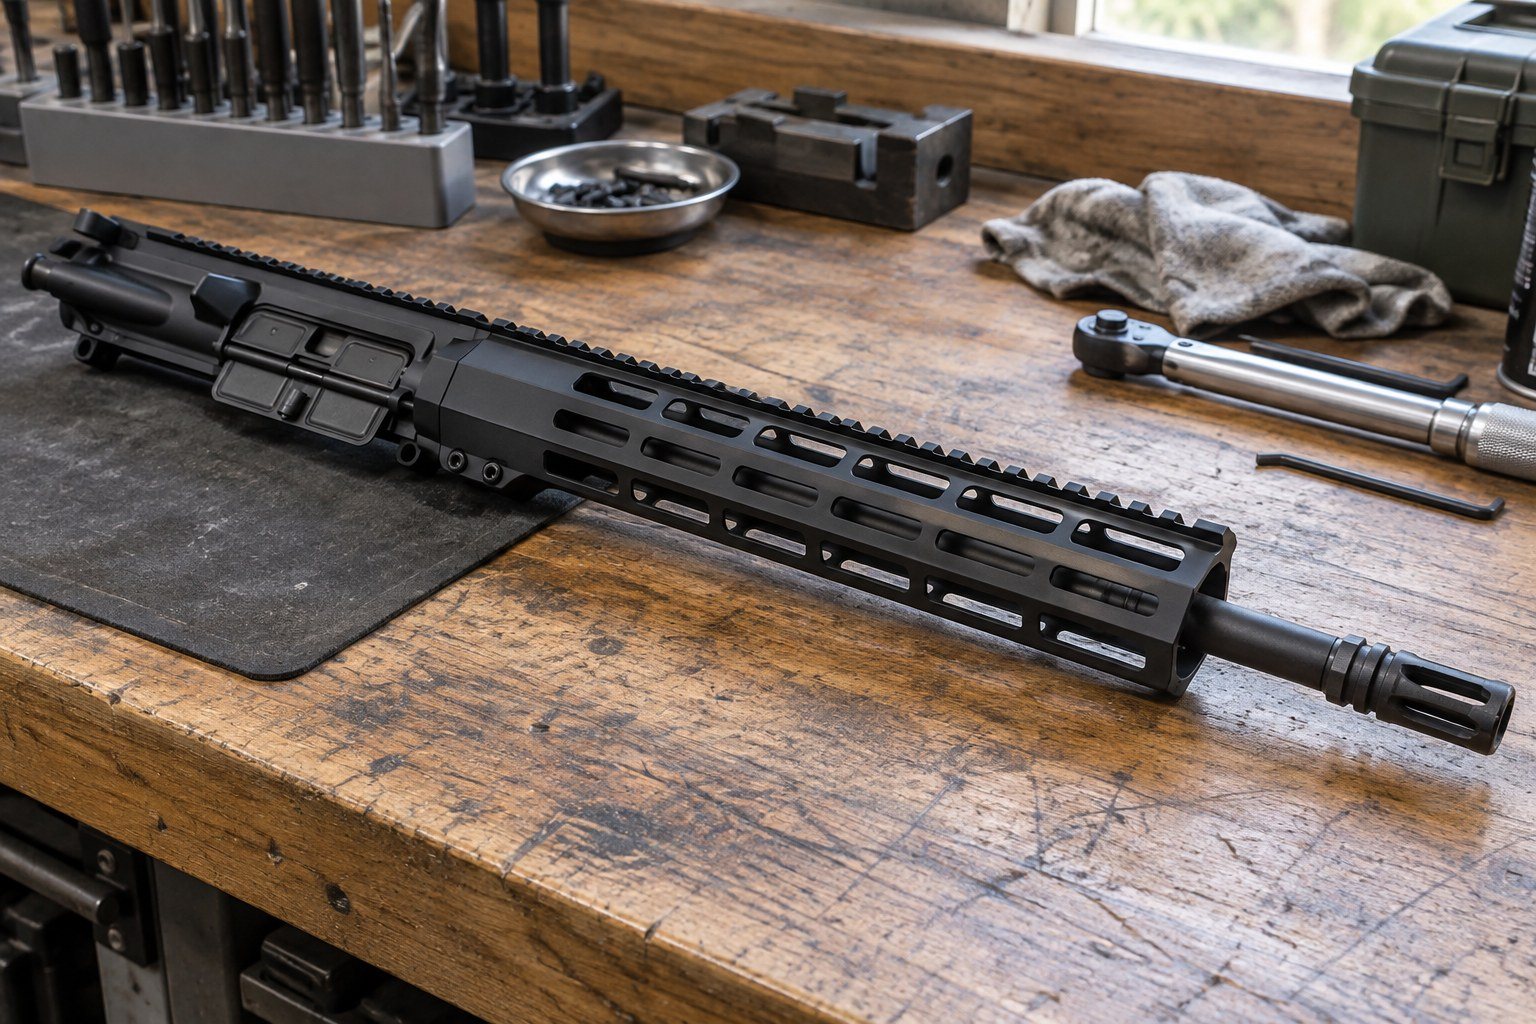
This inspection is visual and hands on, but it never involves loosening the screws. Follow your rifle and carrier manufacturer's instructions for disassembly.
Step 1: Make the Rifle Safe
Remove the magazine, lock the bolt to the rear and visually and physically confirm the chamber is empty. Keep ammunition out of the work area entirely.
Step 2: Remove the Bolt Carrier Group
Separate the upper from the lower per the manufacturer's directions, pull the charging handle back and slide the bolt carrier group out of the upper receiver. You do not need to strip the bolt from the carrier to inspect the key.
Step 3: Clean the Area
Carbon and lubricant hide stake marks. Wipe the top of the key and the screw heads with a rag and a little solvent so you can see bare metal. Our upper cleaning guide covers safe cleaning products and habits.
Step 4: Look Closely at Both Screws
Use a bright flashlight and a magnifier if you have one. Check each screw for a clear stake mark and confirm the displaced metal reaches into the screw head. Compare the two screws; they should look similar.
Step 5: Do a Gentle Hand Check
Grip the gas key with your fingers and try to wiggle it side to side and front to back. It should feel like one solid piece with the carrier. Do not use pliers or tools, and never try to turn a staked screw with a driver to "test" it, because that can break the stake you are checking.
Step 6: Check for Gas Leak Signs
Look at the joint where the key meets the carrier. Heavy carbon streaking spreading out from under the key, especially on one side, can point to gas escaping at that seam. Some carbon around the key is normal on a fired carrier, so judge it together with the other checks.
Warning Signs and Their Causes
Staking problems rarely announce themselves at the bench. More often you notice them at the range first.
Symptoms on the Firing Line
- Spent cases that dribble out of the ejection port or fail to clear.
- The bolt not picking up the next round from the magazine.
- The bolt not locking open after the last round.
- Function that gets worse as the rifle heats up during a string.
Other Causes to Rule Out
The same symptoms can come from a weak or wrong-capacity magazine, a gas block that has shifted off the port, a damaged gas tube, worn gas rings on the bolt, a dry carrier or ammunition that runs on the light side. A carrier that passes the staking check points you toward those other parts. Gas system length also affects how a rifle cycles, and our gas system length guide explains why.
When Adjustable Gas Blocks Are Involved
If the rifle has an adjustable gas block, confirm the setting has not changed before blaming the carrier. Set it according to the gas block maker's instructions. Never drill or alter a gas port to cure a cycling problem.
What to Do If the Staking Looks Wrong
Finding weak or missing stakes does not always mean the key is loose, but it does mean you should not trust the carrier blindly.
Restaking
Restaking requires the correct screw torque, often with a thread locker, and a proper staking tool that supports the carrier while metal is moved. Those specifications come from the carrier manufacturer. If you do not have the tools or the published specs, hand the carrier to a qualified gunsmith.
Replacing the Carrier
For many shooters, the simpler path is a new bolt carrier group from a maker that stakes the key at the factory. Match the carrier to your caliber, since some cartridges use a different bolt face. Carriers are widely available for 5.56 NATO uppers and larger-bore builds such as 6.5 Grendel uppers.
Replacing the Whole Upper
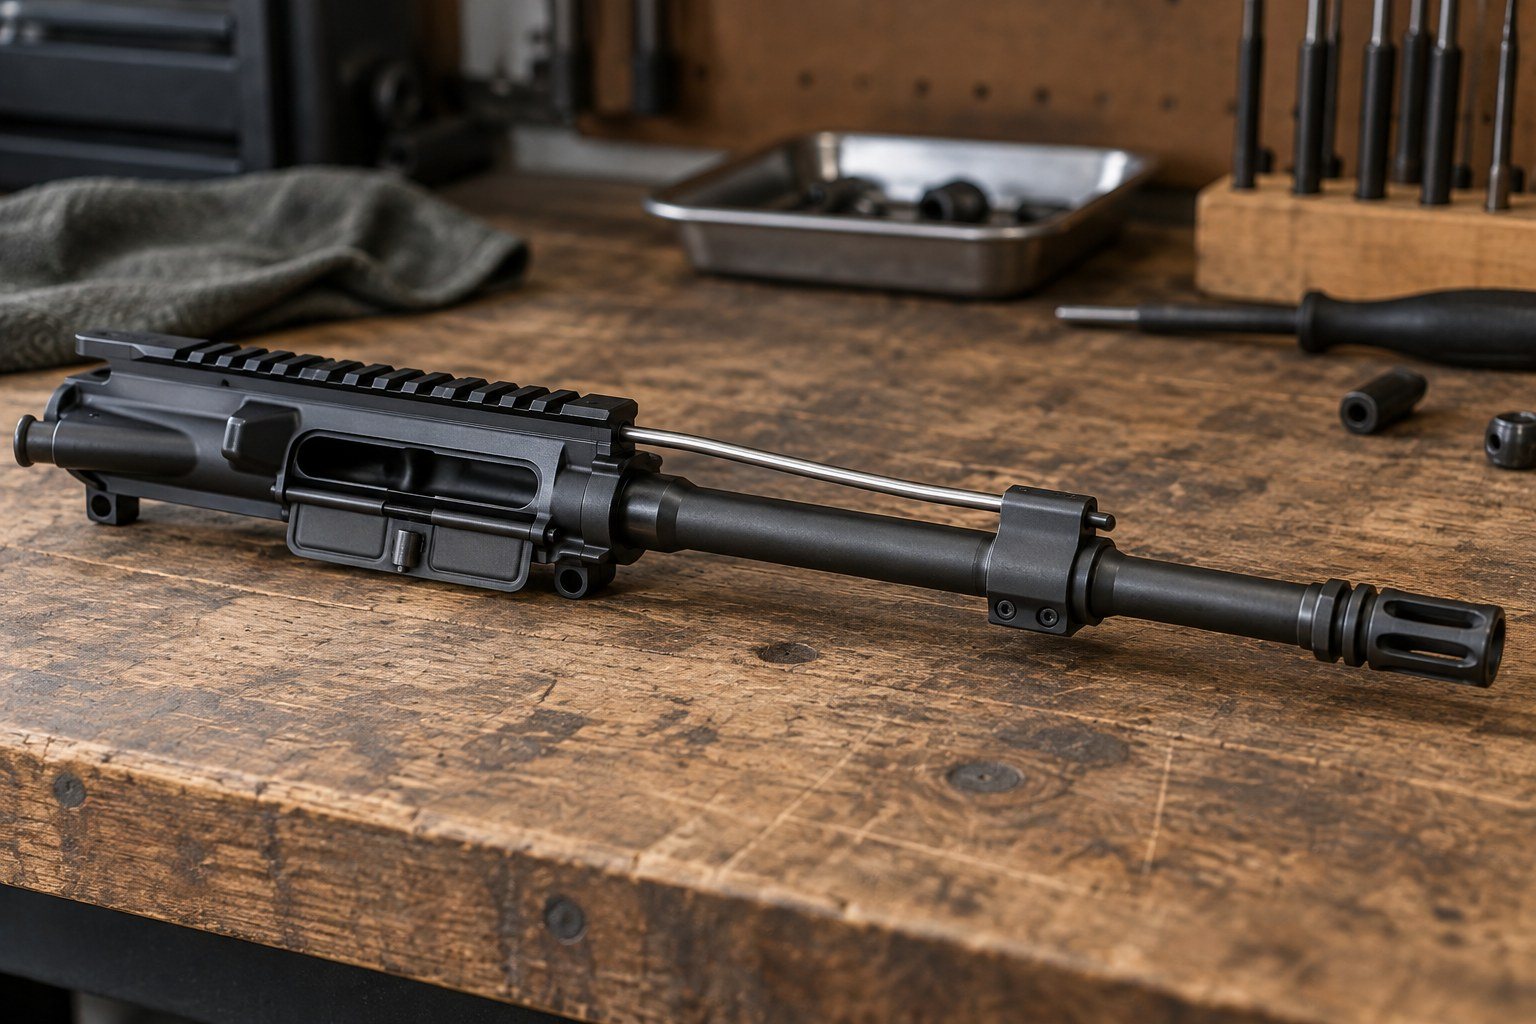
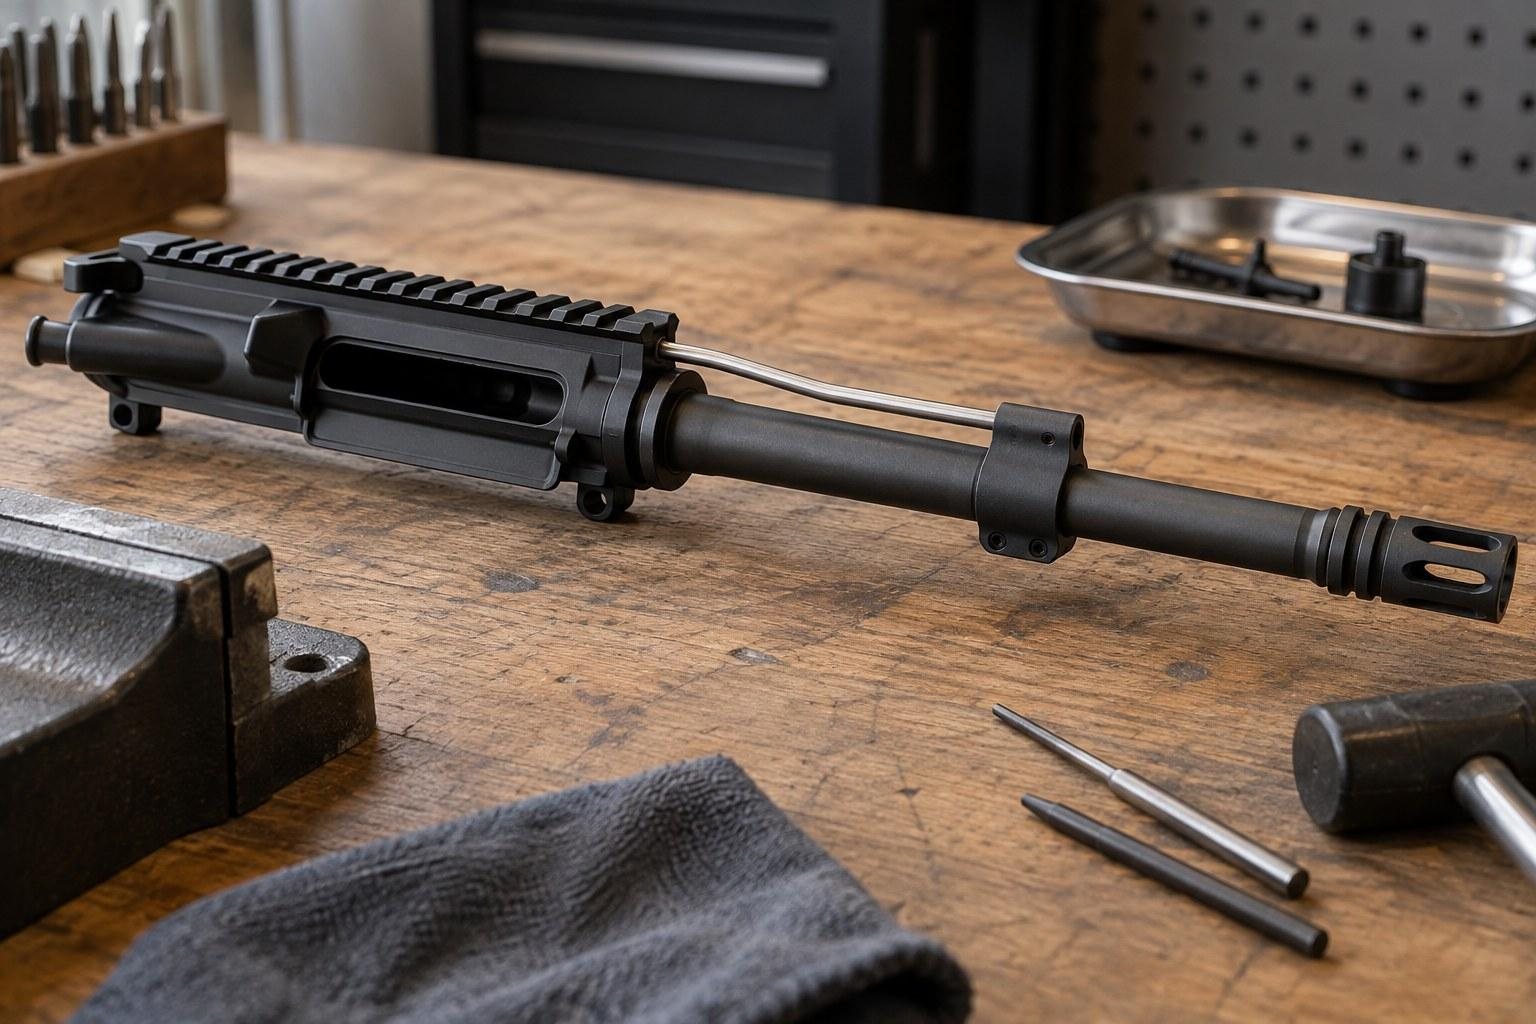
If the carrier is only one of several worn parts, a complete upper may make more sense. Complete uppers from AR15Parts.com are assembled in-house, headspaced and function-checked before they ship.
Building Inspection Into Routine Maintenance
The best time to check gas key staking is every time the carrier comes out for cleaning. It takes seconds once you know what you are looking at.
A Simple Habit
- Clean the top of the carrier.
- Look at both stake marks under good light.
- Give the key a gentle wiggle by hand.
- Note anything that looks different from the last time.
After a Malfunction
Any time a rifle starts short stroking, pull the carrier and check the key before swapping springs or buffers. It is one of the quickest things to rule in or out. Keeping spare parts from the upper parts category on hand can help with other wear items.
Need a fresh upper with the details already checked? Start with our complete upper picks.